中 文
中 文

The Ultimate Guide to Dental Lab Purchasing
2024-07-14
2026-06-05
Welcome to YUCERA’s FAQ! Each week, we tackle a real challenge our customers face with CAD CAM equipments and zirconia block. Insights come straight from our R&D, marketing, and after-sales teams. Curious? Have a problem you’d like solved? Join the conversation, share your experience, and discover solutions that make your workflow smarter and more efficient.
Today our topic is "P100 Dental 3D Printer FAQ | Fix Print Detachment, Layer Shifts & Mid-Print Failures"

1. Check LCD Screen Exposure
Verify that the LCD screen is functioning properly and exposing normally.
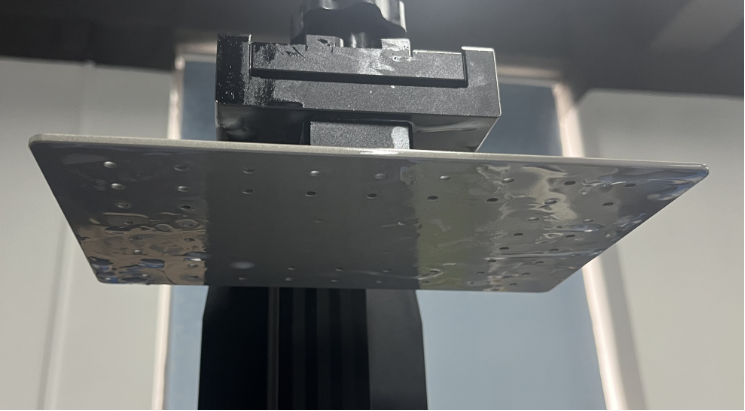
2. Verify Build Platform Leveling
Improper platform leveling is one of the most common causes of print detachment.
Re-level the build platform following the standard calibration procedure.
Ensure the platform is firmly secured after leveling.
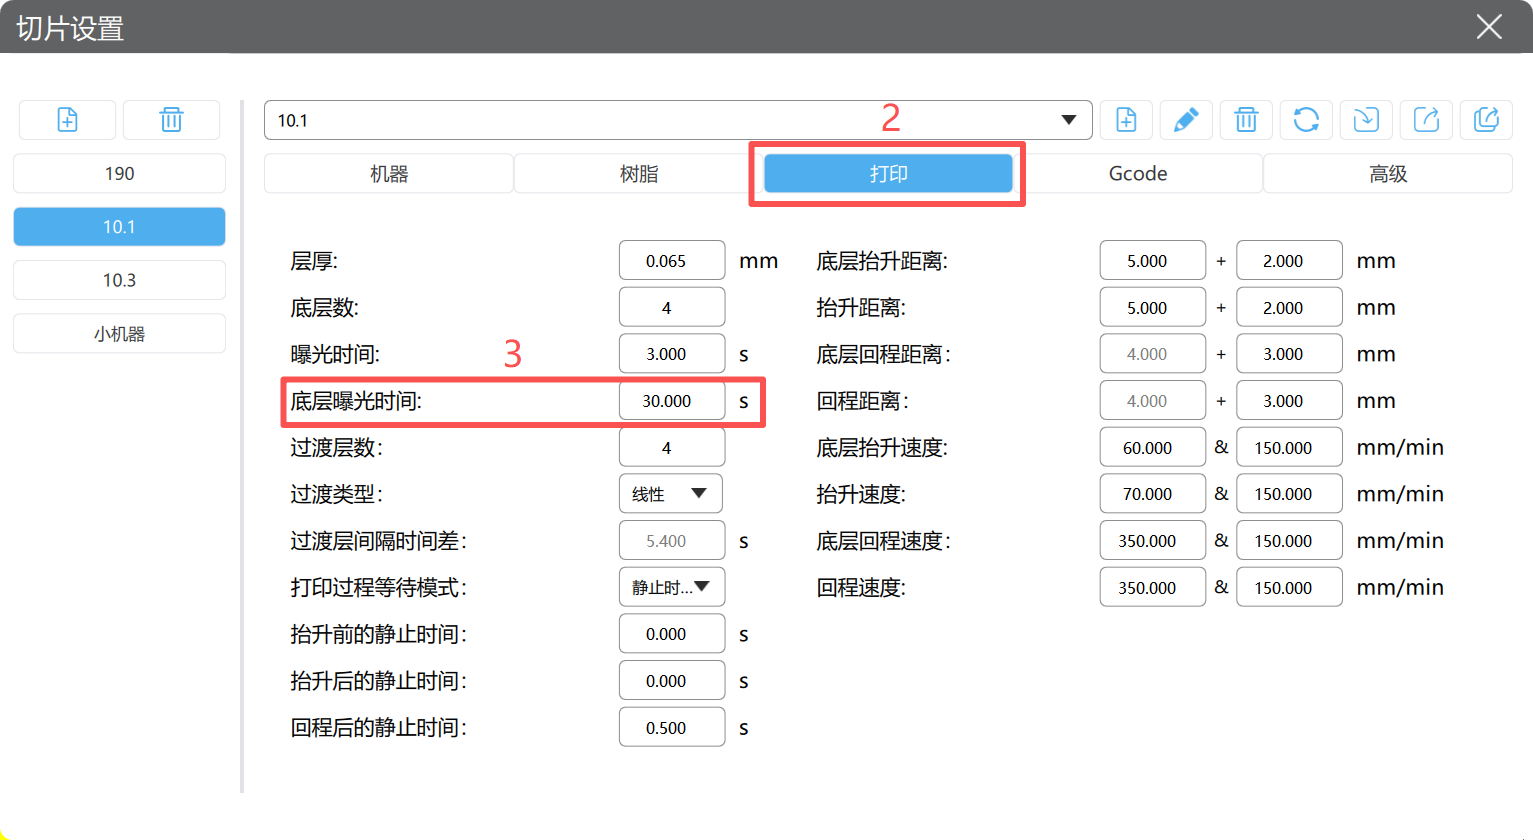
3. Increase Bottom Layer Exposure Time
Insufficient bottom layer exposure can result in weak adhesion between the model and the build platform.
Gradually increase the bottom exposure time according to the resin manufacturer's recommendations.
After adjustment, perform a test print to verify adhesion performance.
4. Inspect the Release Film (FEP/PFA Film)
Check the release film for scratches, clouding, dents, wrinkles, or excessive wear.
Clean the film thoroughly and inspect its surface under adequate lighting.
Gently feel the surface with a plastic scraper if necessary to identify damaged areas.
Replace the release film if significant wear or damage is detected.
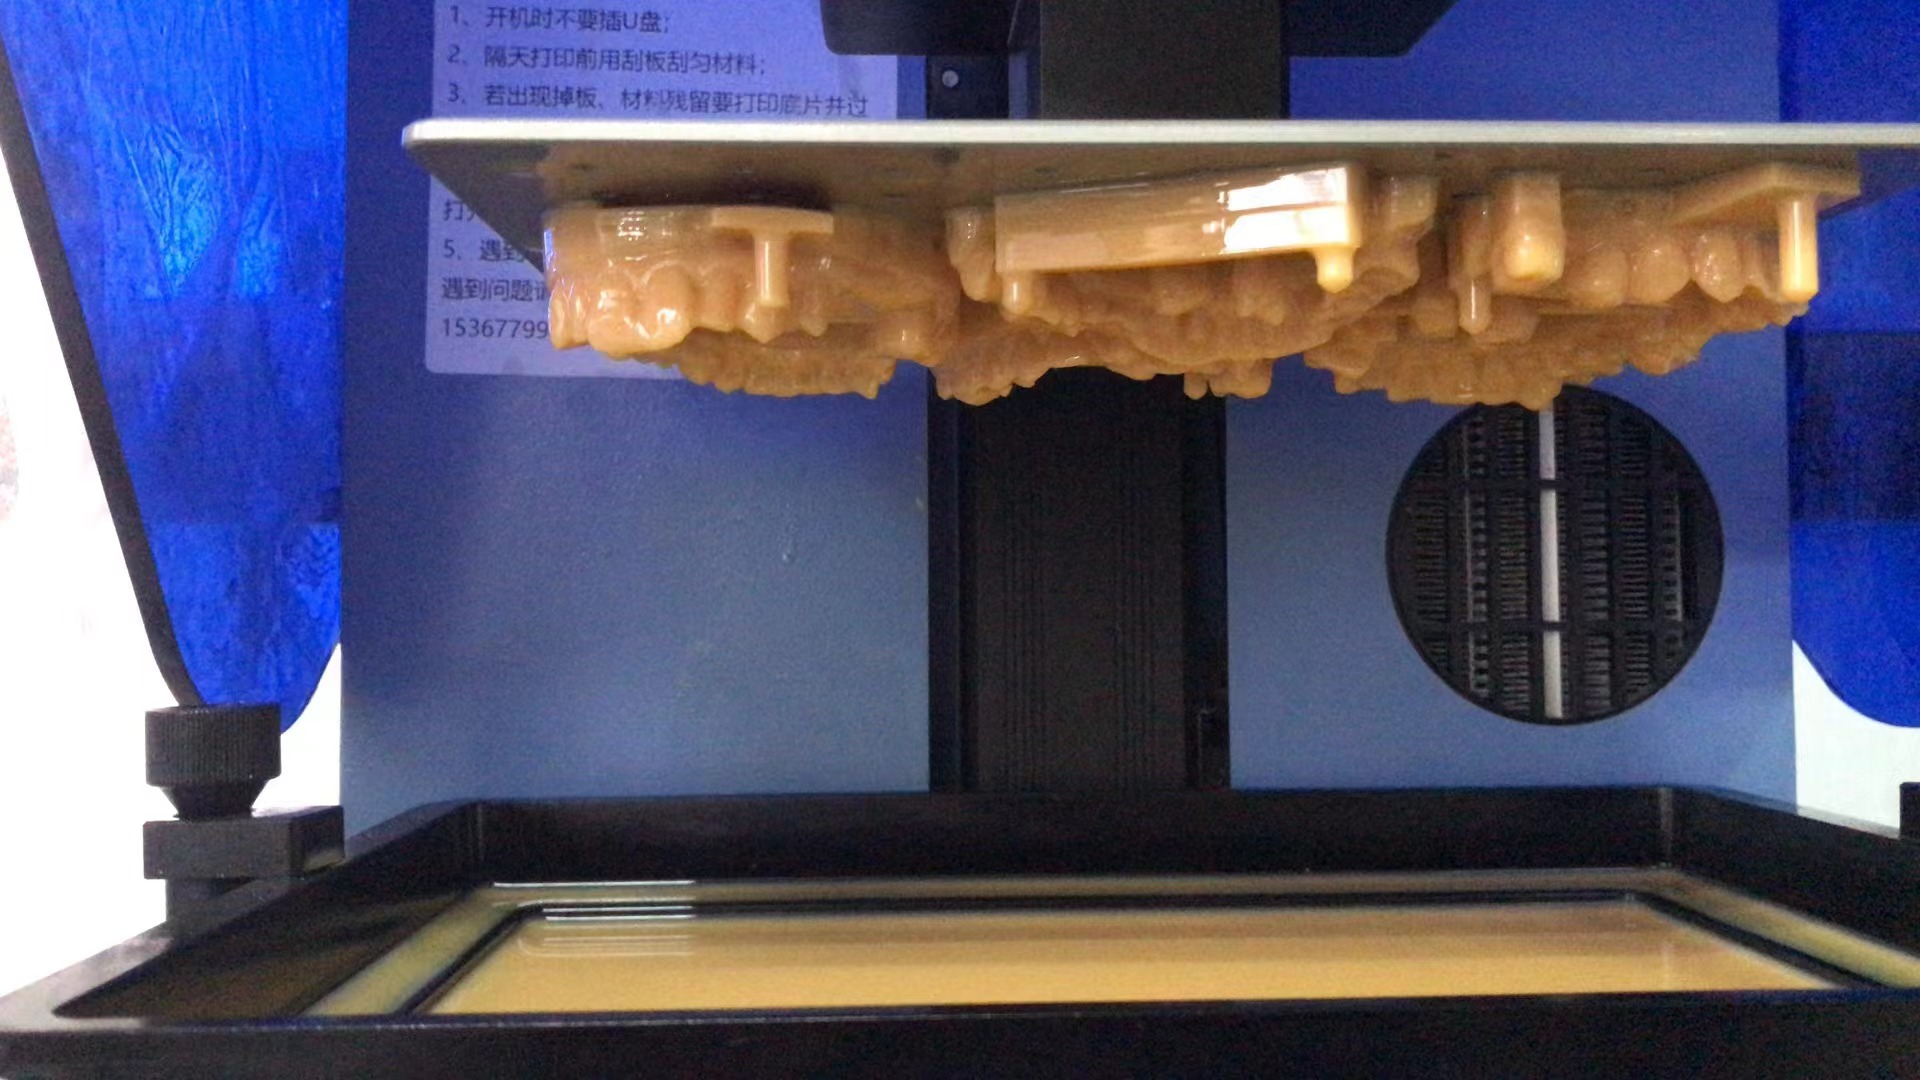
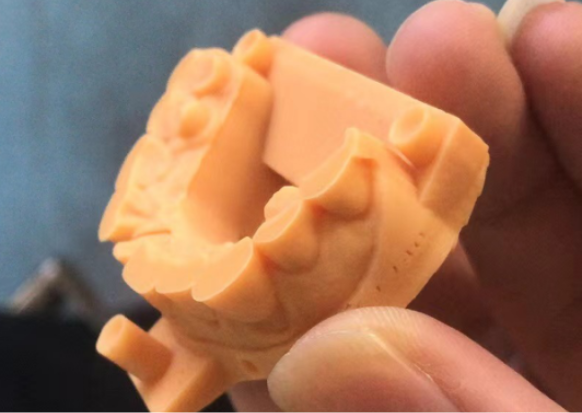
1. Check for Debris on the Build Platform or Inside the Resin Tank
Inspect the build platform surface for cured resin residue or foreign particles.
Use a scraper to remove any debris from the platform surface.
Carefully check the resin tank with a plastic scraper to ensure no cured fragments remain inside the vat.
2. Verify Platform Leveling and Platform Flatness
Re-level the build platform according to the standard calibration procedure.
Inspect the platform for impact damage or deformation caused by accidental collisions.
If raised areas or burrs are present, carefully smooth them with fine-grit sandpaper before performing platform leveling again.
3. Inspect the LCD Screen in the Affected Area
Ensure the LCD screen surface is clean and free of resin contamination, fingerprints, or dust.
Pay particular attention to the area corresponding to the failed print region.
Perform a screen inspection test to verify normal light transmission and exposure.
4. Increase Bottom Layer Exposure Time
Insufficient bottom exposure may cause weak adhesion in certain areas of the build platform.
Increase the bottom layer exposure time appropriately and perform a test print to verify the result.


5. Confirm the Resin Tank Is Securely Fastened
Check that the resin tank mounting screws are fully tightened.
A loose resin tank may cause uneven layer separation forces, resulting in localized print failures.
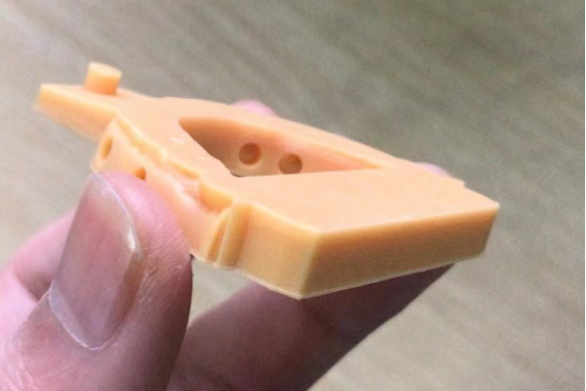
1. Check the Release Film (FEP/PFA Film) Tension
Clean the resin tank and inspect the release film condition.
Gently tap the center of the release film to check its elasticity and tension.
An excessively loose, overstretched, or aged film can increase separation forces and cause layer detachment or model breakage.
Replace the release film if it shows reduced tension, deformation, or excessive wear.
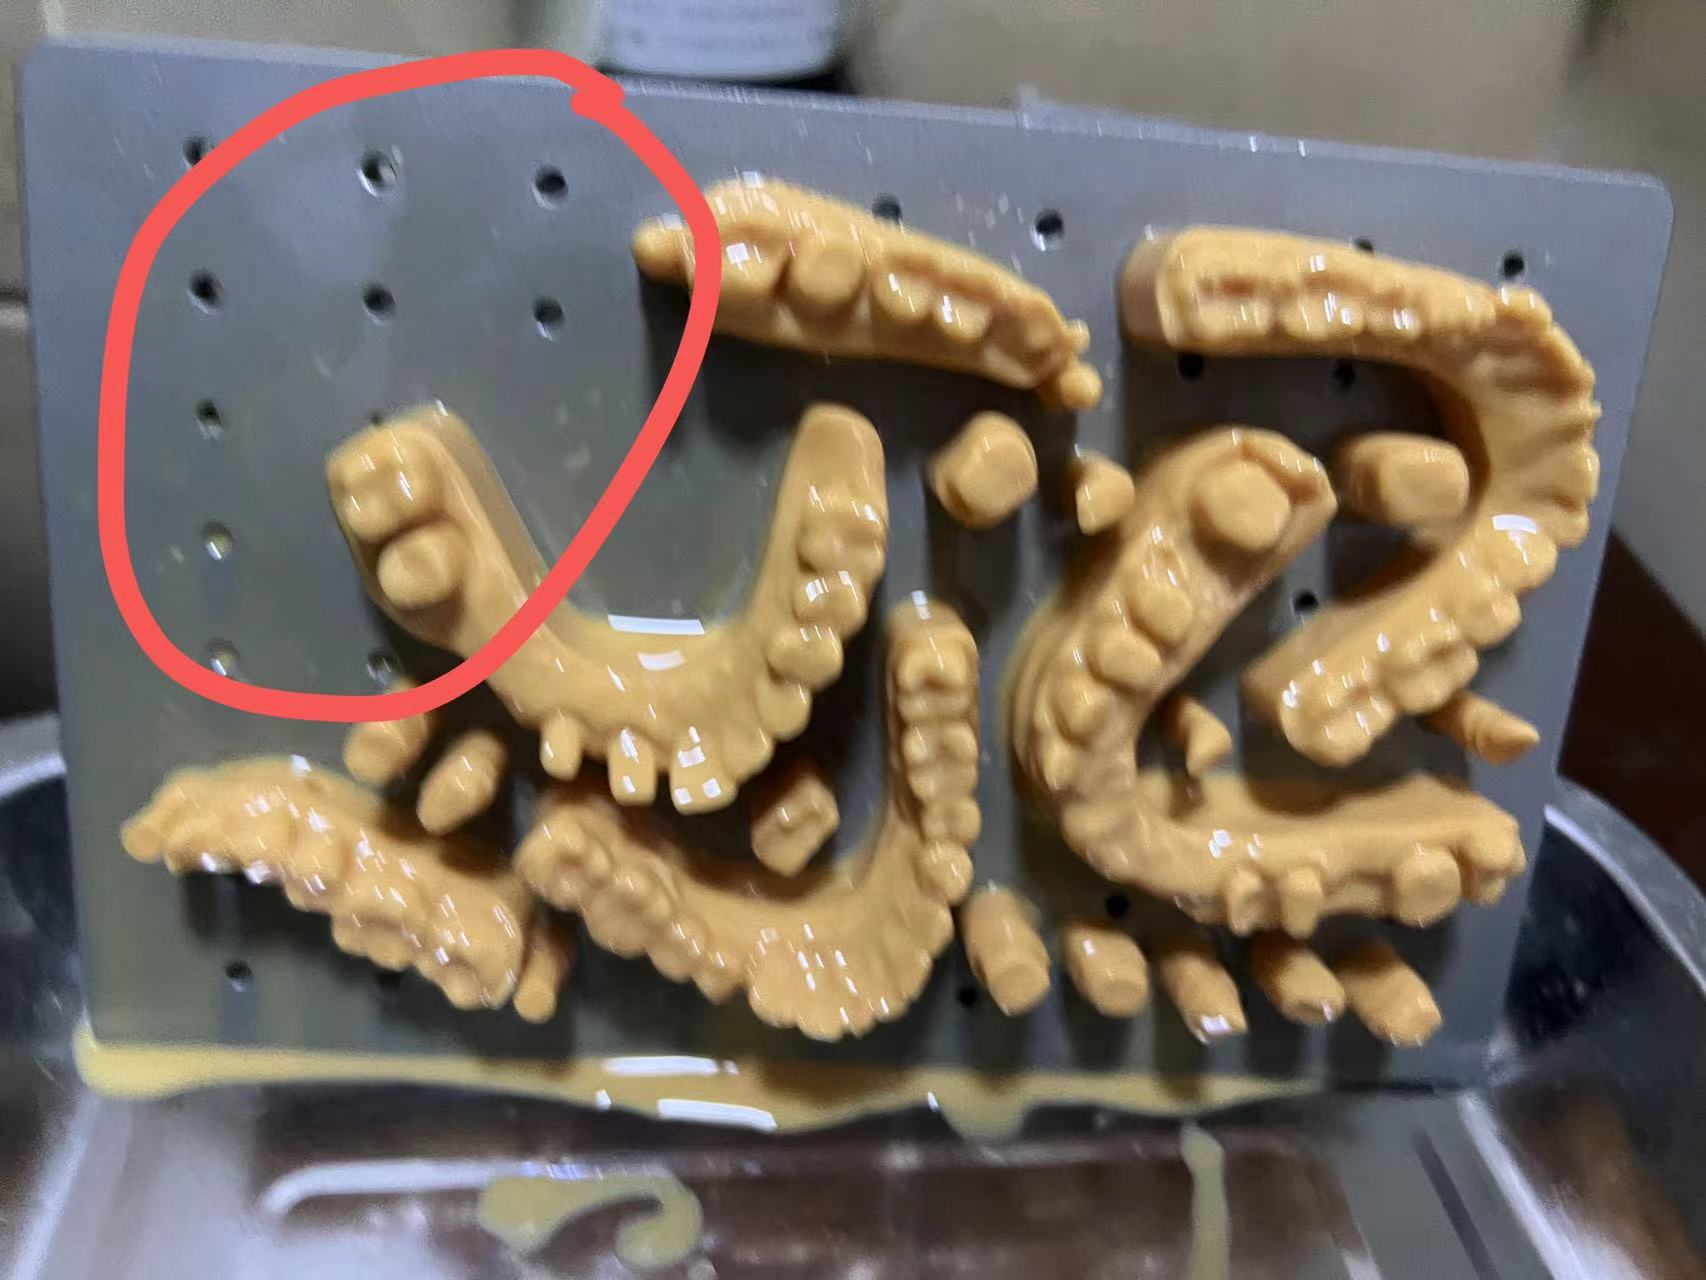
2. Inspect the Resin Tank for Debris or Cured Resin Fragments
Cured resin fragments remaining in the tank can interfere with the printing process and cause layer shifts or print failures.
Empty and clean the resin tank thoroughly.
Perform a tank cleaning exposure to remove residual cured material.
Check both the LCD screen and resin tank for any abnormalities before restarting the print.
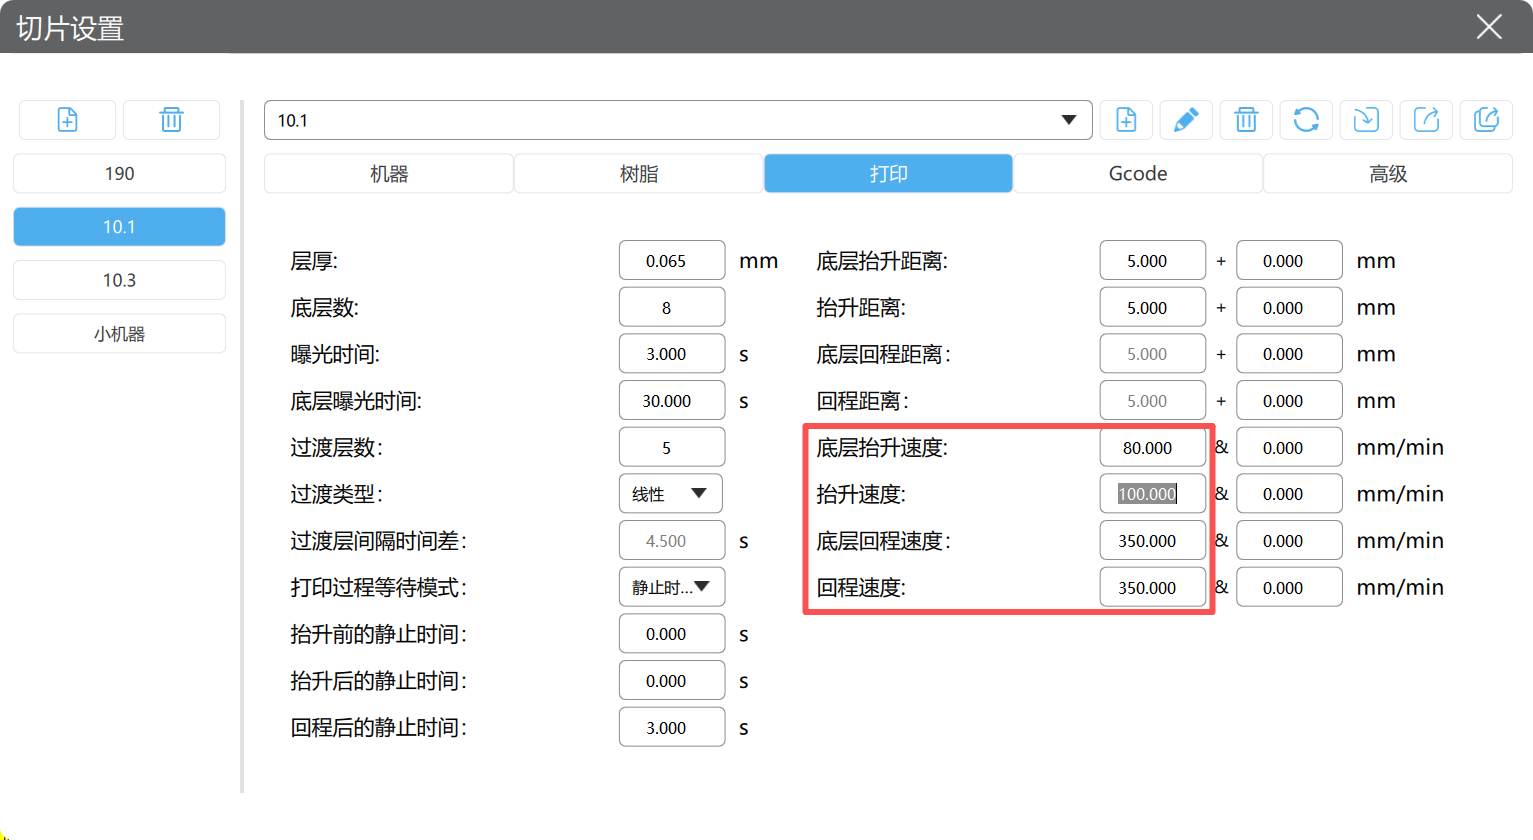
3. Reduce Printing Speed
Excessive lifting or retract speed may increase mechanical stress on the model, especially for tall, thin, or complex geometries.
Reduce the lift speed and separation speed appropriately to improve print stability.
Lower speeds help reduce the risk of layer separation, cracking, and mid-print failures.

Dry & wet milling for zirconia, PMMA, wax with auto tool changer.
learn more
High-precision 3D scanning, AI calibration, full-arch accuracy.
learn more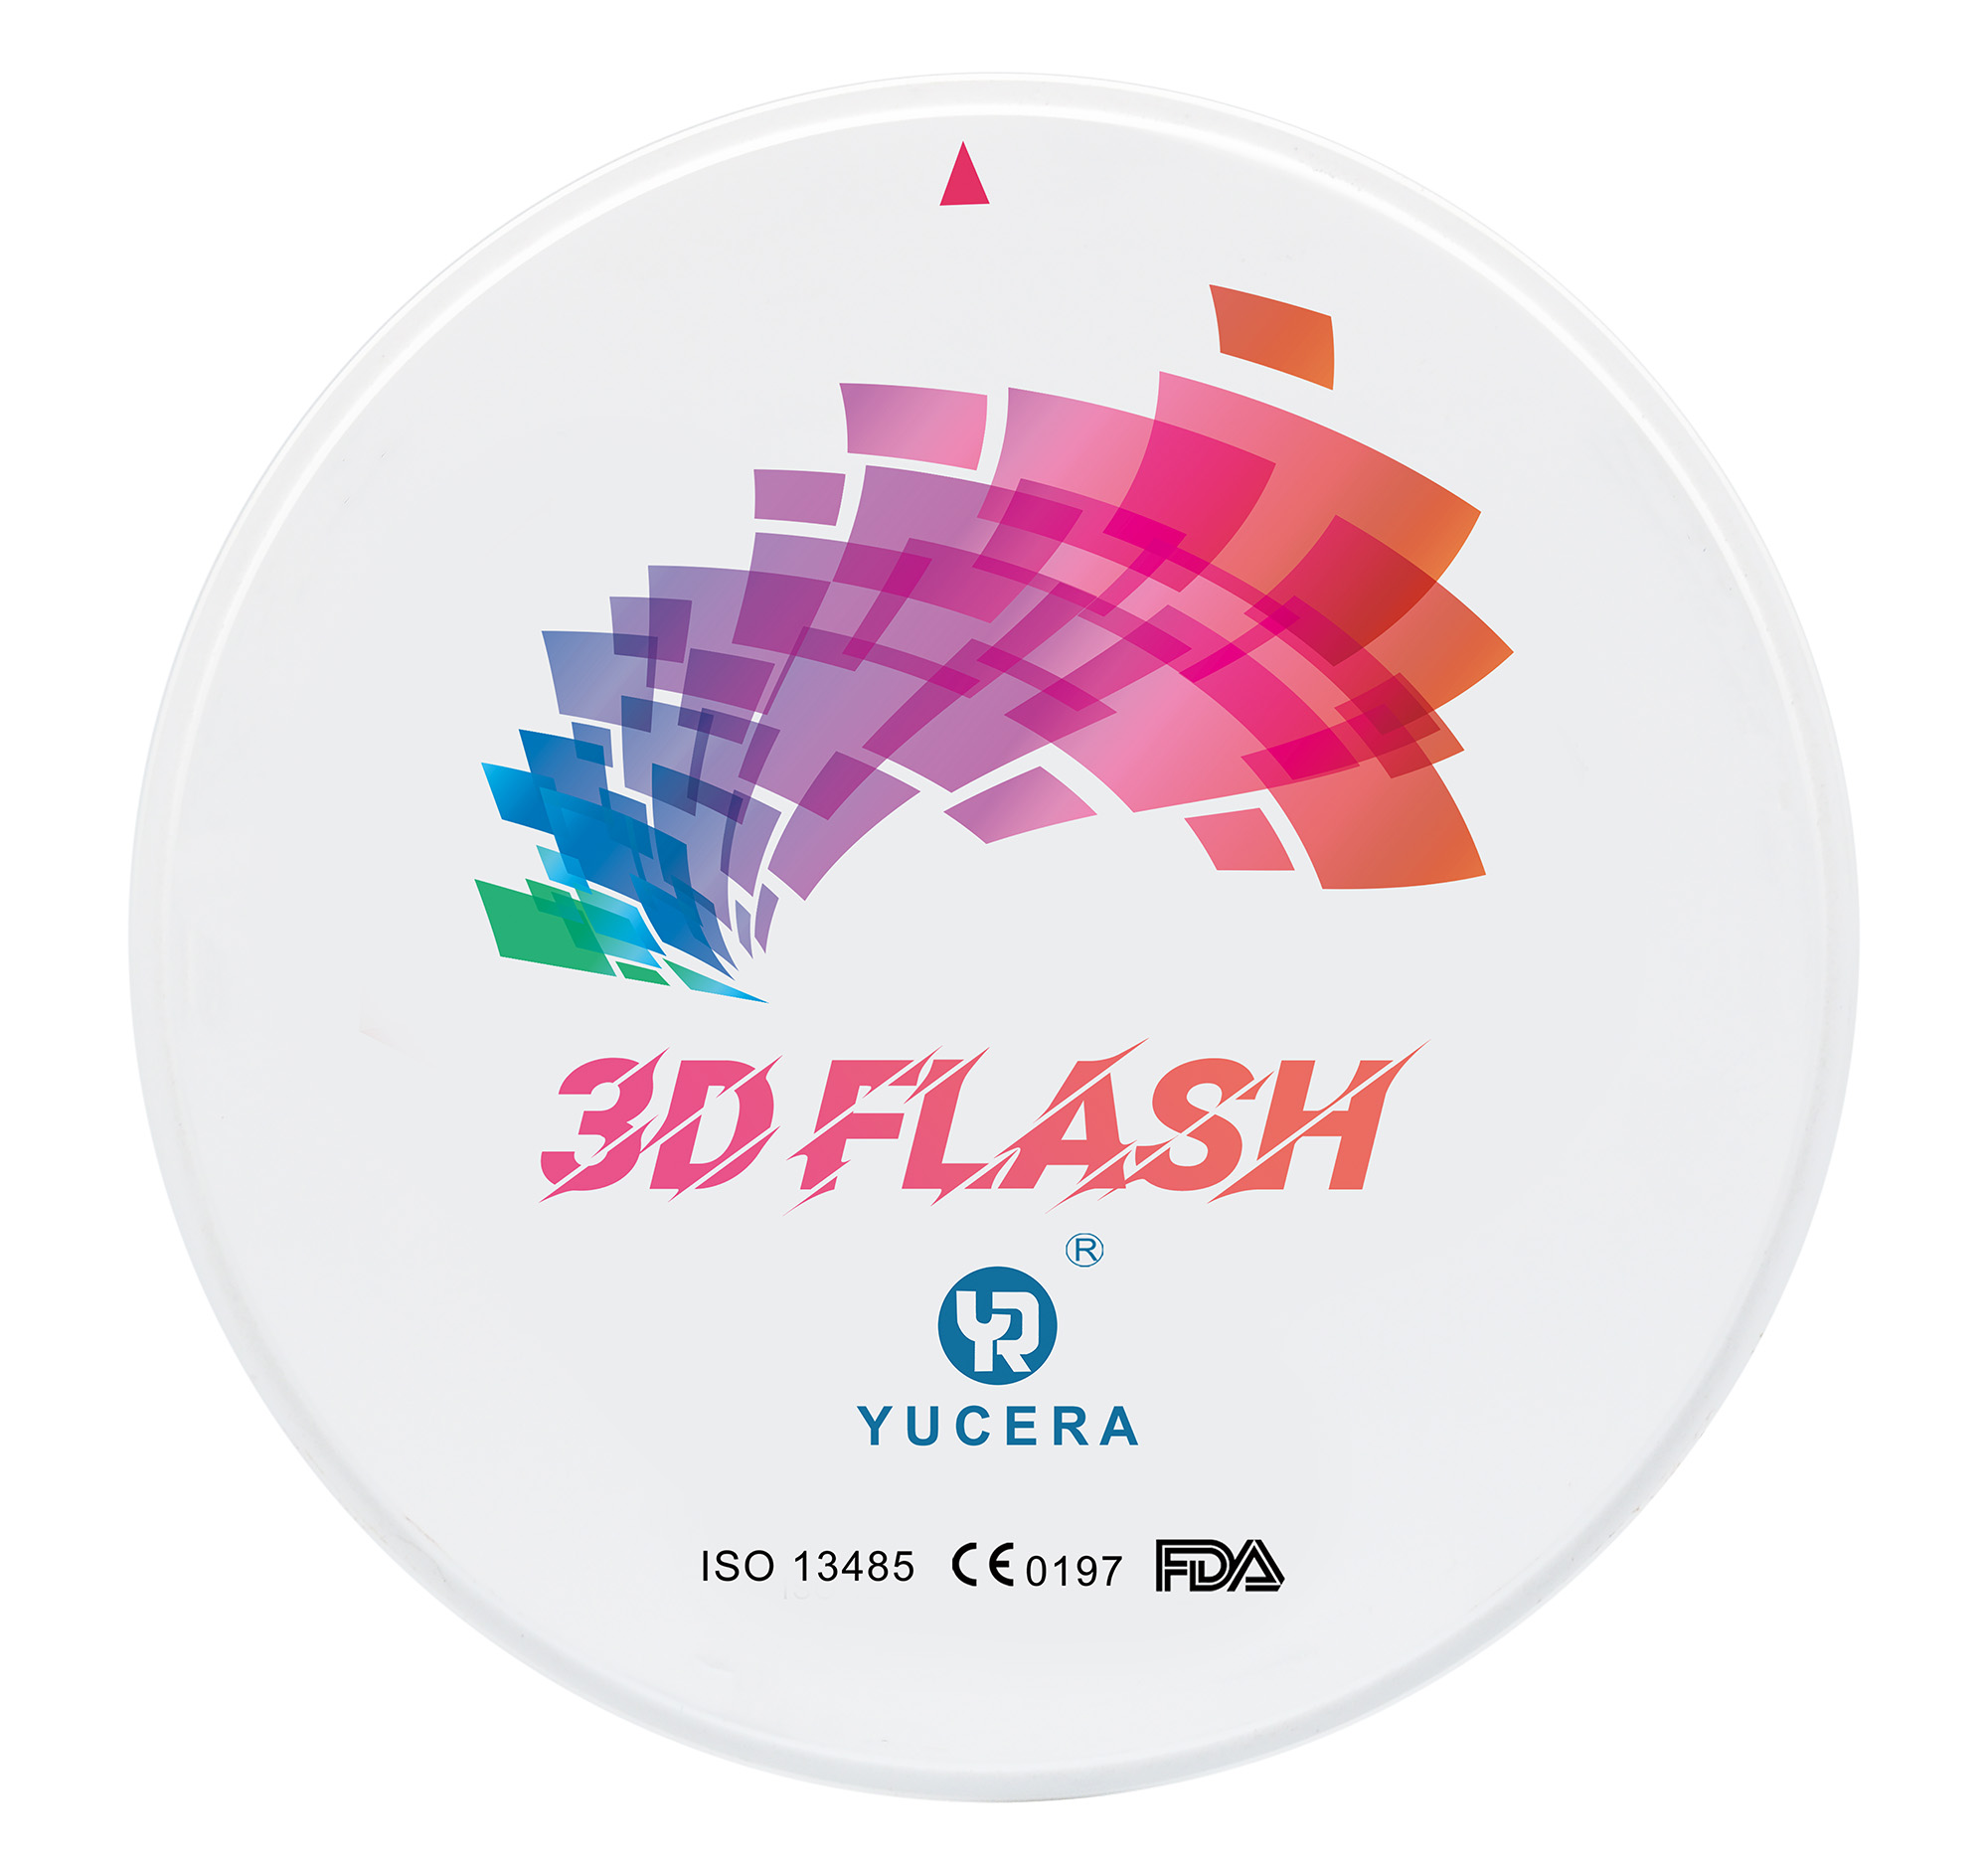
40-min full sintering with 57% incisal translucency and 1050 MPa strength.
learn more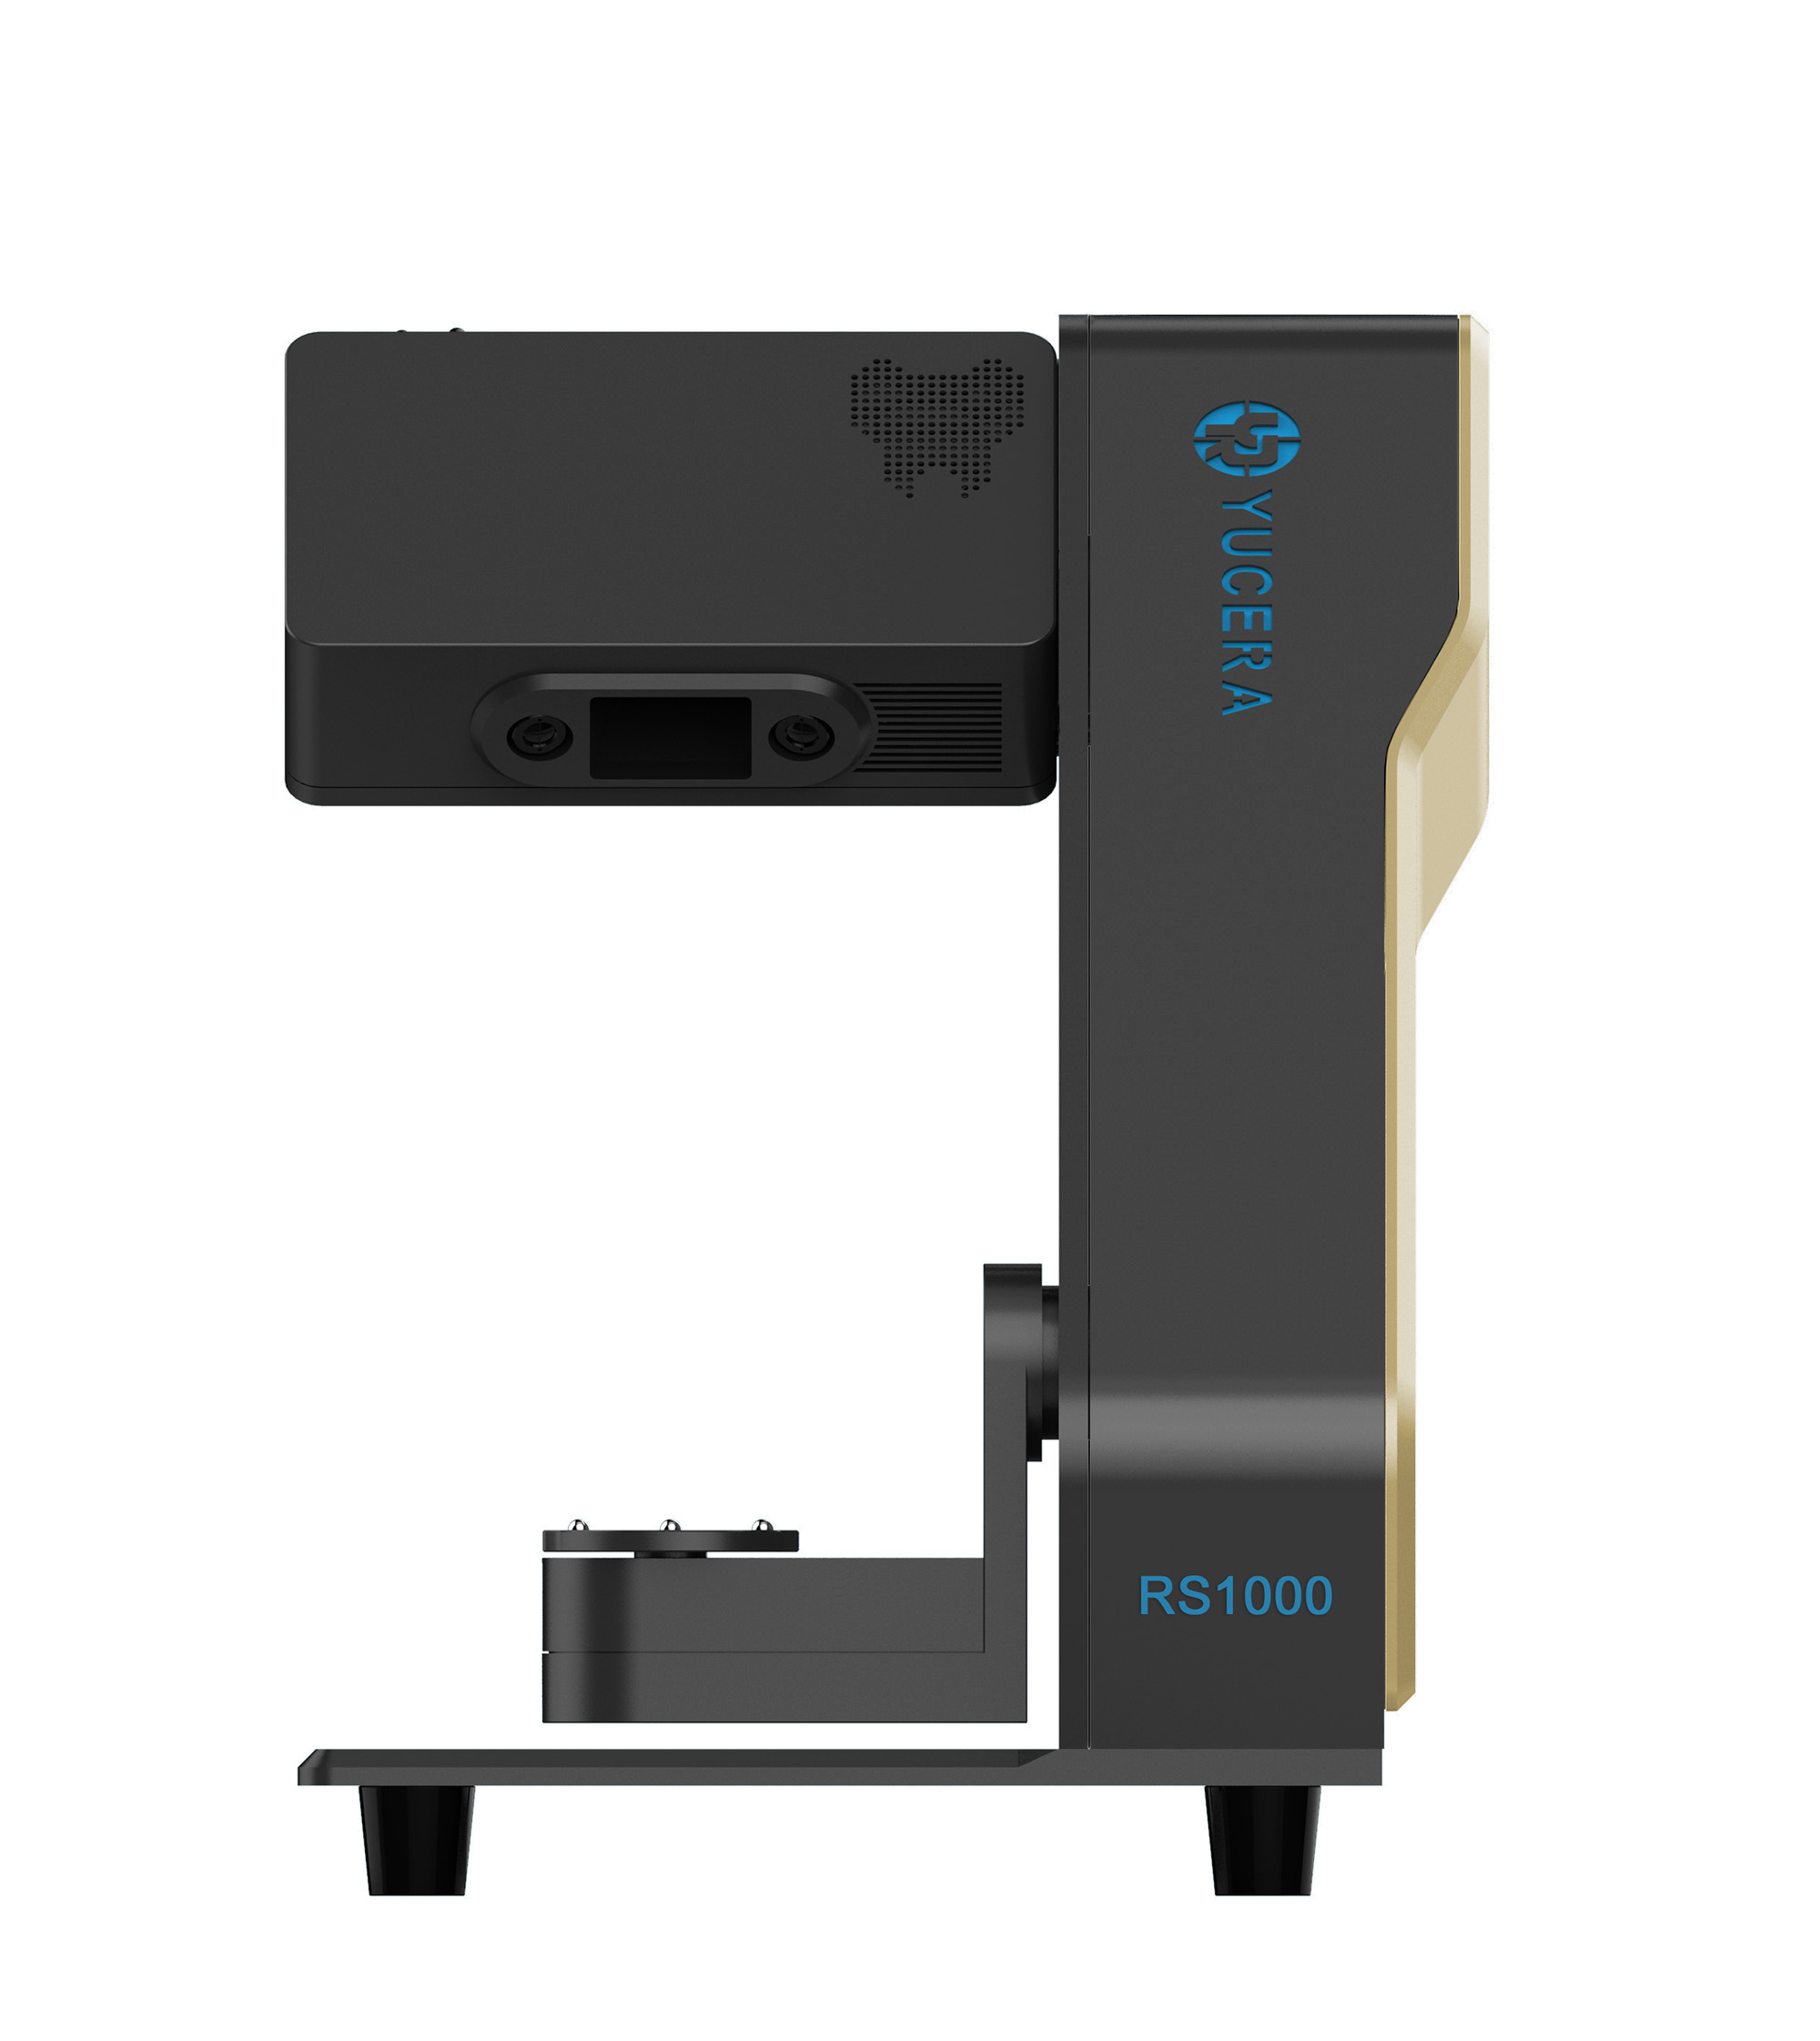

40-min cycle for 60 crowns, dual-layer crucible and 200°C/min heating.
learn more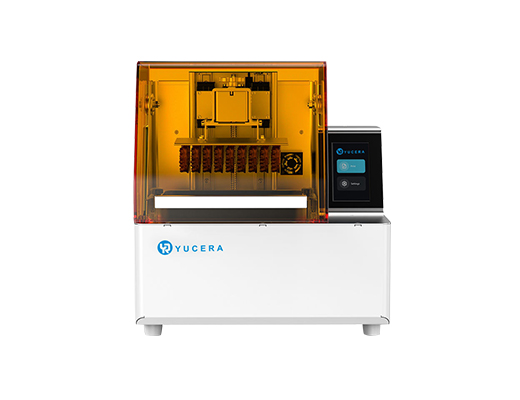
High-speed LCD printer for guides, temporaries, models with 8K resolution.
learn more