


 中 文
中 文
How Simple Workflows and the Right Materials Help Dental Labs Achieve Better Esthetics
2026-08-03
2026-07-10
Tetracycline-stained teeth remain one of the most clinically demanding aesthetic challenges in restorative dentistry. The intrinsic discoloration is deep, variable in severity, and resistant to conventional whitening — making material selection, opacity management, and treatment planning critical to a successful outcome.
This FAQ was compiled from clinical questions raised by dental professionals reviewing a full-arch anterior rehabilitation case: a 55-year-old female patient with long-standing tetracycline staining who previously had failing composite resin veneers placed at another clinic. The restorations exhibited marginal misfit and compromised aesthetics, and the patient sought replacement to improve both fit and appearance.
The case was managed collaboratively between the clinical team and dental laboratory, using a minimally invasive approach with milled lithium disilicate (glass ceramic) veneers for both maxillary and mandibular anterior teeth.

We did consider it during treatment planning, but decided against it for this case. The patient presented with a normal, stable vertical dimension of occlusion (VDO), and her primary concern was aesthetic — specifically the tetracycline discoloration and the failing previous composite veneers — not loss of vertical dimension from wear or structural compromise.
Increasing VDO is generally indicated when significant tooth wear has reduced the original vertical dimension and there is insufficient restorative space for the planned restoration. In this patient, the initial evaluation showed only mild space deficiency, so it was not considered necessary.
That said, if this were a severe wear case with collapsed VDO and limited restorative space, a Dahl approach would absolutely be on the table.
No surgical crown lengthening was performed on this case. The patient's existing gingival levels were favorable, and we were able to keep all preparation margins supragingival or at the gum line using our minimal-prep approach. This was part of our overall conservative strategy — preserve as much natural structure, including soft tissue, as possible.
Crown lengthening would be considered if gingival levels were uneven, if margins needed to be placed subgingivally for aesthetic or structural reasons, or if the clinical crown length was insufficient for retention.
We used MIP (maximum intercuspal position) as our reference position. The patient had a stable existing occlusion with normal VDO, so we captured her habitual intercuspal position using a bite registration wax record, then mounted on a semi-adjustable articulator with facebow transfer and verified stability from there.
CR (centric relation) or neuromuscular-based records would be more appropriate in cases where the existing occlusion is unstable, where significant VDO changes are planned, or where there are signs of TMD involvement.
These were milled lithium disilicate veneers. We chose milling for consistent marginal fit across all units in a full-arch case — with multiple veneers, milling reduces the variability that can occur unit-to-unit with pressed techniques.
For tetracycline masking specifically, we used a multi-layer block with surface stain and glaze characterization to control opacity properly. This approach allows precise layering of opacity without making the restorations appear chalky — one of the most common failure points in tetracycline cases.
Yes, lithium disilicate — an Emax-type glass ceramic. For anterior aesthetic cases requiring opacity control, lithium disilicate gives a good balance between masking capability, translucency management, and mechanical properties suitable for veneers.
Group function. We mounted the models on a semi-adjustable articulator with facebow transfer and confirmed stable VDO and centric relation before designing the case. The occlusal scheme was planned to distribute lateral forces across multiple posterior teeth rather than relying solely on canine guidance, which is appropriate given the extent of the anterior restoration.
Temporization for this case was handled collaboratively between the clinic and lab. We used PMMA (polymethyl methacrylate) fabricated with 3D printing technology. The patient wore the temporaries for approximately 14 days before final delivery.
PMMA temporaries serve several important functions in a case like this: they allow the patient to evaluate aesthetics and phonetics before committing to the final ceramic, give the gingival tissues time to respond to the new margin positions, and help verify the occlusal design before milling the final restorations.
We did not document the temporization process in detail for this case, but based on the interest this step generated, we are planning a more complete workflow documentation with the clinic that covers this stage specifically.
Minimal prep — approximately 0.3–0.5mm of tooth reduction. We first removed the failing old composite resin veneers, then performed conservative enamel refinement to create clean, defined finish lines. The goal was to maximize preservation of natural tooth structure throughout.
For tetracycline cases, preparation depth is a critical decision. Deeper preparation exposes darker dentine and can make masking more difficult. We aimed to stay within enamel wherever possible, using the composite removal as a guide for how much refinement was actually needed.
The full workflow for this case:
The articulator mounting step is often underestimated in full-arch cases. Getting the occlusion right before committing to the CAD design saves significant adjustment time at delivery.
The before-and-after outcome showed substantial improvement in both aesthetics and marginal fit compared to the previous composite resin restorations. The primary treatment goals — masking the tetracycline discoloration, improving marginal integrity, and restoring natural-looking anterior aesthetics — were achieved.
Key factors that contributed to the outcome:
Tetracycline rehabilitation with ceramic veneers is a technically demanding case type that rewards careful planning at every stage — from treatment planning and occlusal assessment through material selection, prep design, and lab communication. The questions raised by dental professionals reviewing this case reflect the genuine complexity involved, and we hope this FAQ provides useful clinical reference for practitioners managing similar presentations.

Dry & wet milling for zirconia, PMMA, wax with auto tool changer.
learn more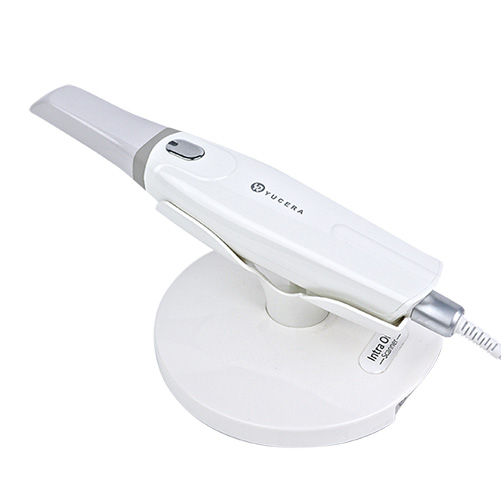
High-precision 3D scanning, AI calibration, full-arch accuracy.
learn more
40-min full sintering with 57% incisal translucency and 1050 MPa strength.
learn more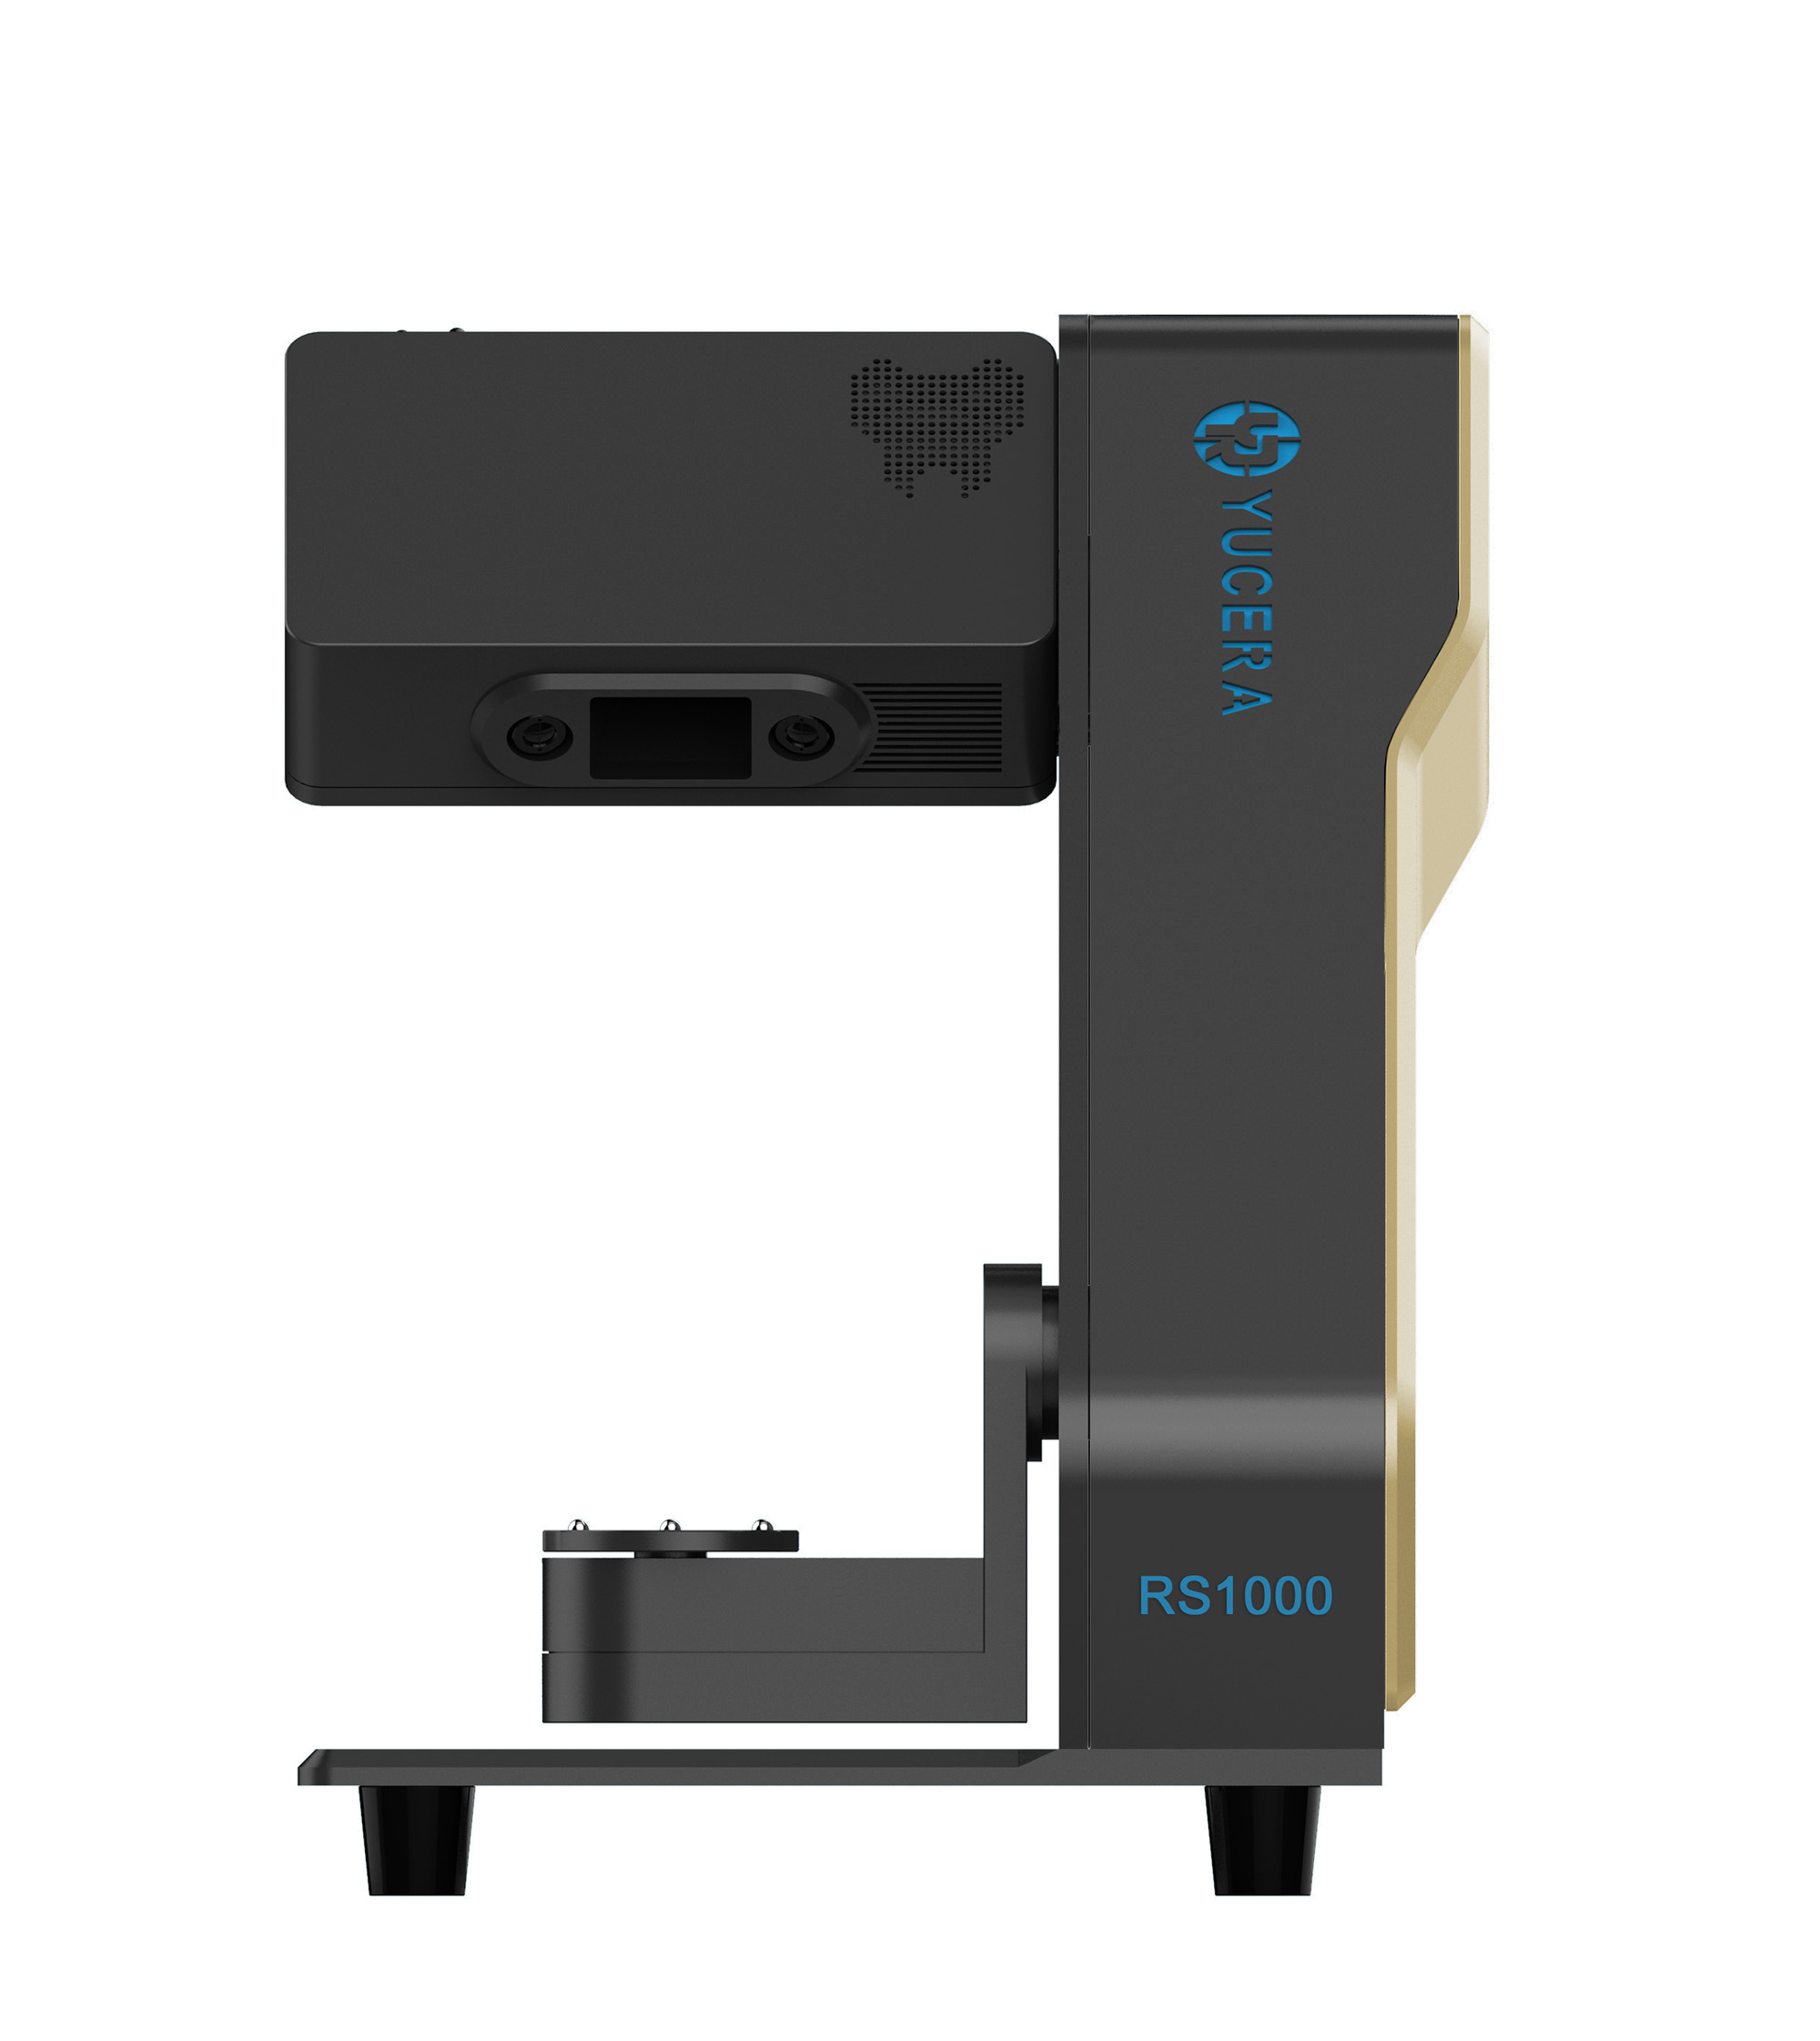
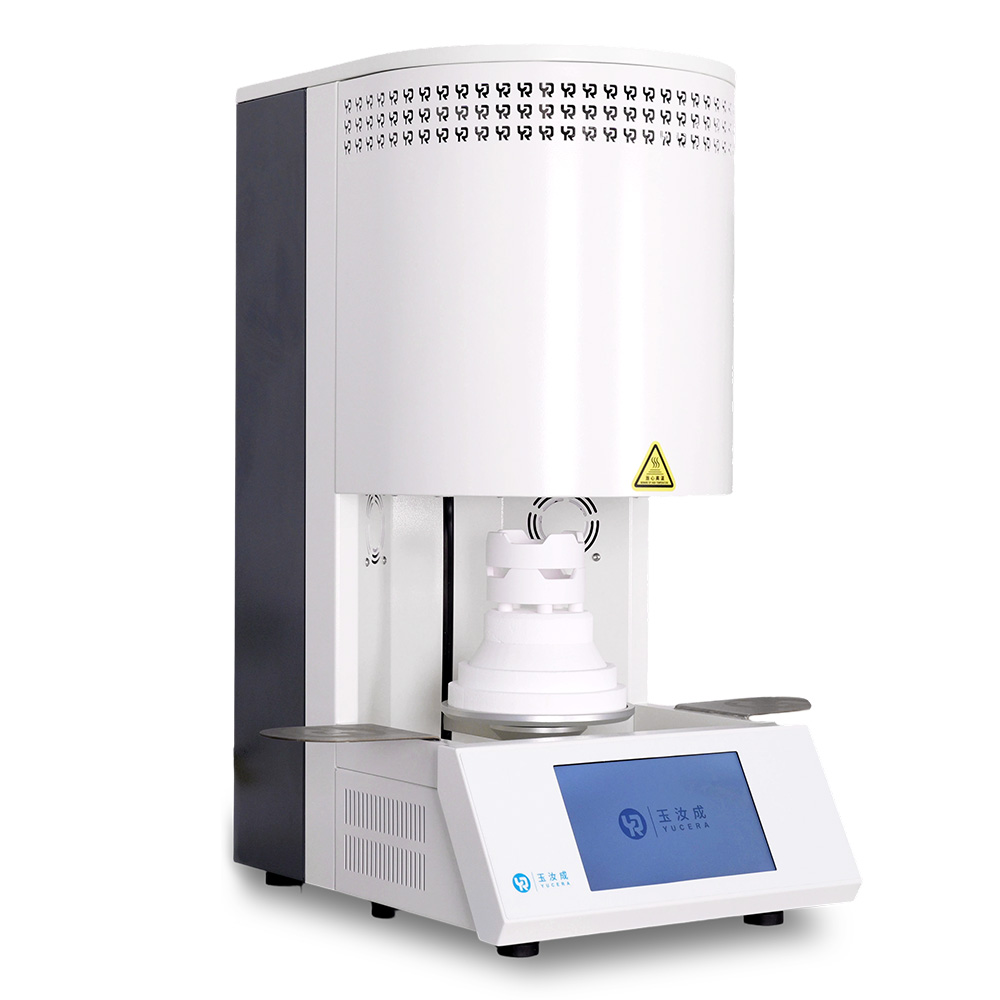
40-min cycle for 60 crowns, dual-layer crucible and 200°C/min heating.
learn more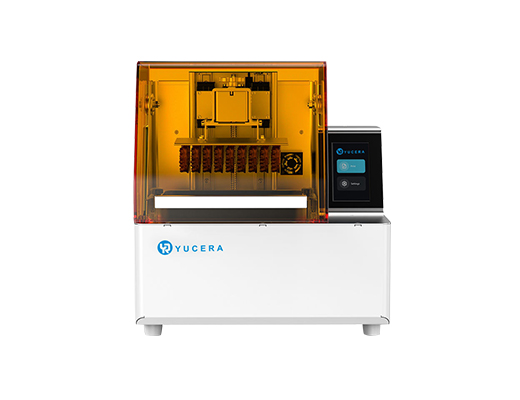
High-speed LCD printer for guides, temporaries, models with 8K resolution.
learn more


2026-08-03
2025-10-02
2026-03-23


