


 中 文
中 文
Why Do Some Fillings Require the Option of an Inlay and What Is the Difference Between an Inlay and a Filling?
2024-12-26
2026-07-05
Every successful smile makeover begins with a carefully planned treatment—not just the selection of restorative materials.
In today's clinical case, we'll walk you through the complete rehabilitation of a 55-year-old patient with long-standing tetracycline staining and failed composite veneer restorations. From the initial examination and diagnosis to digital treatment planning and the final porcelain veneer restoration, you'll see how each step contributed to a predictable esthetic outcome.
Let's take a closer look at the case.
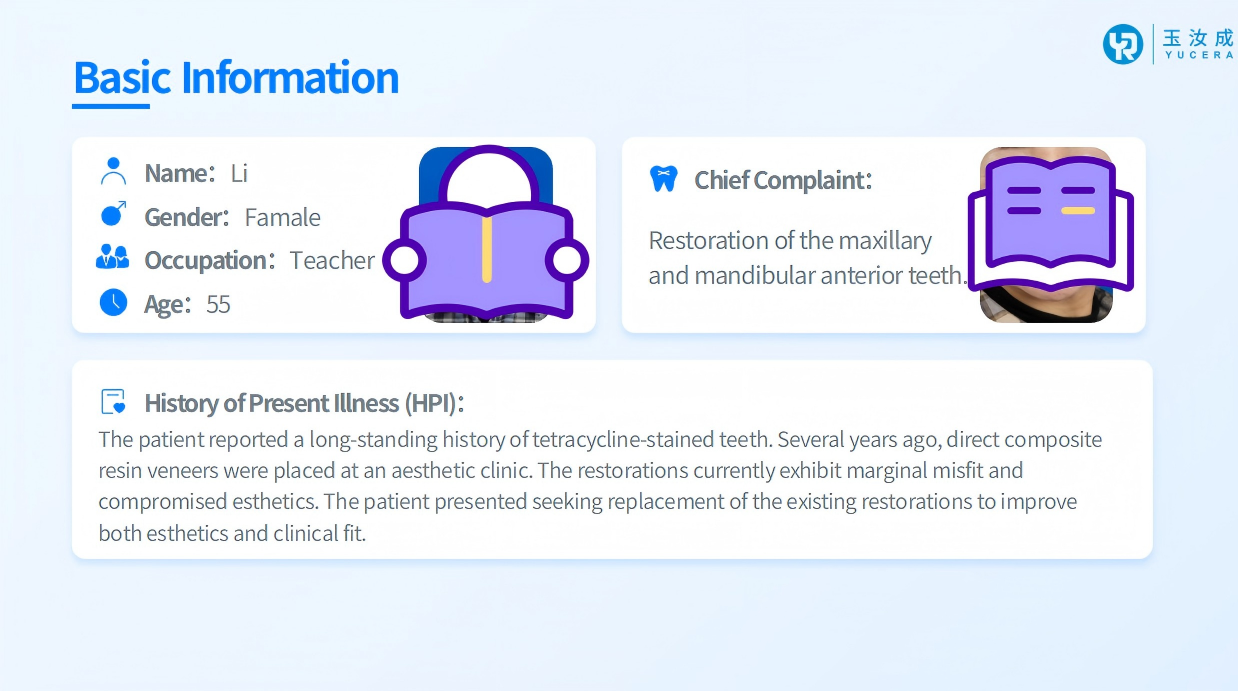
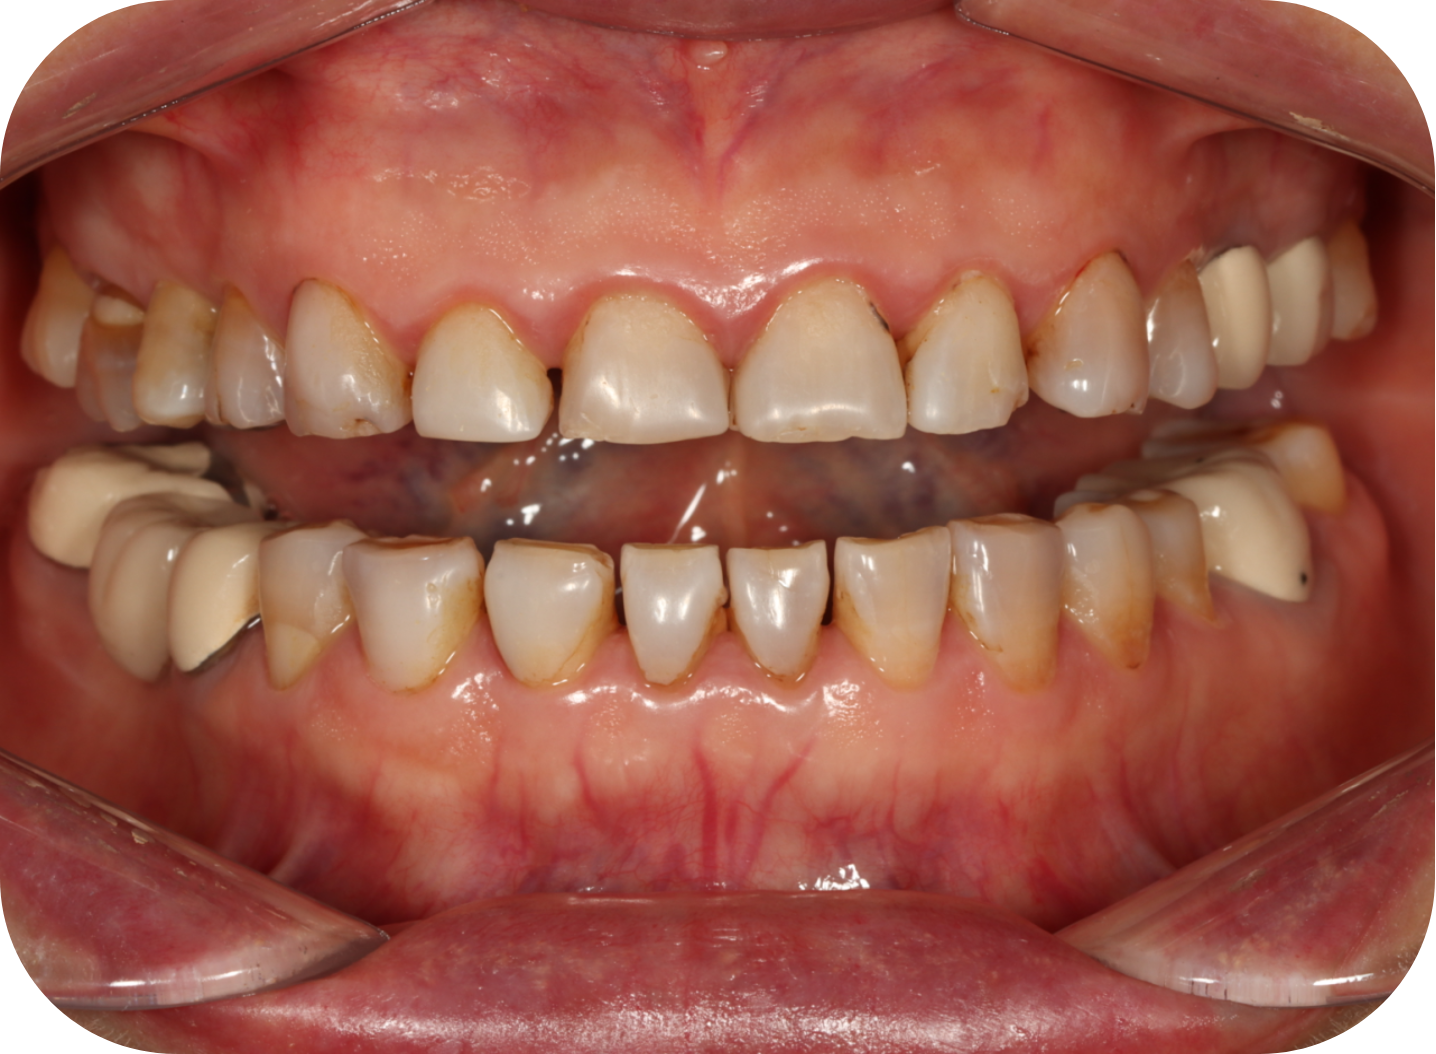
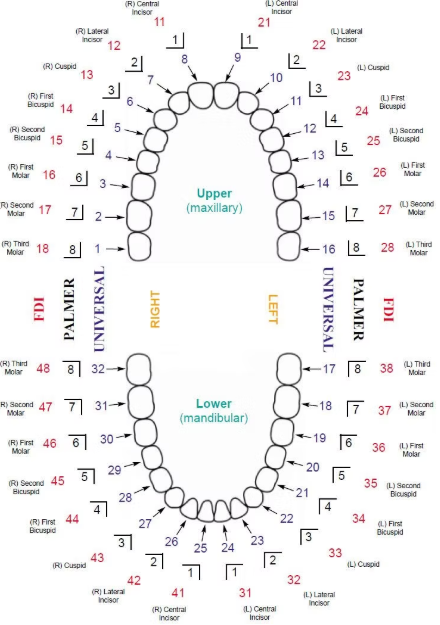
Following a comprehensive esthetic evaluation, a minimally invasive glass-ceramic veneer rehabilitation was planned to restore both function and smile esthetics while preserving as much natural tooth structure as possible.
To achieve optimal retention, esthetics, and long-term clinical performance, different preparation designs were selected according to the position and functional requirements of each tooth:
| Teeth (FDI) | Preparation Design |
|---|---|
| #13, #12, #11, #21, #22, #23 | Incisal overlap preparation (wrap-around design) |
| #14, #24 | Butt-joint preparation |
| #34–44 | Window preparation (non-incisal coverage) |
The treatment was designed to accomplish the following clinical goals:
To achieve a natural esthetic outcome while effectively masking the underlying tetracycline discoloration, the restorations were fabricated using:
Careful shade planning was performed to balance masking ability with the translucency required for a lifelike appearance.
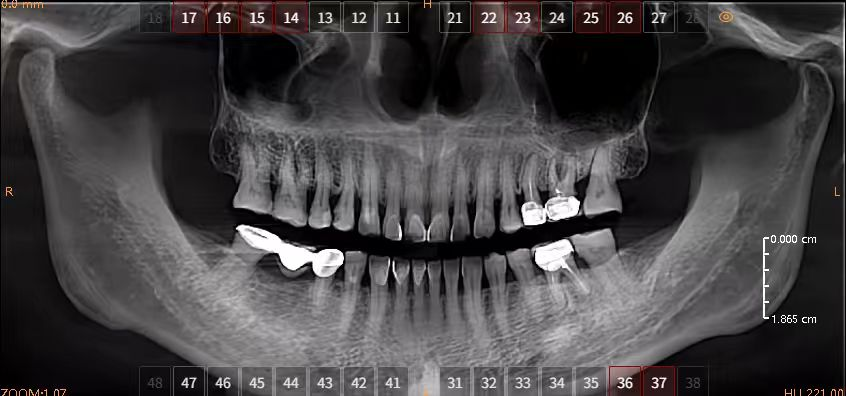
CBCT imaging was combined with the patient's existing intraoral scan and facial scan data to create a comprehensive digital workflow. The integrated datasets were used to establish the ideal three-dimensional restorative position, and provisional restorations were fabricated to evaluate esthetics, function, and occlusion before final treatment.
Successful veneer restorations begin with precise tooth preparation. The preparation in this case followed the principle of minimal intervention, aiming to preserve as much healthy tooth structure as possible while creating adequate space for the definitive restorations.
The preparation was guided by three core principles:
This conservative approach provides a strong foundation for long-term adhesion and natural esthetic outcomes.
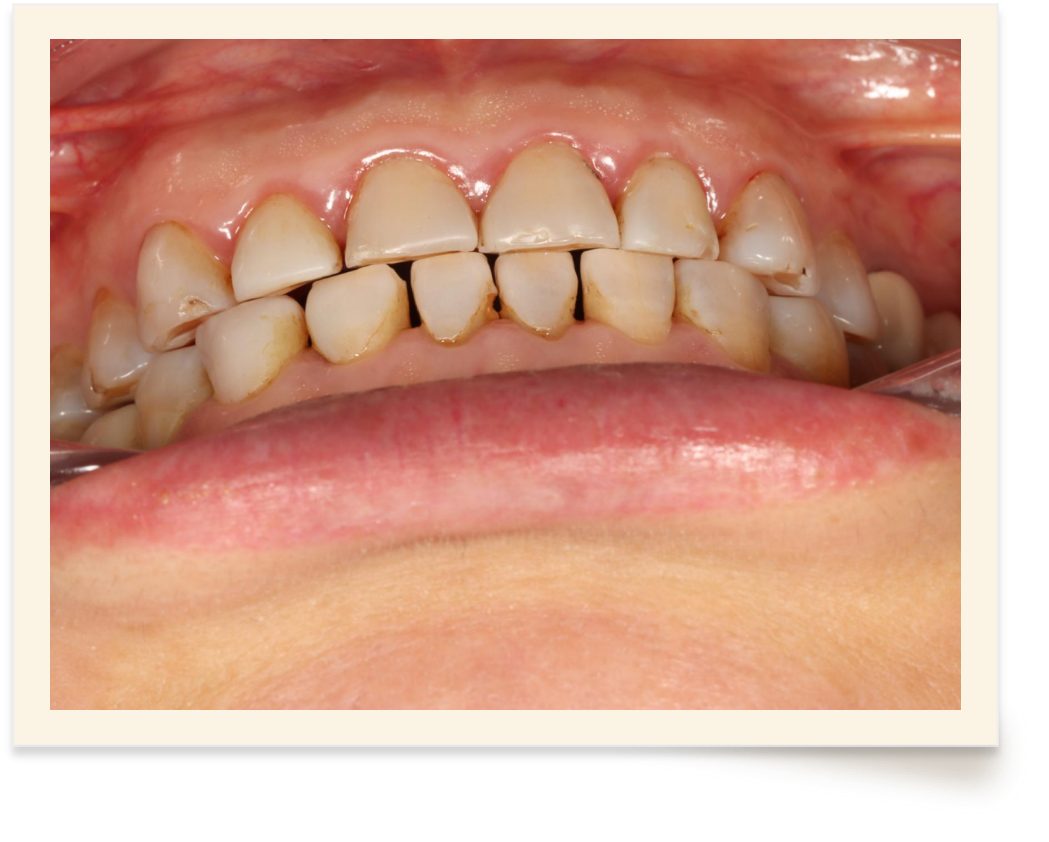
After tooth preparation was completed, the preparations were carefully evaluated from multiple clinical perspectives.
The assessment confirmed that:
The completed preparations provided an accurate foundation for the subsequent digital design and fabrication of the definitive restorations.
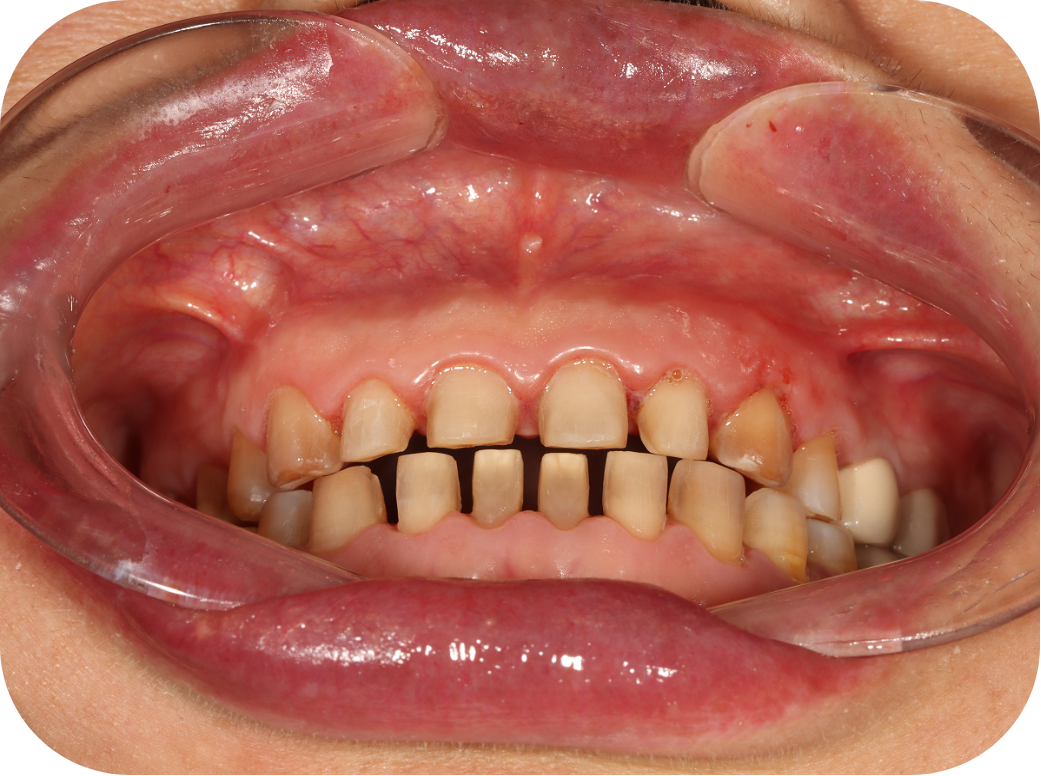
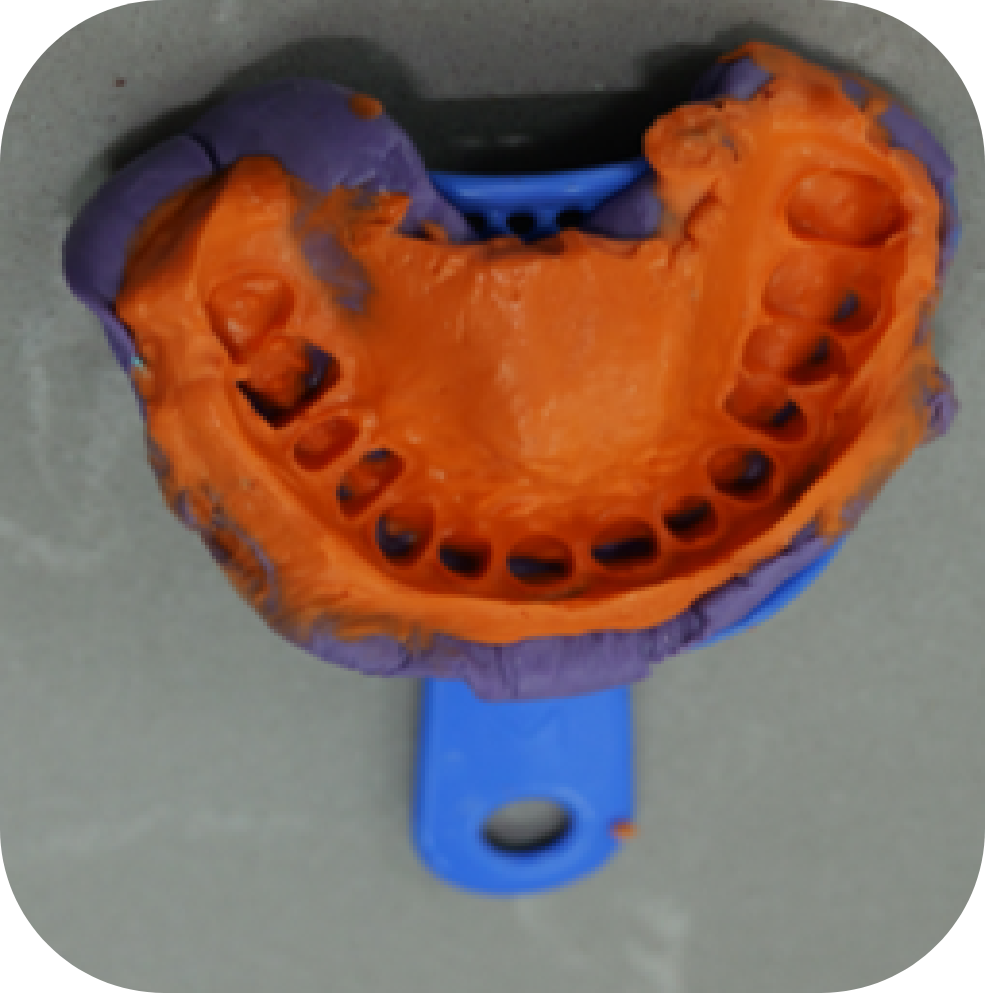
Once the preparations had been verified, high-precision impressions were obtained to accurately capture the prepared teeth and surrounding soft tissues.
The clinical workflow included:
Accurate impressions are essential for achieving precise marginal adaptation and ensuring the long-term success of ceramic veneer restorations.
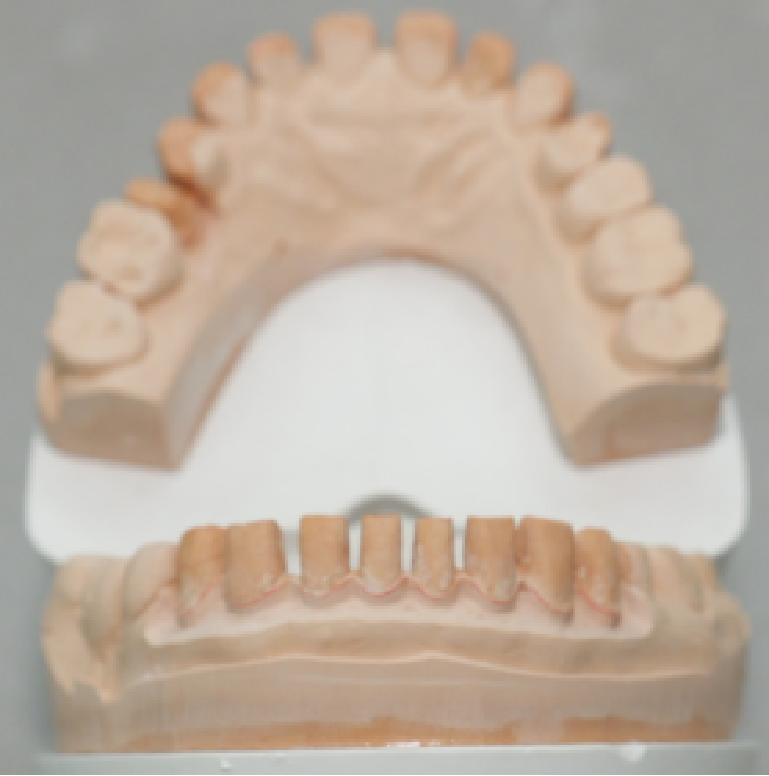
After the clinical records were transferred to the dental laboratory, the restorative workflow followed a standardized digital CAD/CAM process to ensure accuracy, esthetics, and functional performance.
Although digital dentistry is rapidly evolving, accurately prepared master casts remain an essential reference in many restorative workflows.
The laboratory technician carefully refined the working models under approximately 20× magnification to ensure precise margin identification.
The procedure included:
Precise margin identification is critical for achieving excellent marginal adaptation and minimizing cement gaps in the final restorations.
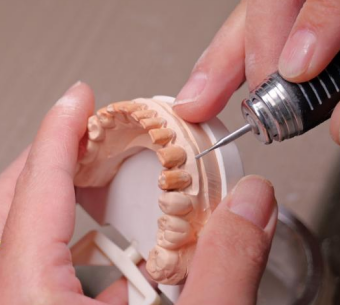
Accurate occlusal registration is essential for producing restorations with proper function and long-term stability.
The technician verified the maxillomandibular relationship by:
The articulator reproduced the patient's occlusal relationship, providing a reliable reference for restoration design and functional adjustment.
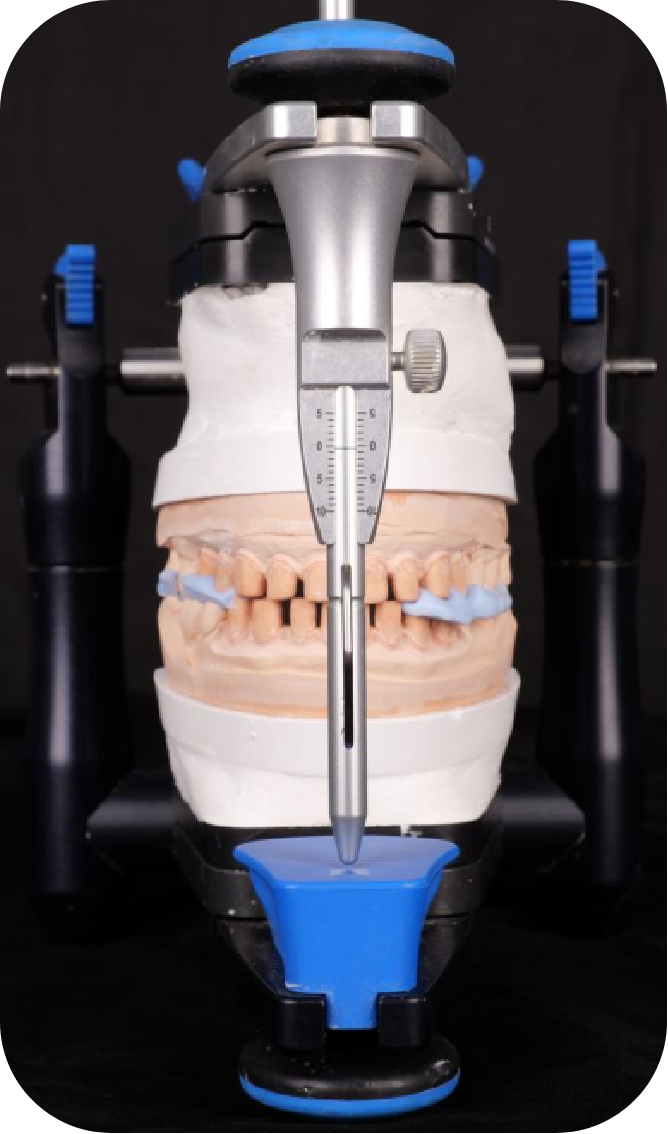
Before digital design, the mounted casts were carefully evaluated.
The technician confirmed that:
A stable occlusal relationship provides the foundation for predictable veneer fabrication and long-term clinical success.
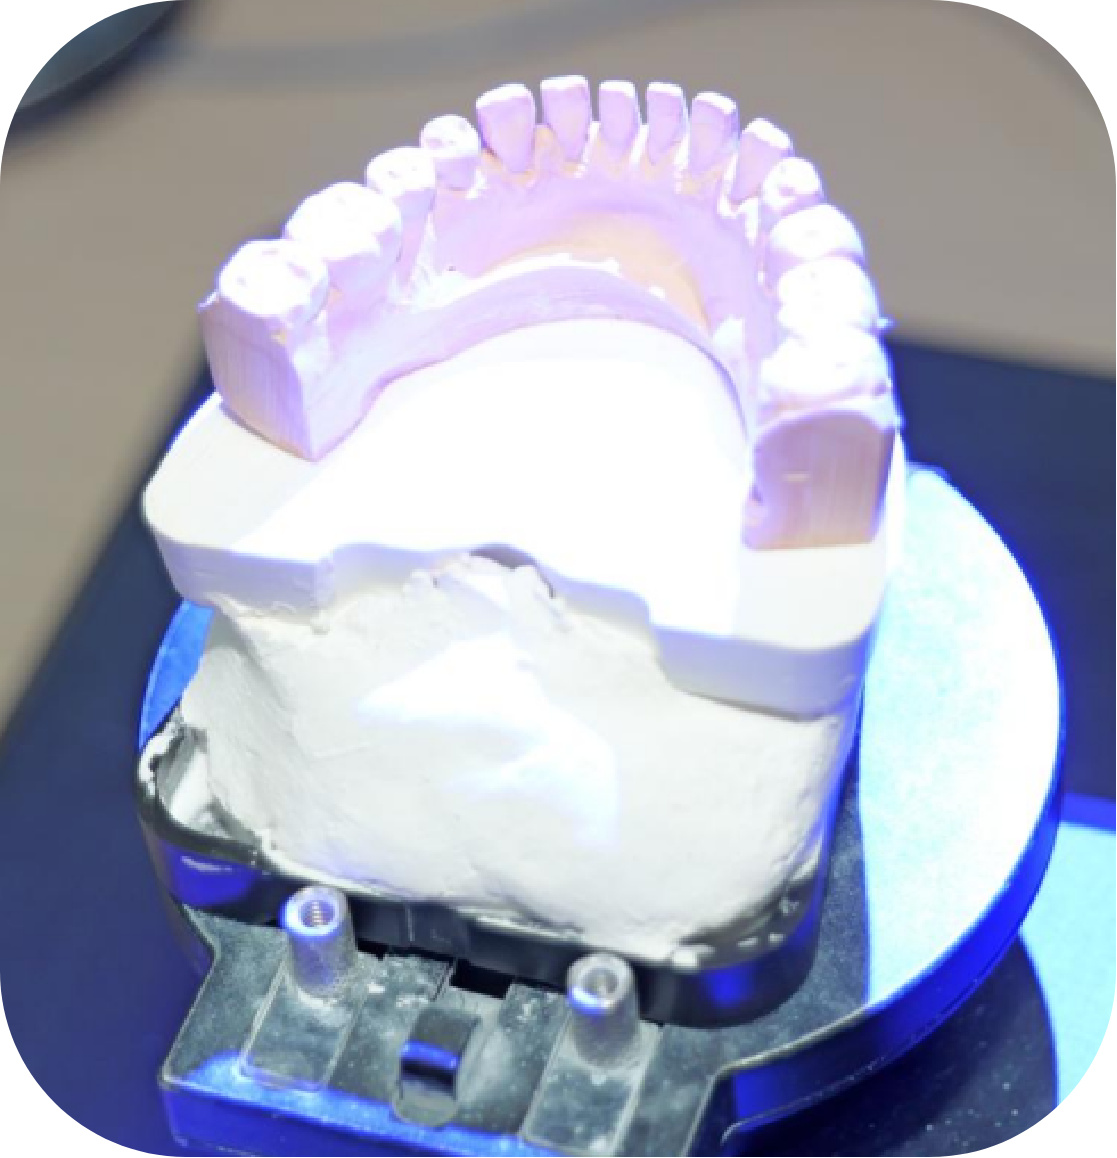
The mounted stone models were digitized using a high-precision laboratory scanner.
The scanning workflow included:
After registration, complete digital models with accurate occlusal relationships were generated for CAD design.
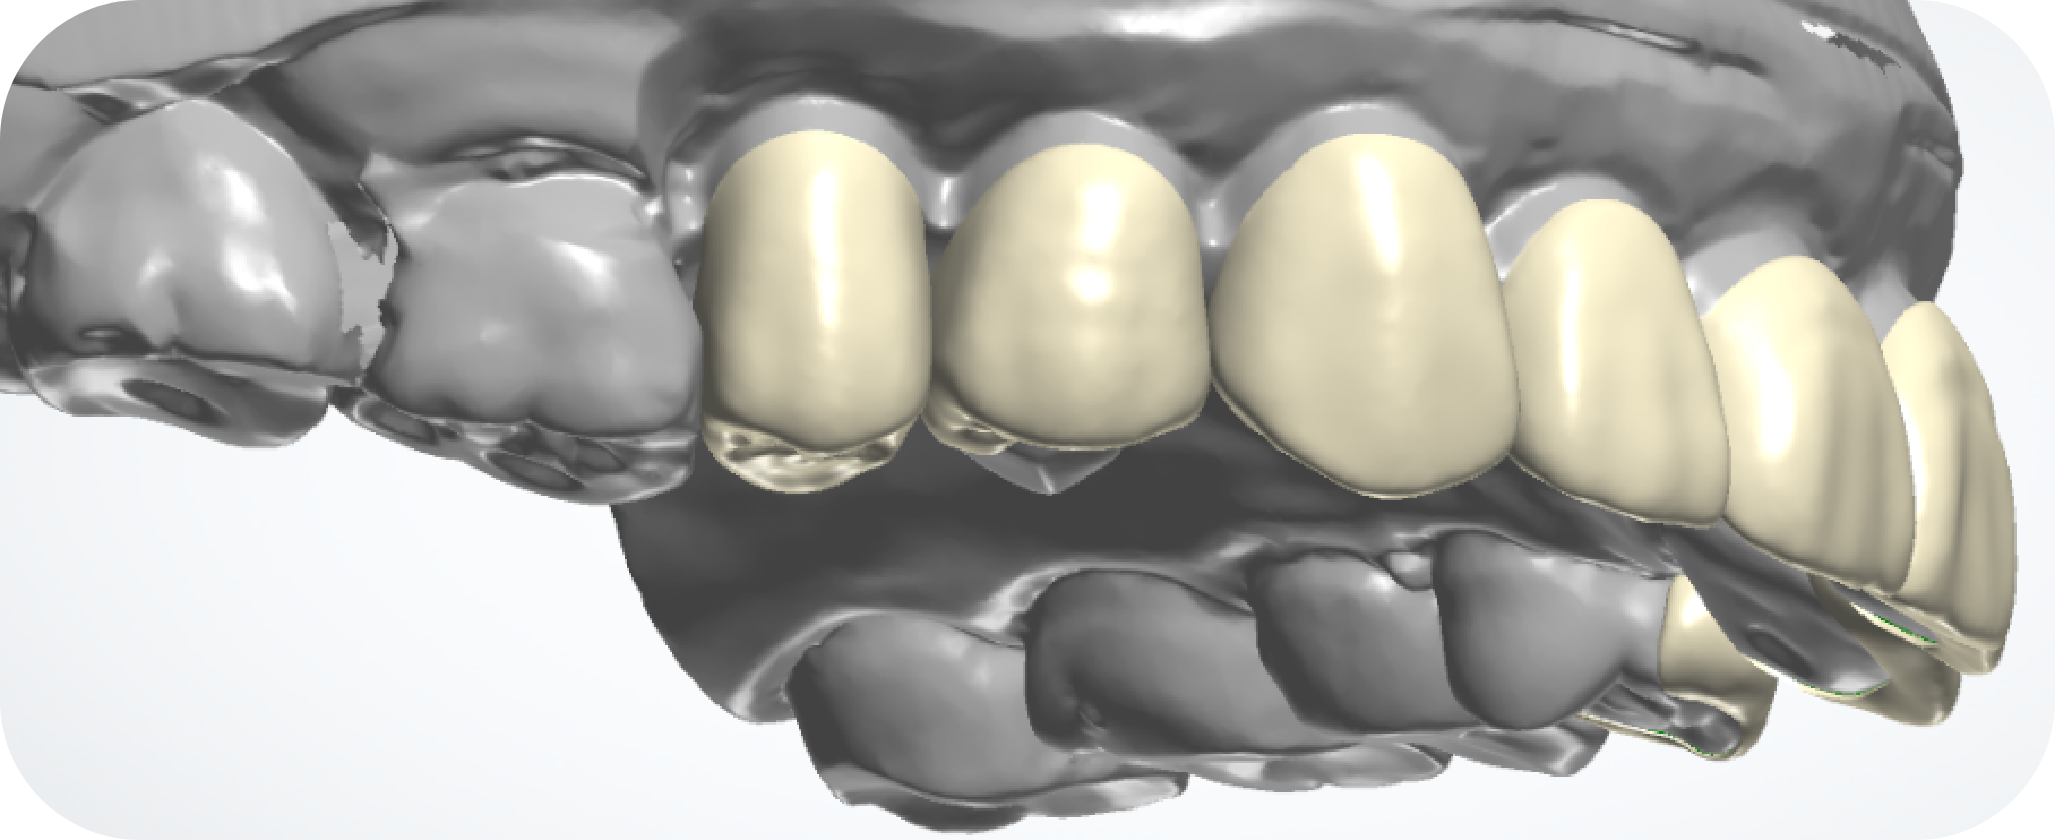
Based on the digital models and the clinician's treatment objectives, the restorations were virtually designed.
The technician evaluated multiple esthetic parameters, including:
The software automatically generated the preliminary veneer morphology, which was then refined manually to achieve optimal esthetics and function.
The veneer restorations were finalized using CAD software.
During the design process, the technician carefully adjusted:
For veneers with incisal overlap preparation, the insertion path was optimized to ensure complete seating while maintaining marginal accuracy.
Accurate margin definition is one of the most critical factors influencing the long-term success of porcelain veneers.
Before manufacturing, the digital restorations underwent another occlusal verification.
The technician confirmed:
These adjustments help reduce the risk of ceramic chipping and improve long-term functional performance.
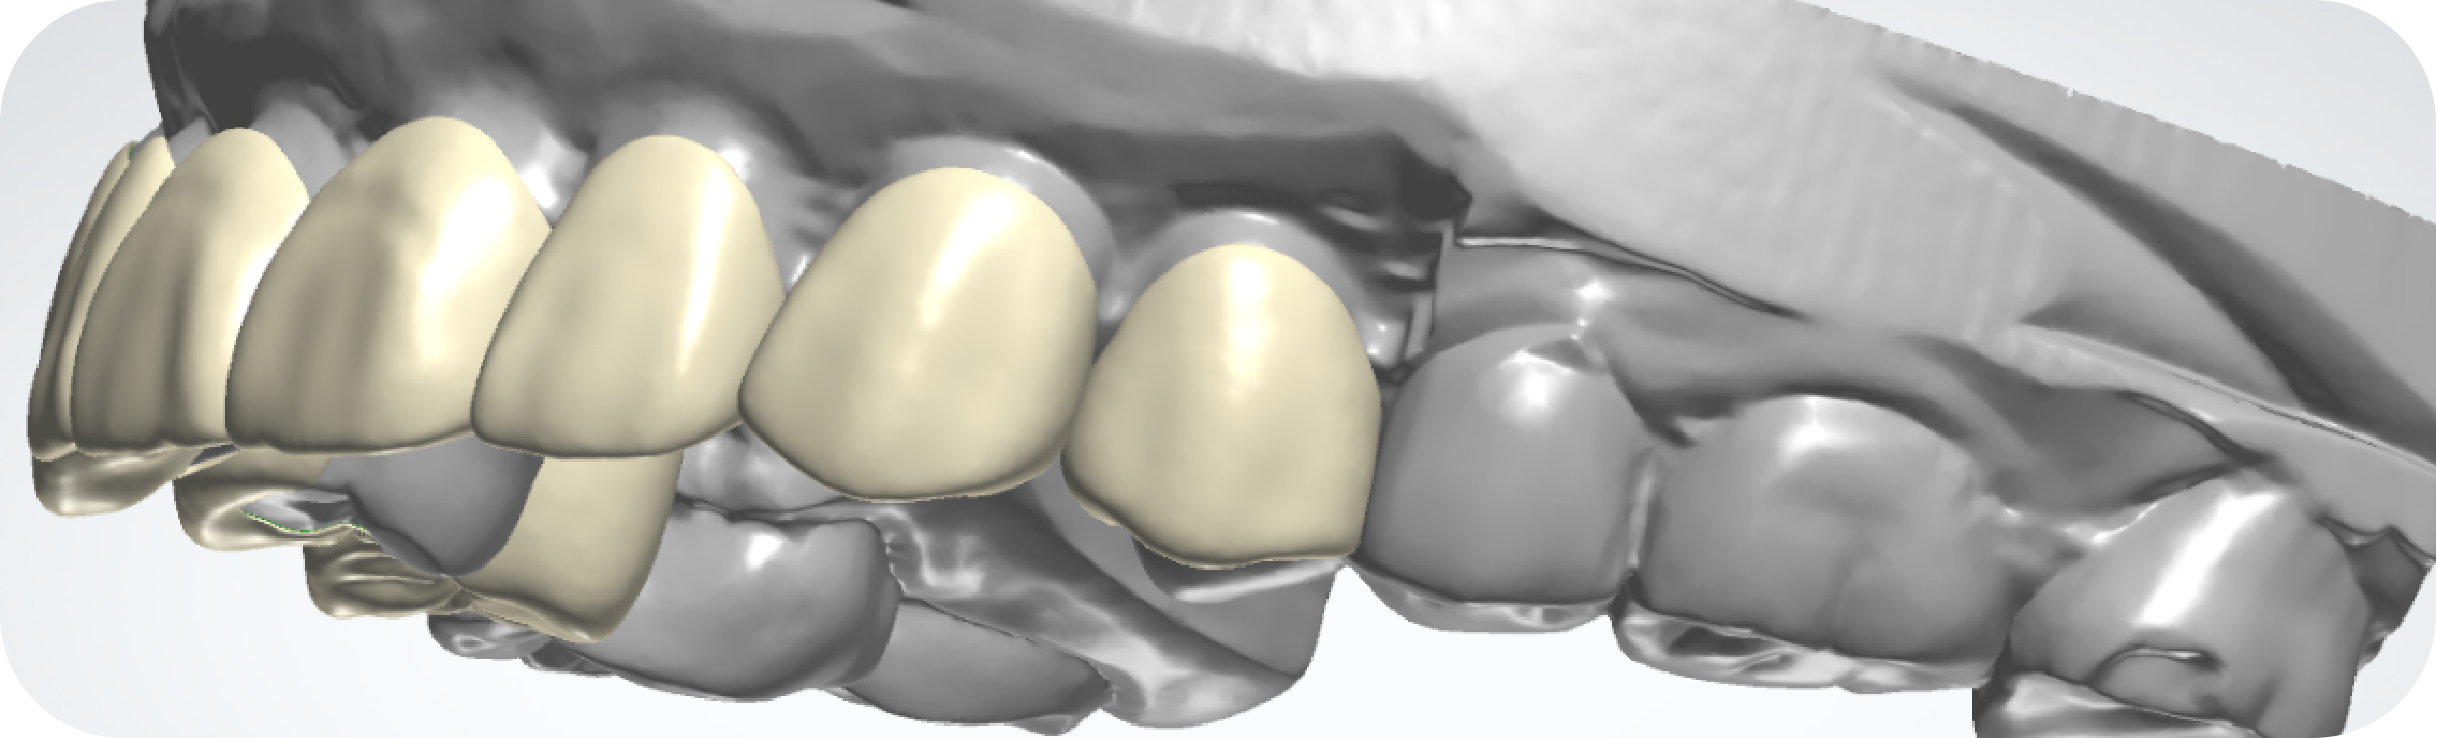
Once the CAD design was approved, the restorations entered the CAM production stage.
The manufacturing workflow included:
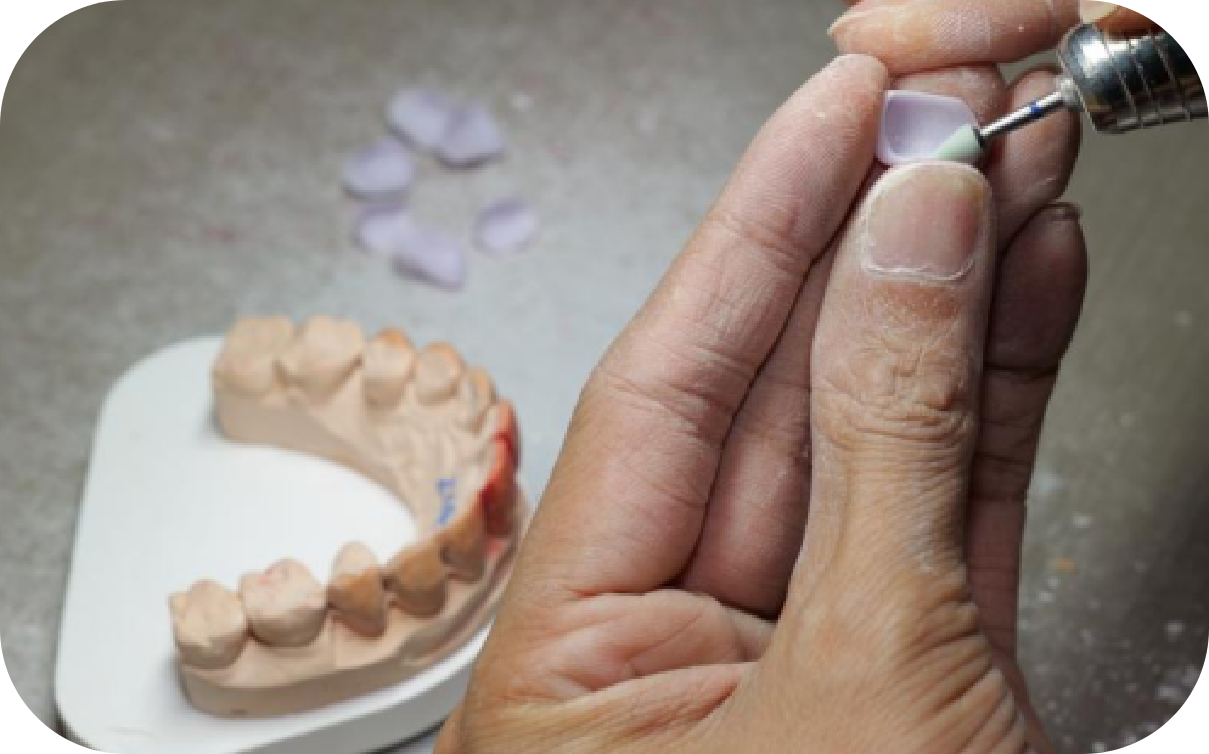
Each restoration was fabricated according to the approved digital design to ensure high dimensional accuracy and excellent esthetics.
Before delivery, every restoration underwent a comprehensive quality inspection.
The quality control process included evaluation of:
Only restorations that met the laboratory's quality standards proceeded to clinical delivery.
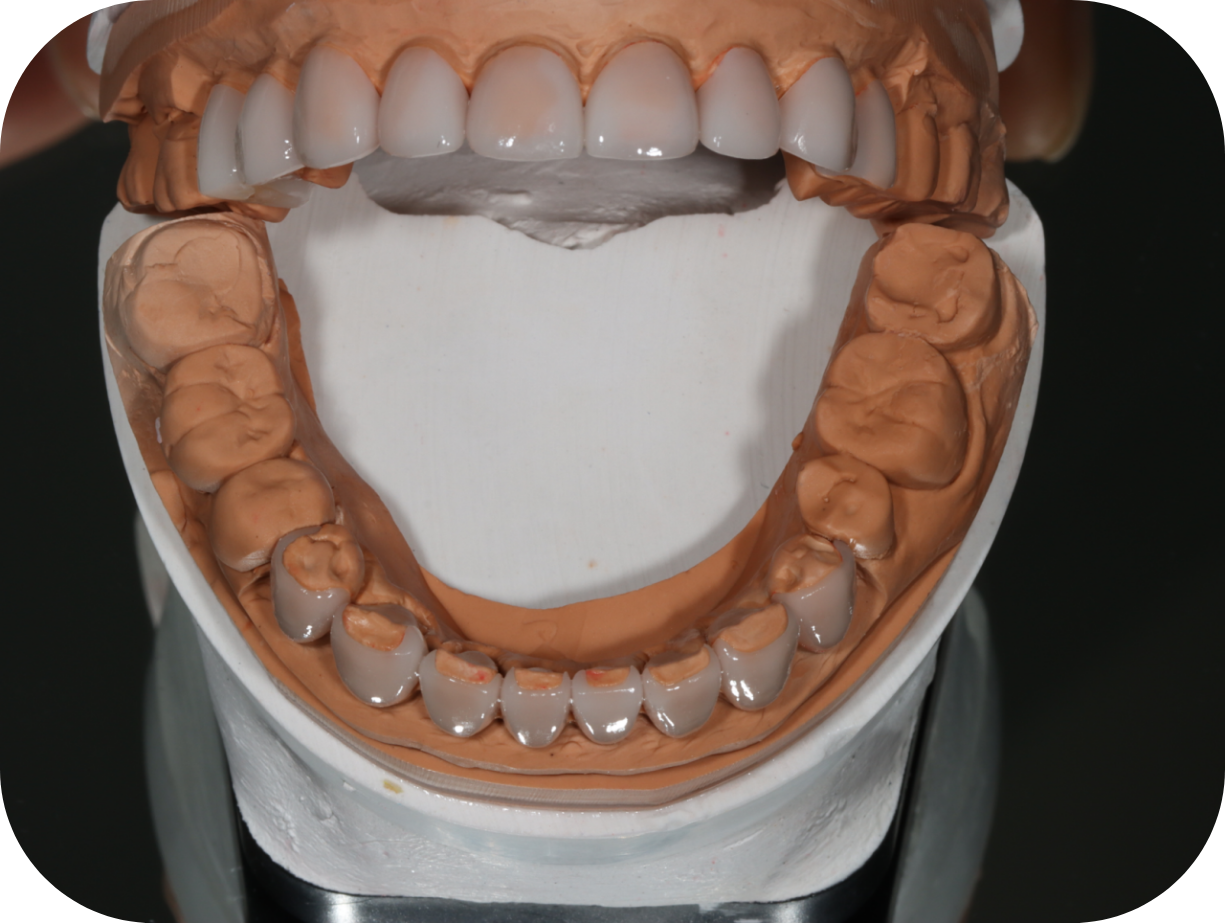
After completing laboratory fabrication and quality inspection, the restorations were returned to the dental clinic for try-in and adhesive bonding.
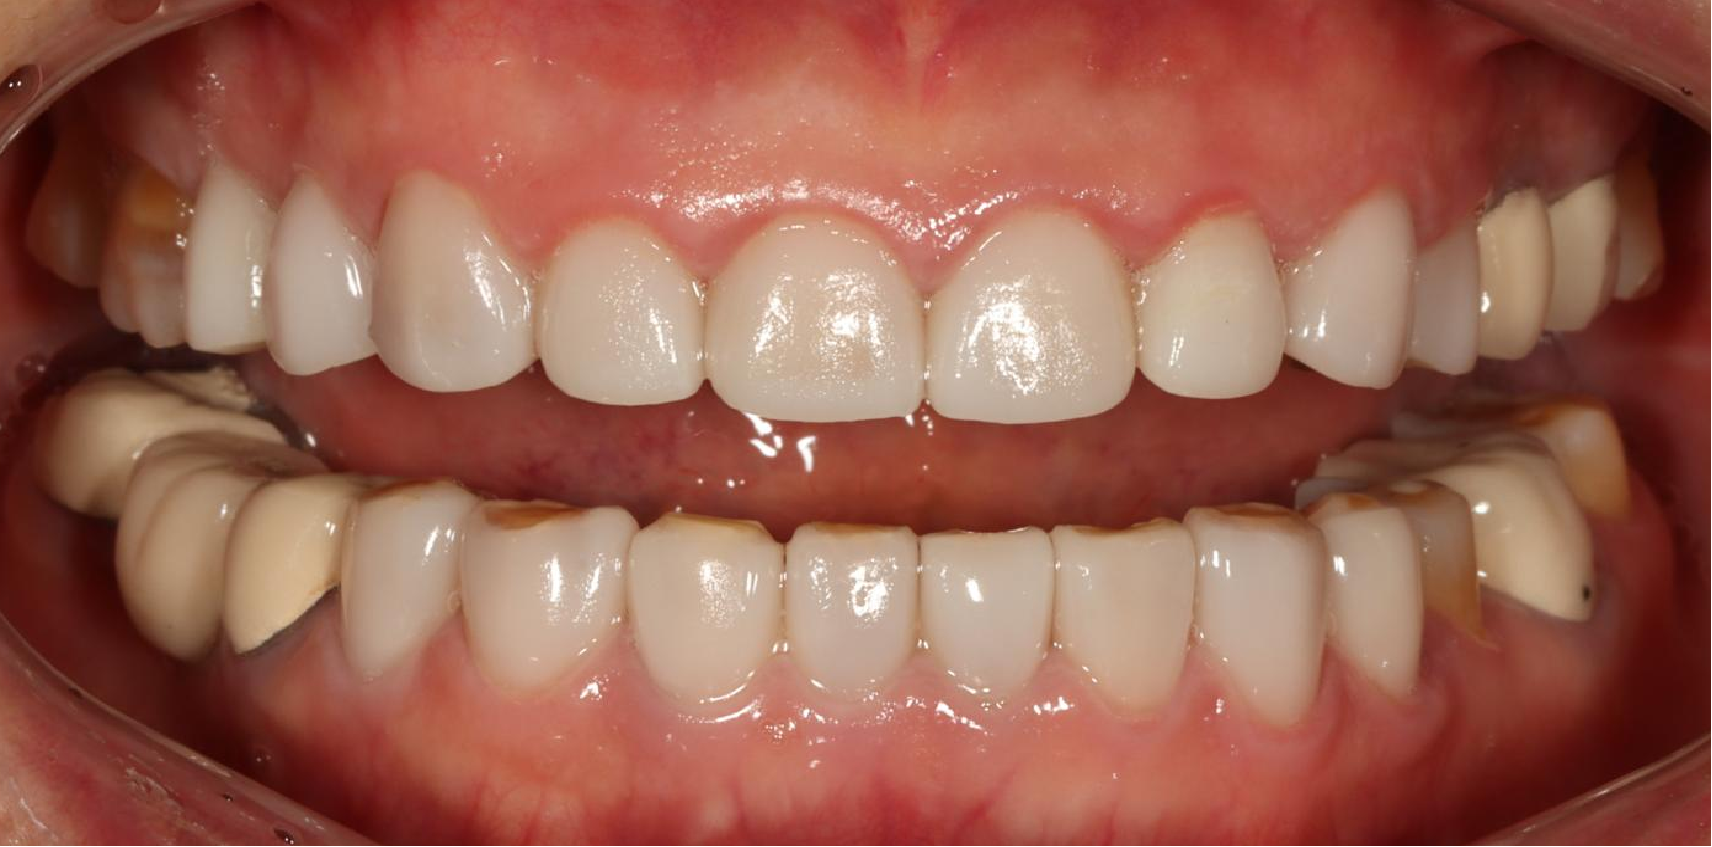
The final restorations demonstrated:
Excellent marginal adaptation
Harmonious smile esthetics
Natural translucency
Stable occlusion
Improved patient satisfaction
Let's take a look at the final clinical outcome.

Dry & wet milling for zirconia, PMMA, wax with auto tool changer.
learn more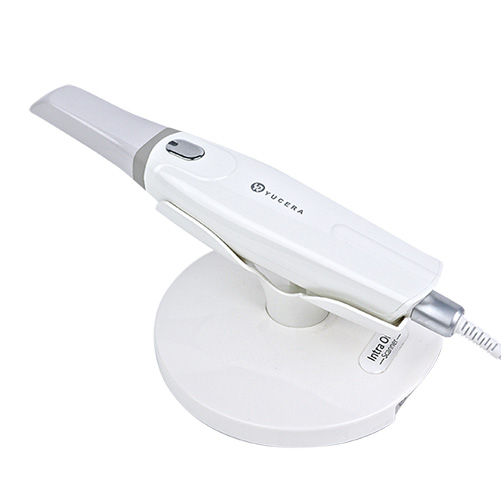
High-precision 3D scanning, AI calibration, full-arch accuracy.
learn more
40-min full sintering with 57% incisal translucency and 1050 MPa strength.
learn more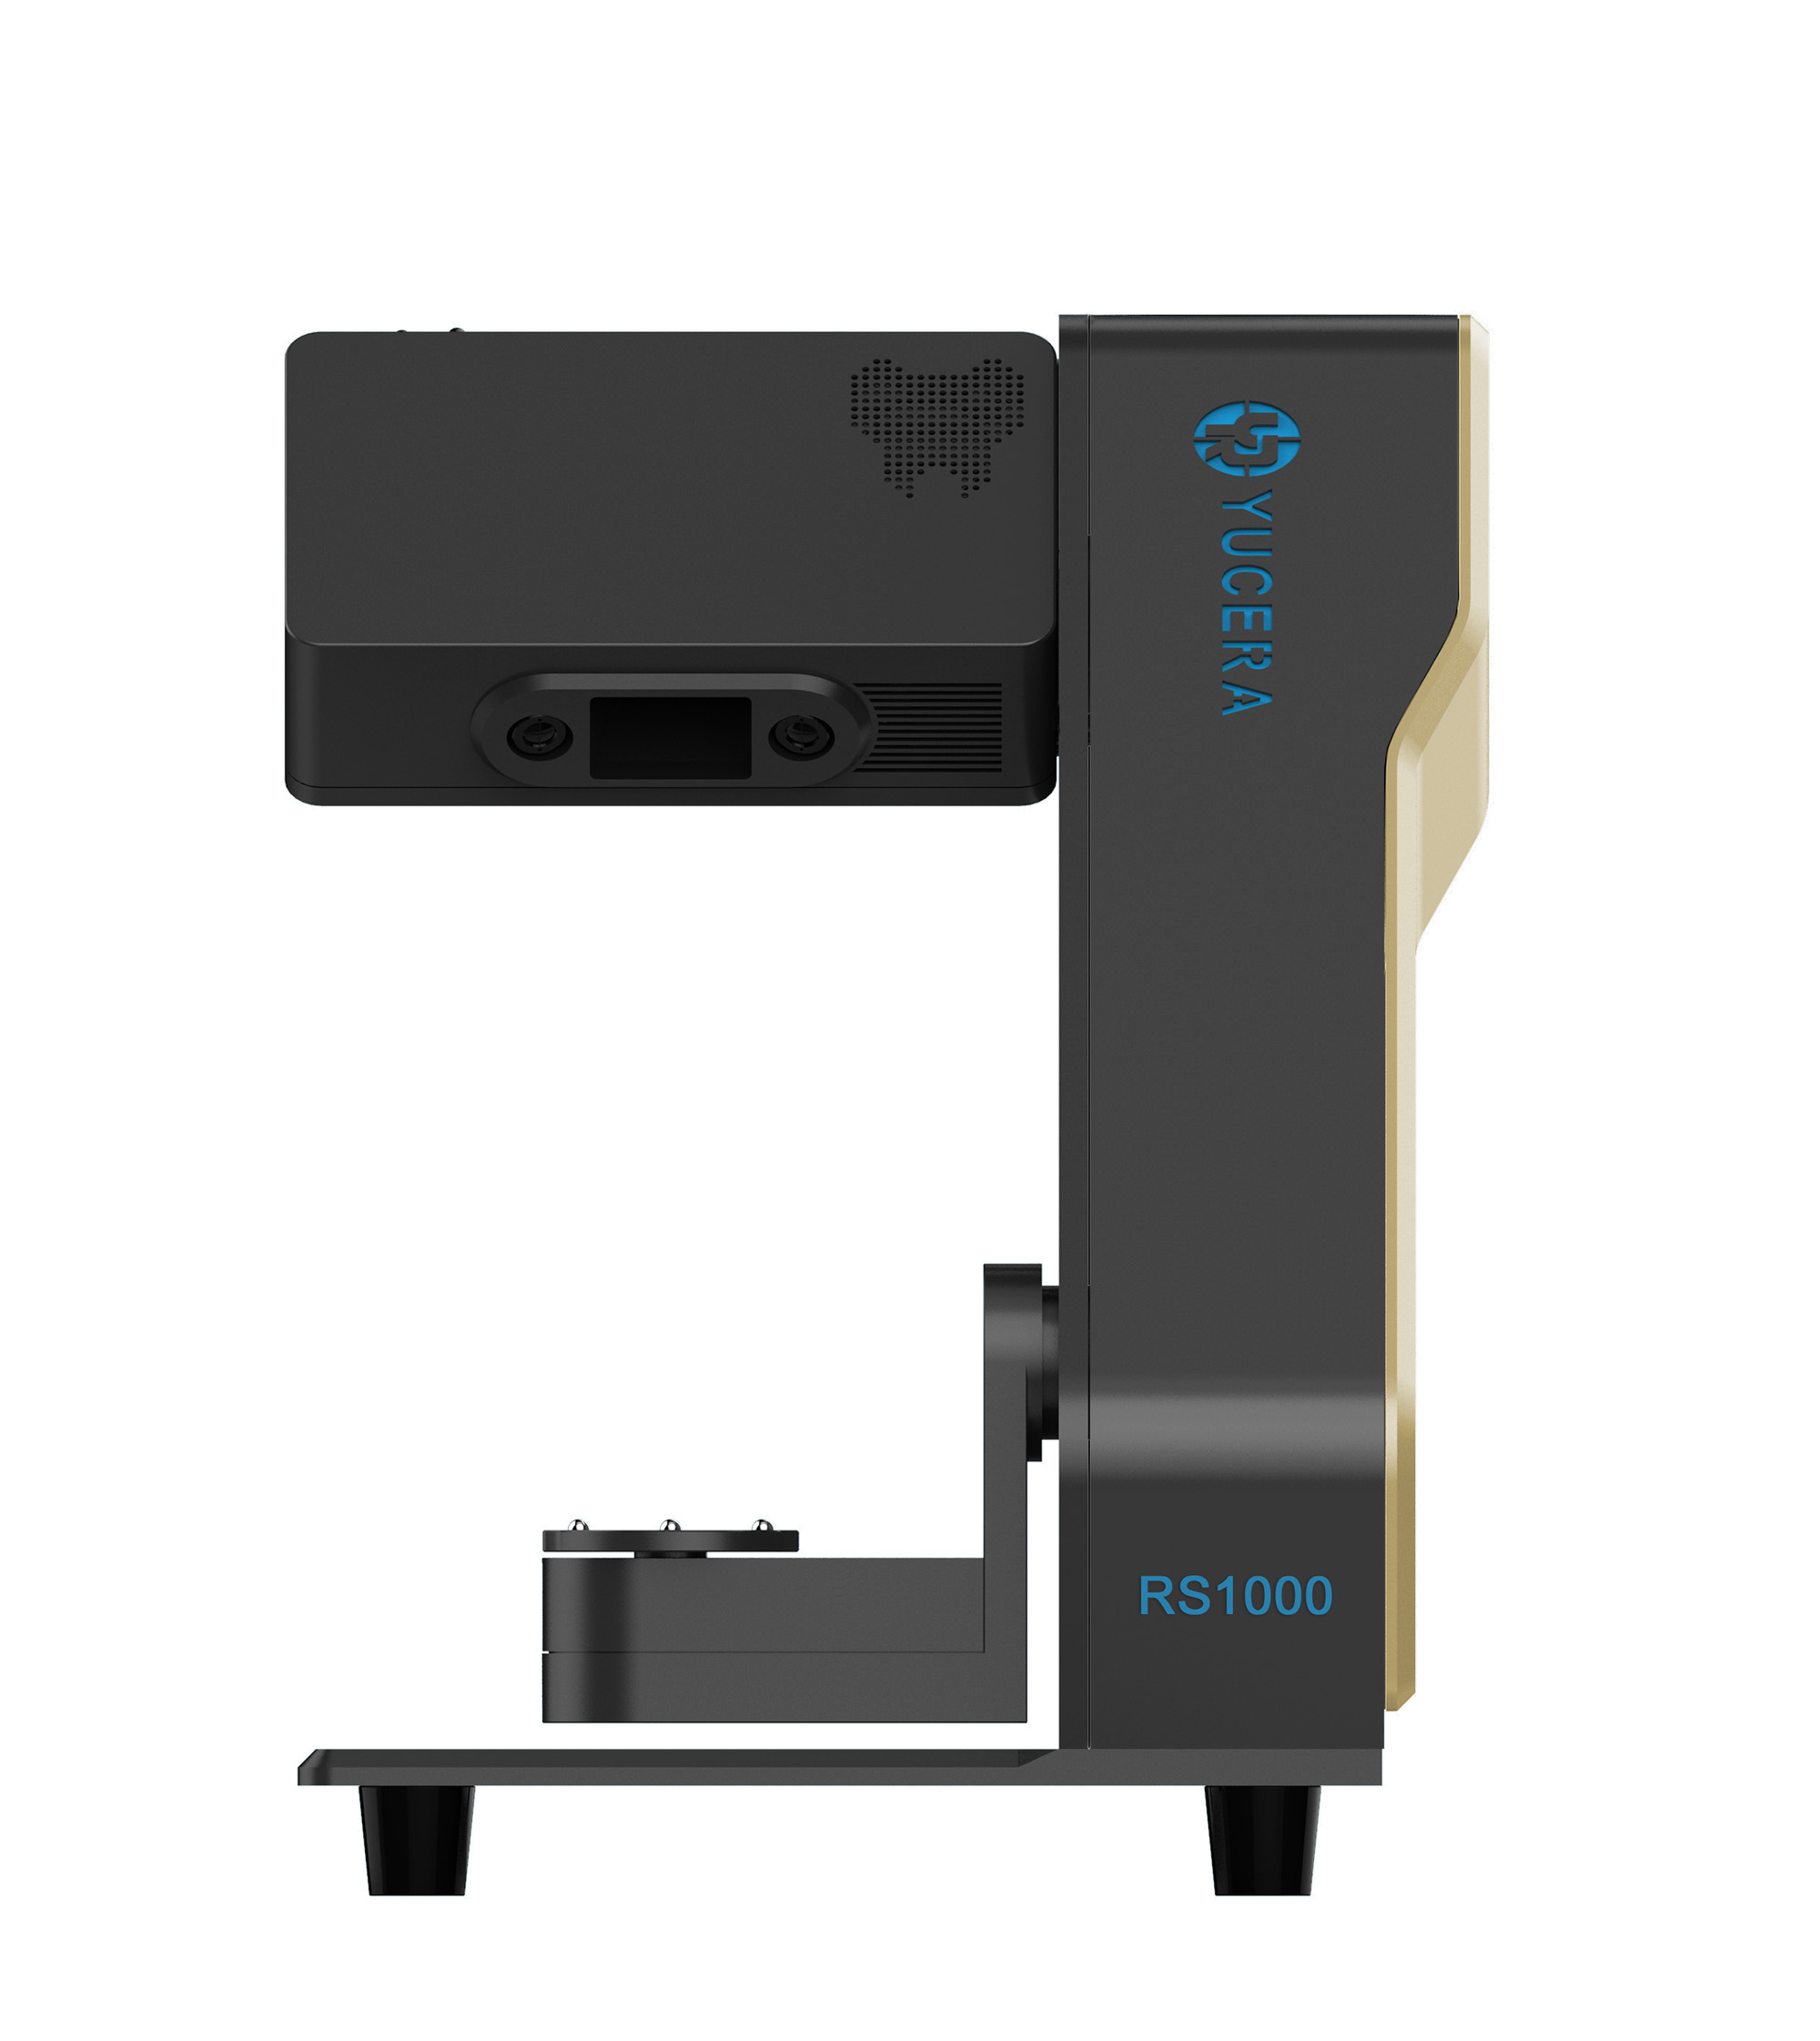
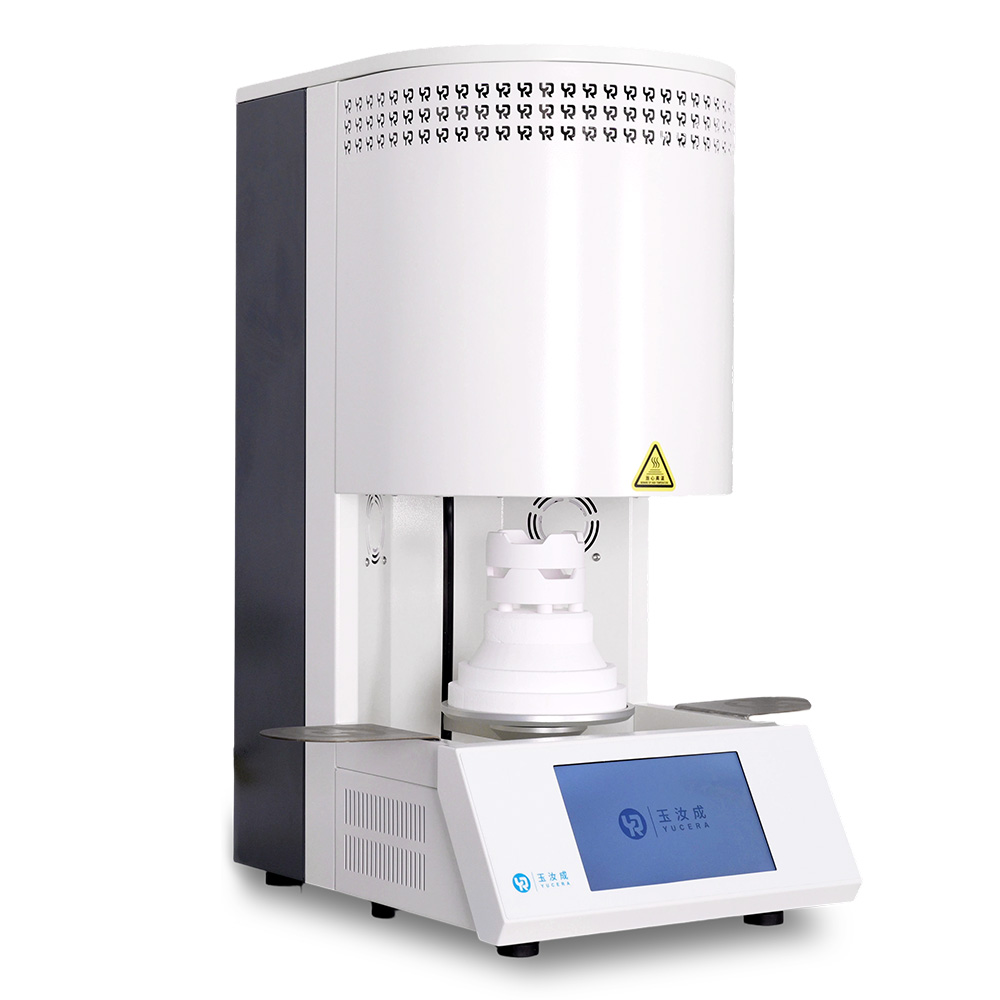
40-min cycle for 60 crowns, dual-layer crucible and 200°C/min heating.
learn more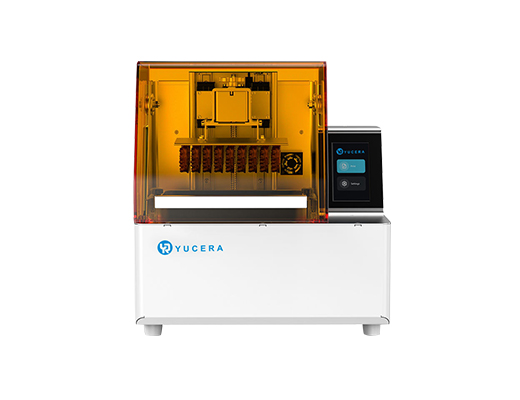
High-speed LCD printer for guides, temporaries, models with 8K resolution.
learn more


2024-12-26
2025-09-30

2026-02-17


