

 中 文
中 文

The difference between 4-axis and 5-axis dental milling machines
2025-02-23
2025-12-25
Equipment selection depends on whether you're operating in a chairside (clinic-based) or laboratory setting. Chairside systems prioritize speed for single-visit treatments, ideal for high-volume practices in urban areas like New York or London. Laboratory setups focus on scalability and complexity, suiting specialized labs in regions such as Asia-Pacific, where market growth is fastest at around 12% CAGR. North America holds about 36% of the market share, driven by high adoption rates exceeding 40% in advanced clinics.
The CAD/CAM process transforms patient data into final restorations. Selecting equipment requires aligning tools with workflow steps, ensuring seamless integration. For clinics, compact, user-friendly devices enable in-house production; labs need robust, high-throughput machines for batch processing.
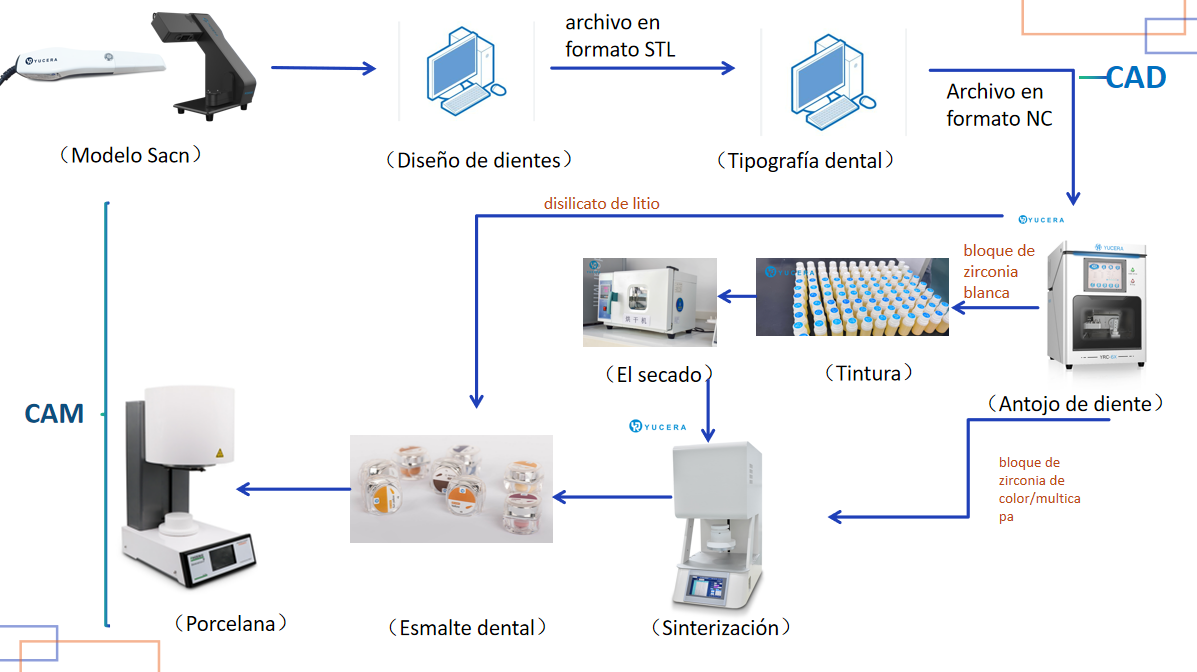
Step 1: Scanning and Model Preparation – Choosing Accurate Scanners
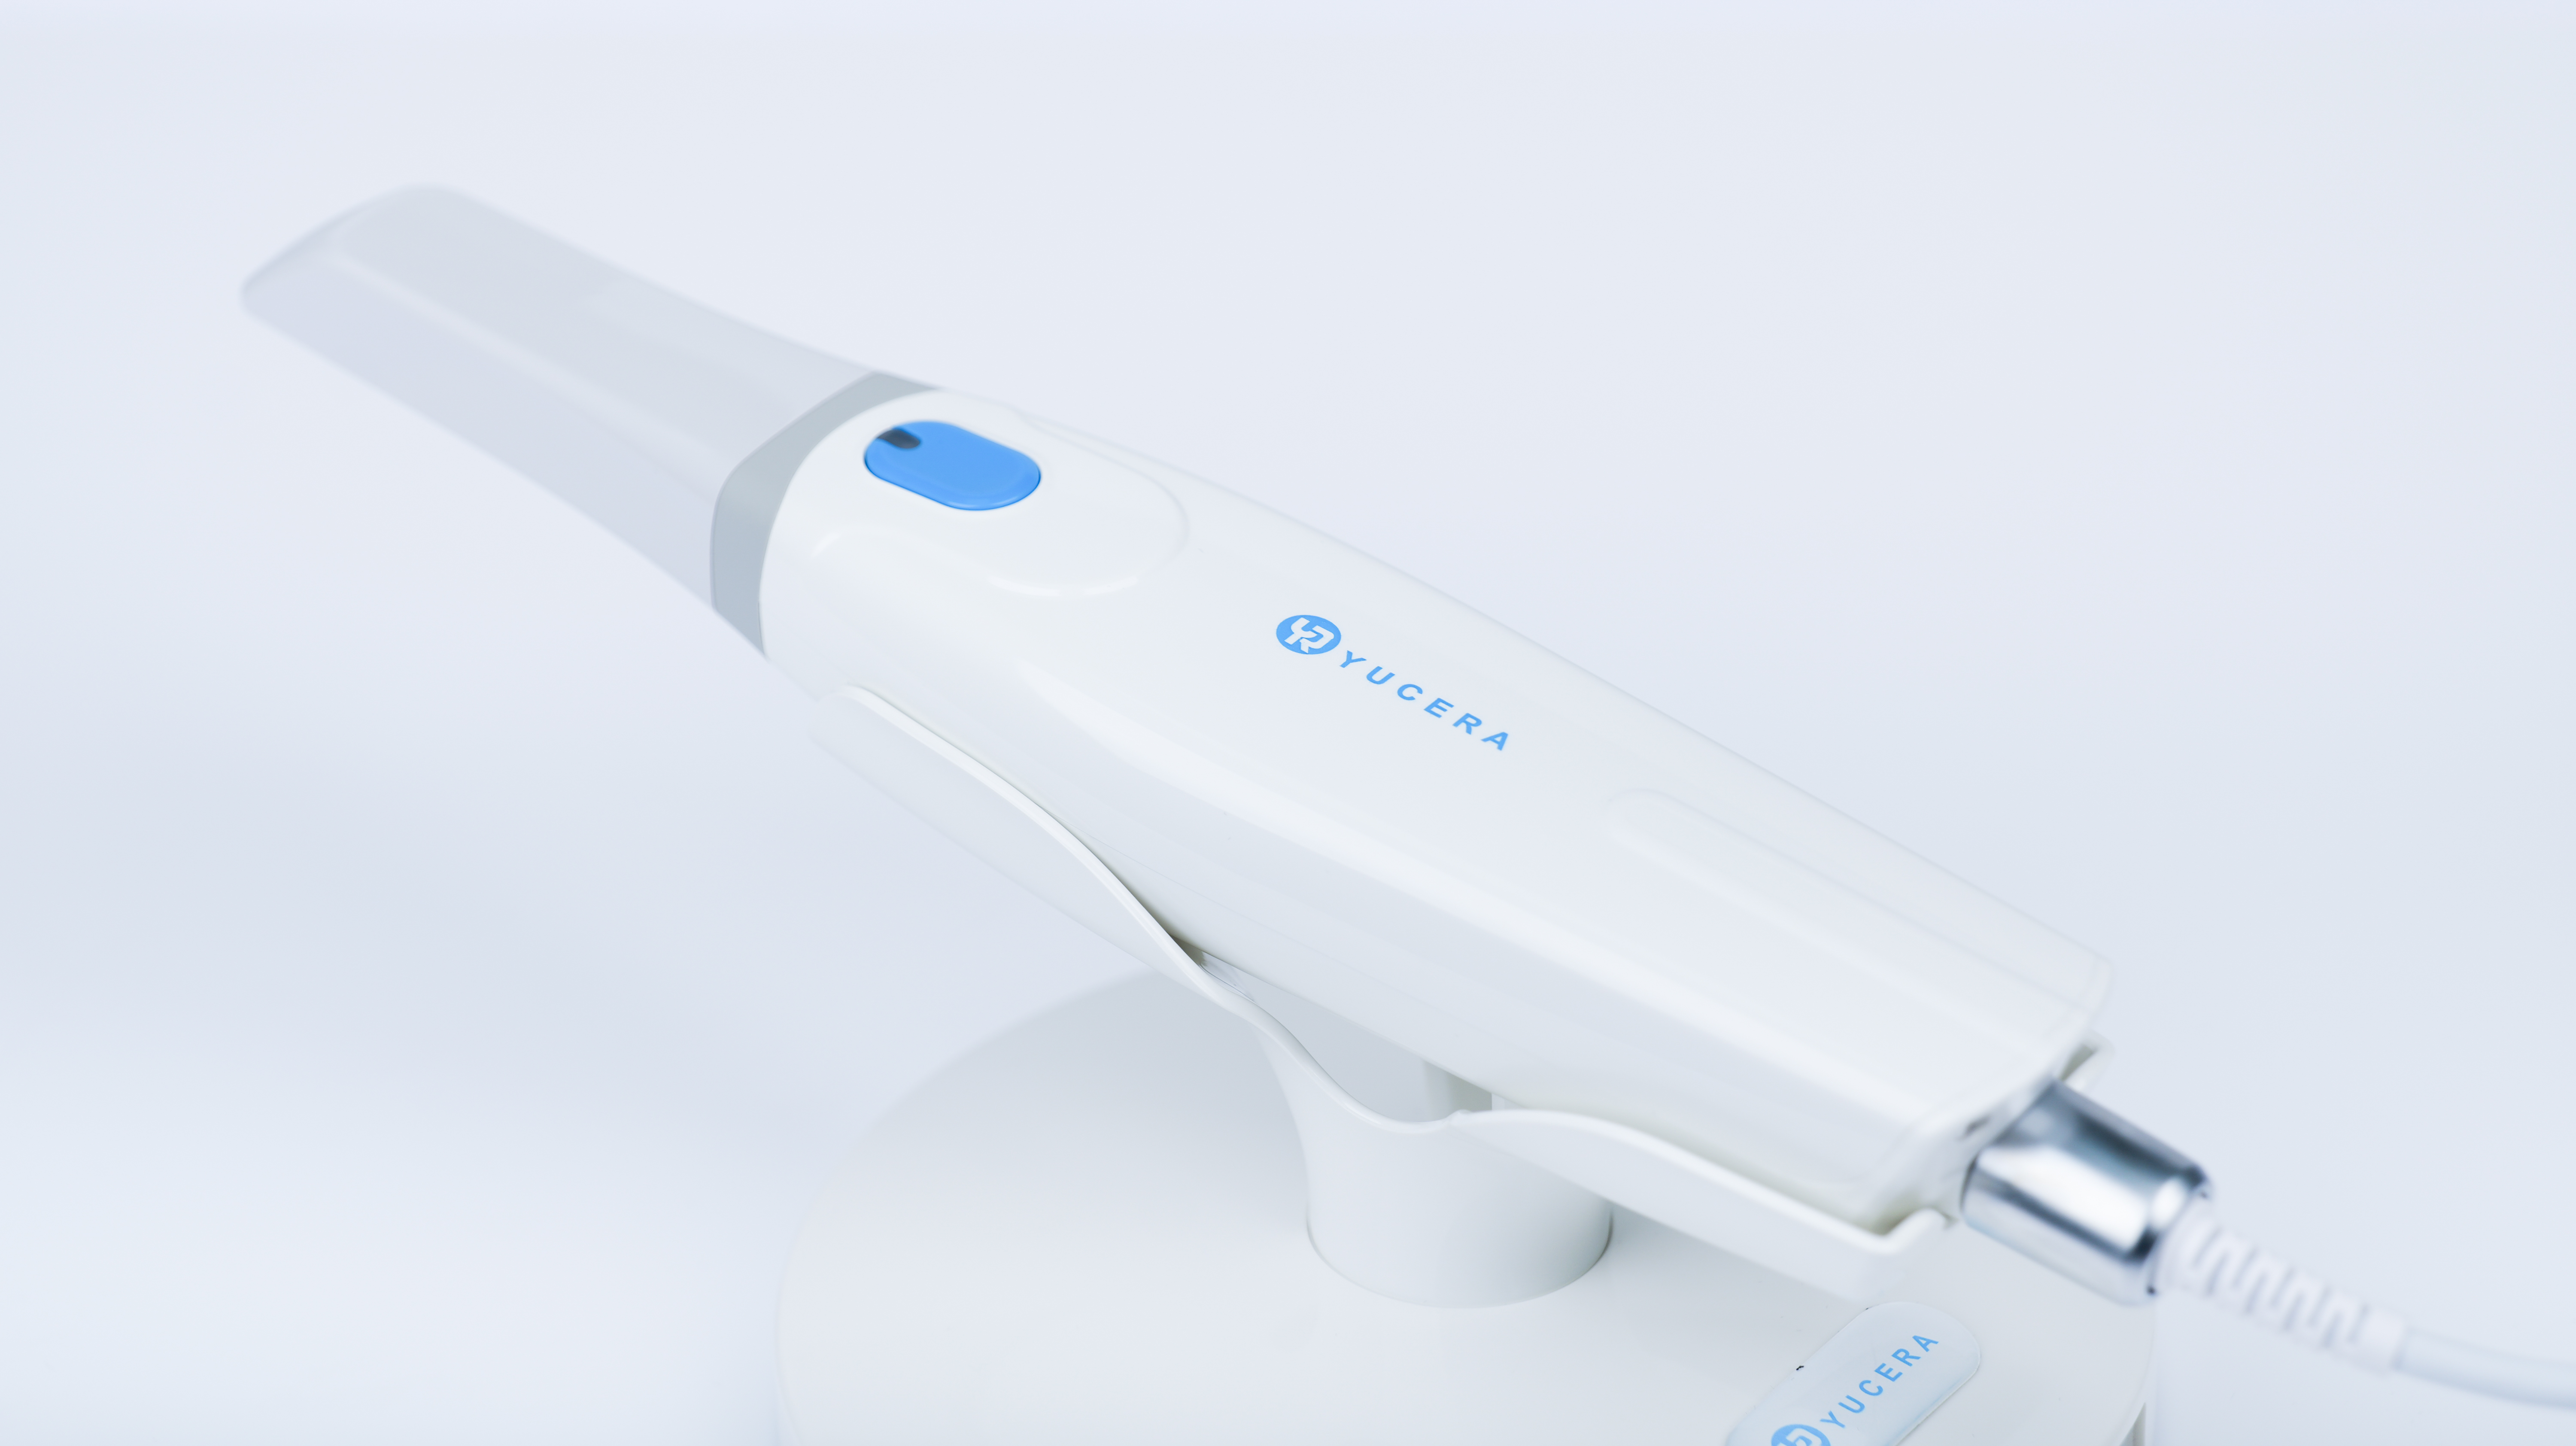
Data acquisition is the foundation. Intraoral scanners capture 3D images directly in the mouth for chairside use, while lab scanners handle models or impressions.
For chairside clinics: Opt for fast, ergonomic intraoral scanners like the YRC-S03 or YRC-P5 intraoral scanner. These provide micron-level accuracy (5-10 microns), quick scans (under 2 minutes for a full arch), and easy integration with design software. Ideal for same-day crowns in busy practices, they reduce patient discomfort and eliminate physical impressions.
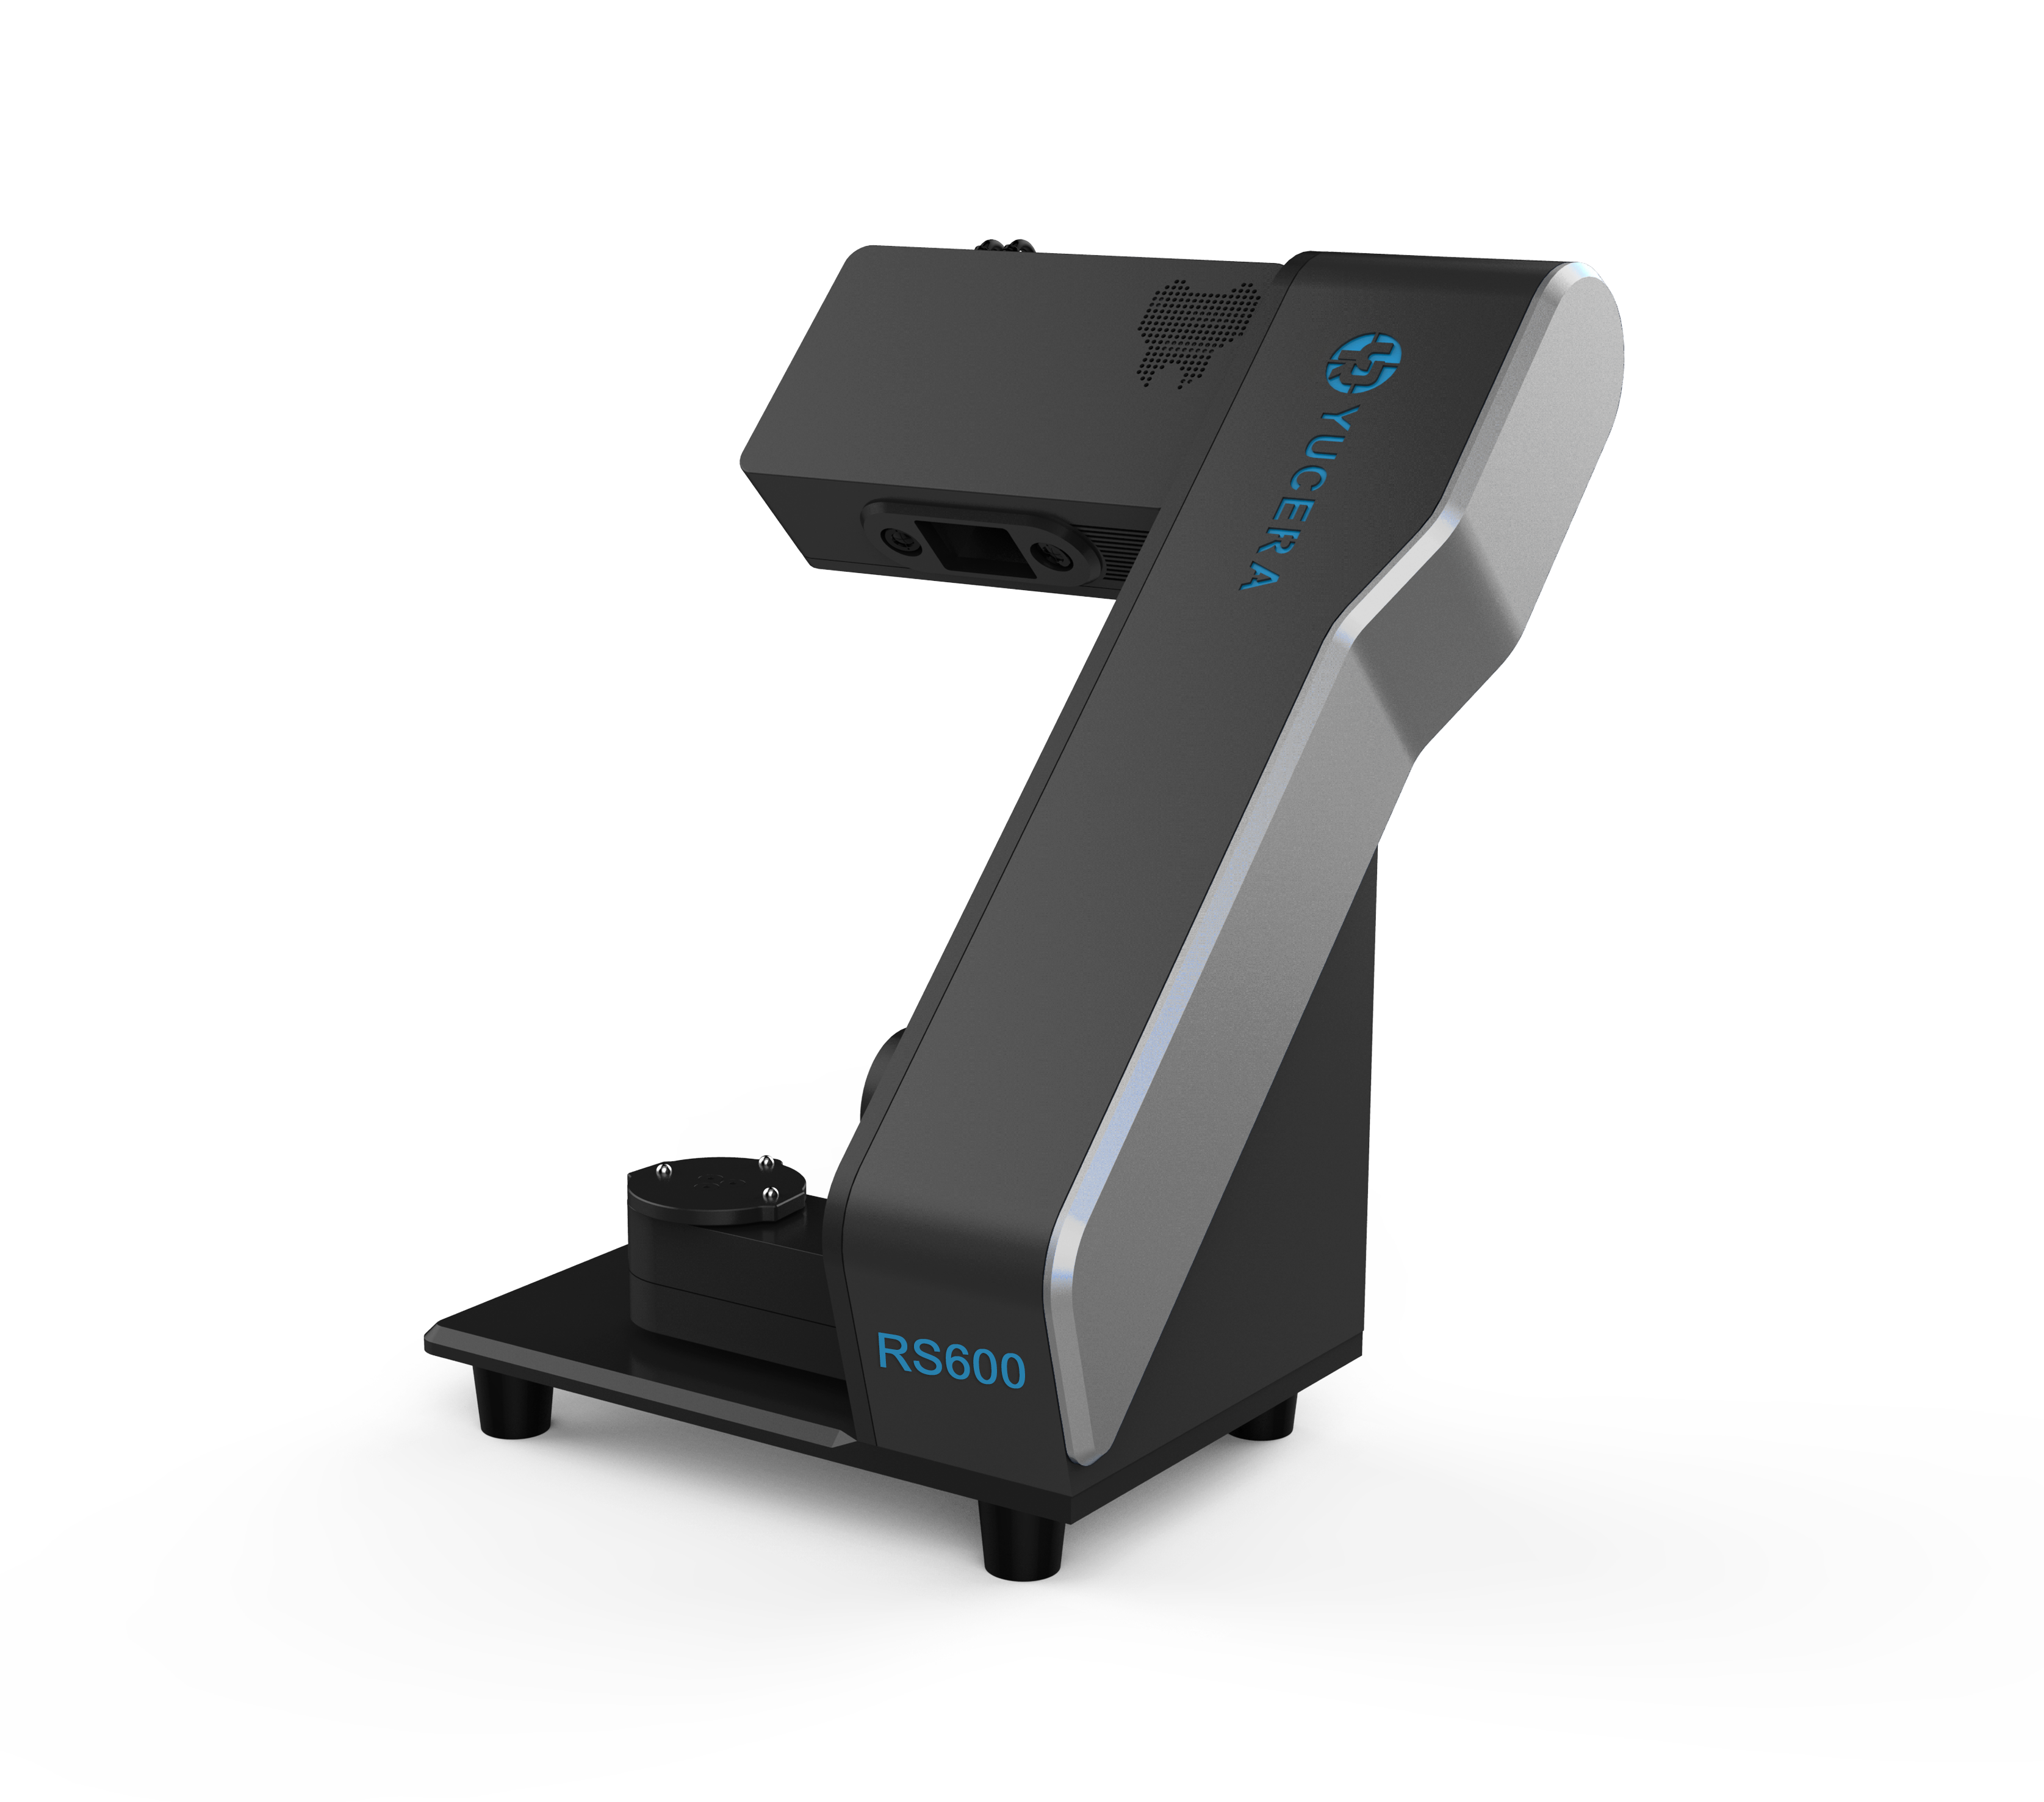
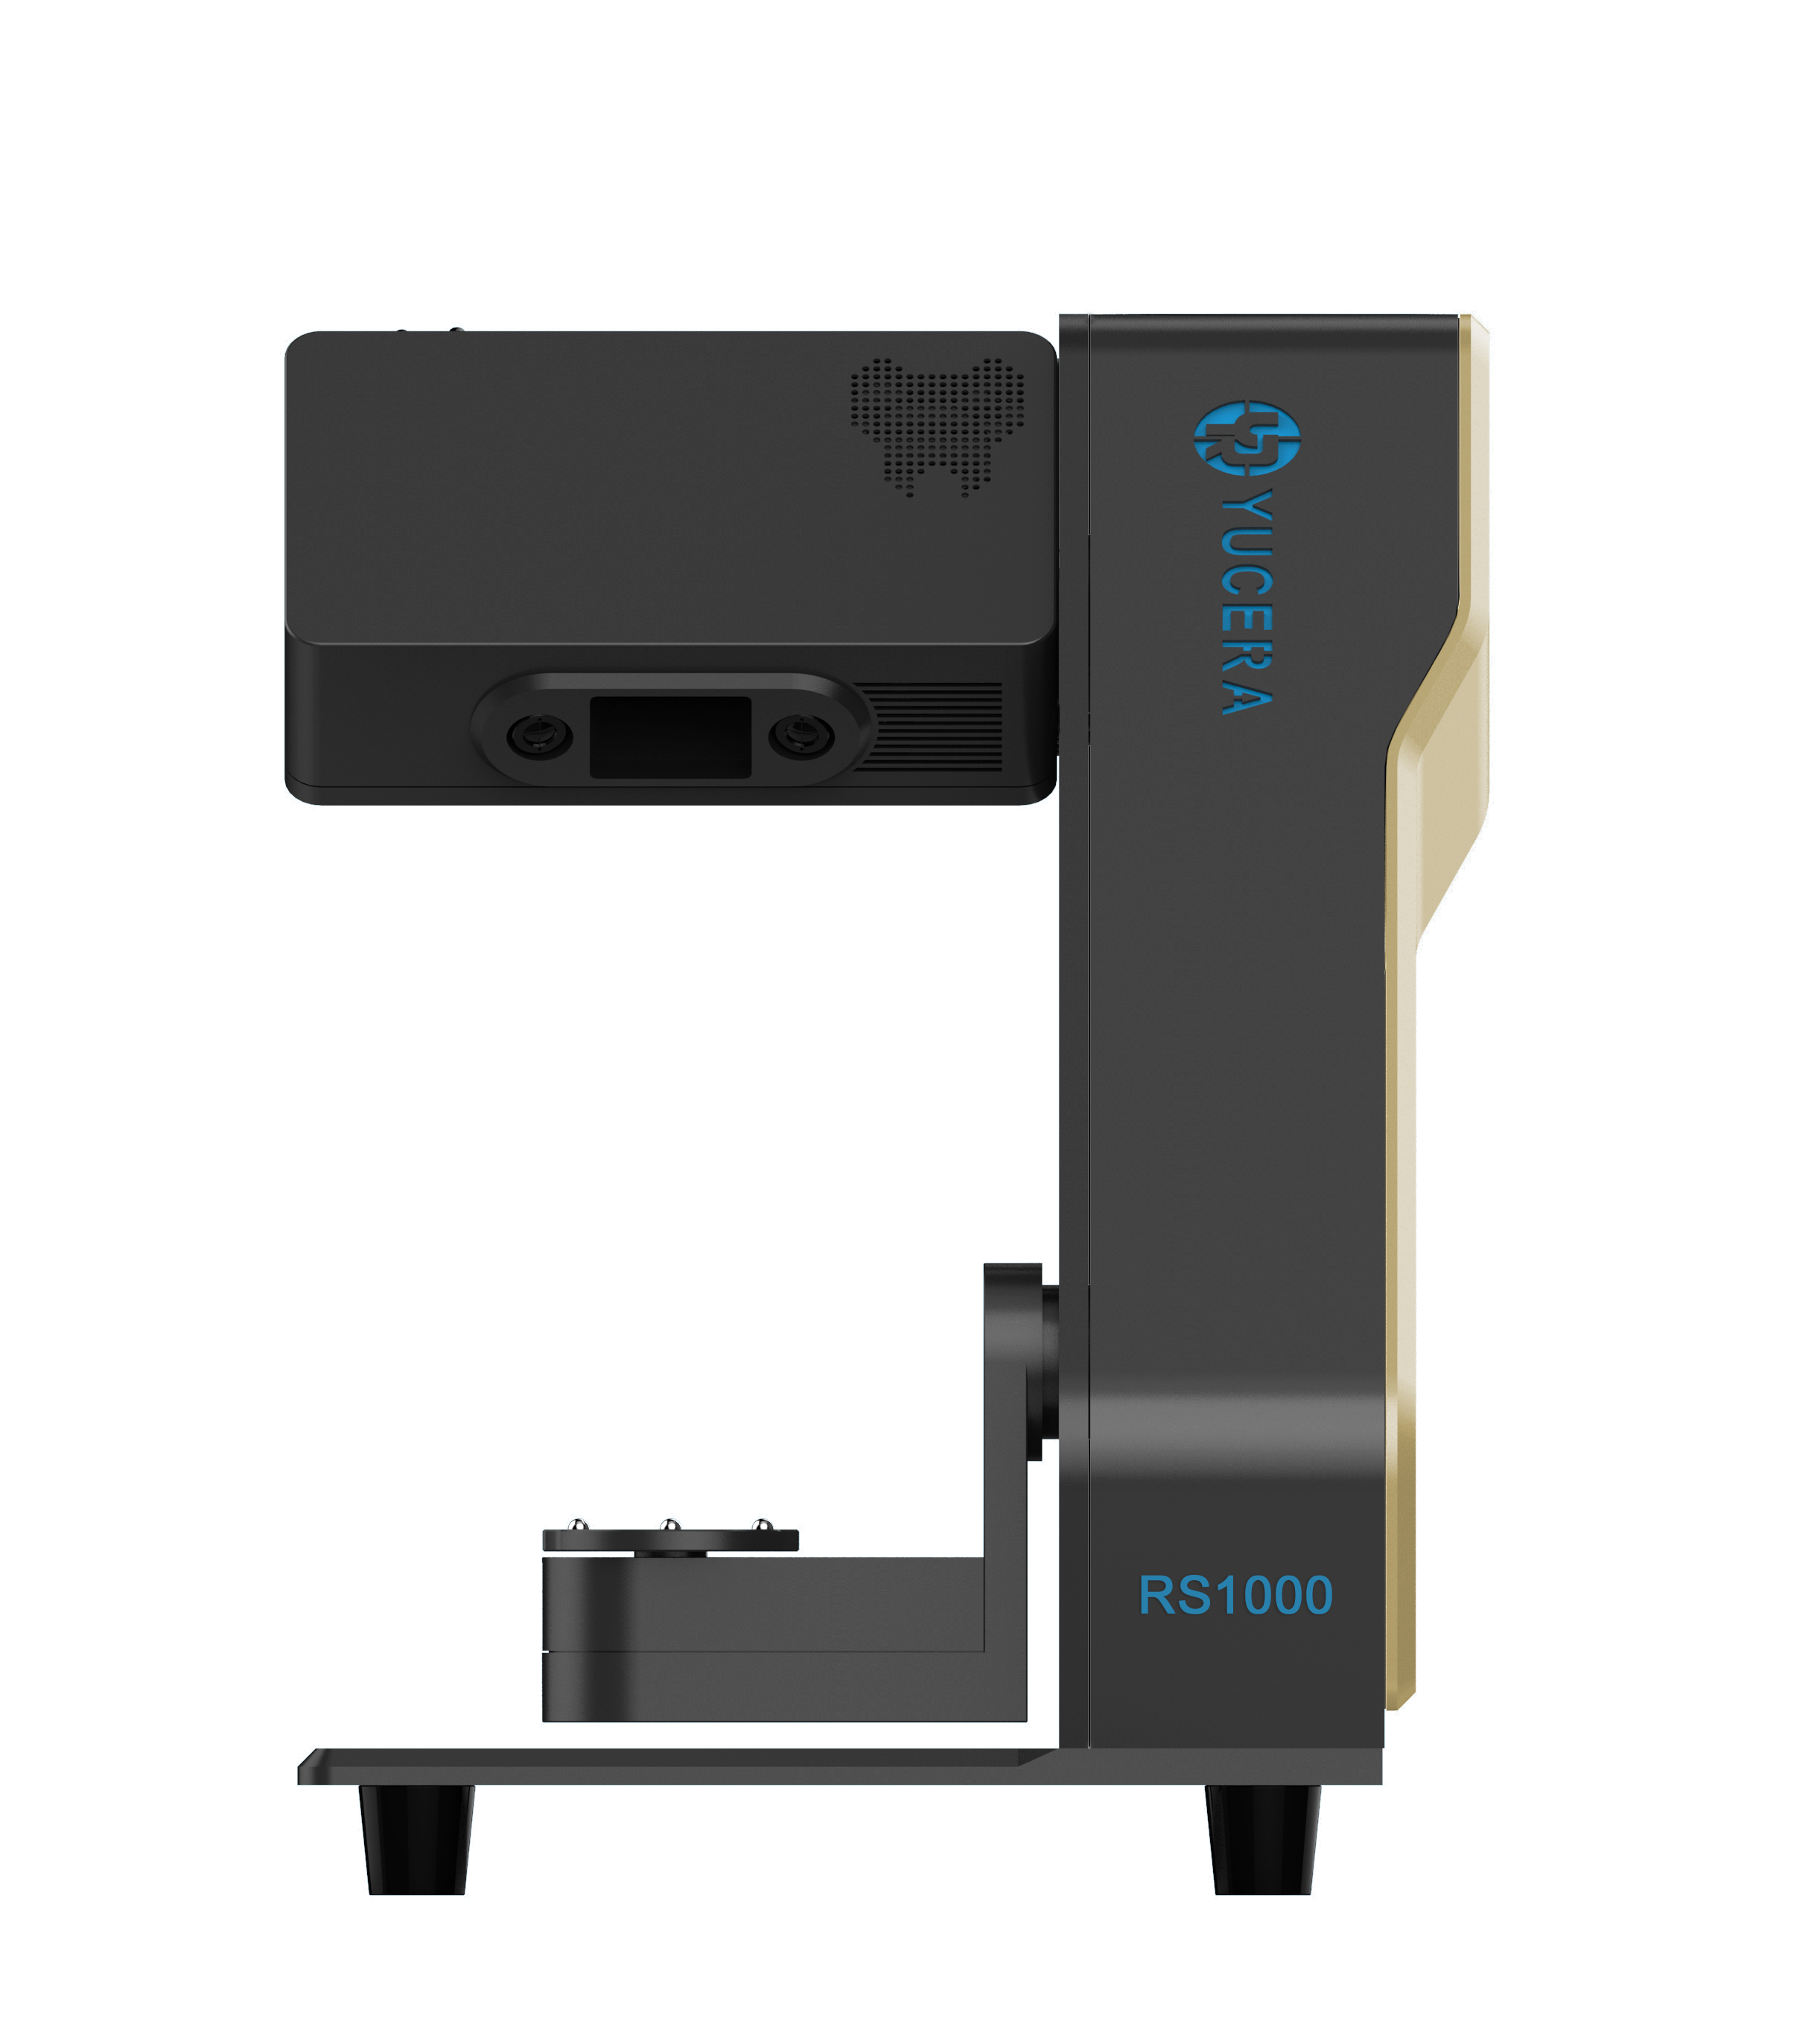
For laboratories: Desktop scanners such as RS600 or RS1000 are recommended for high-volume scanning of gypsum models or impressions. These offer superior resolution for complex cases like bridges, with automated features for efficiency.
Step 2: Design and Nesting – Selecting Intuitive CAD Software
Design software turns scans into virtual restorations. Both settings use similar tools, but chairside needs quick, dentist-friendly interfaces, while labs require advanced nesting for multiple units.
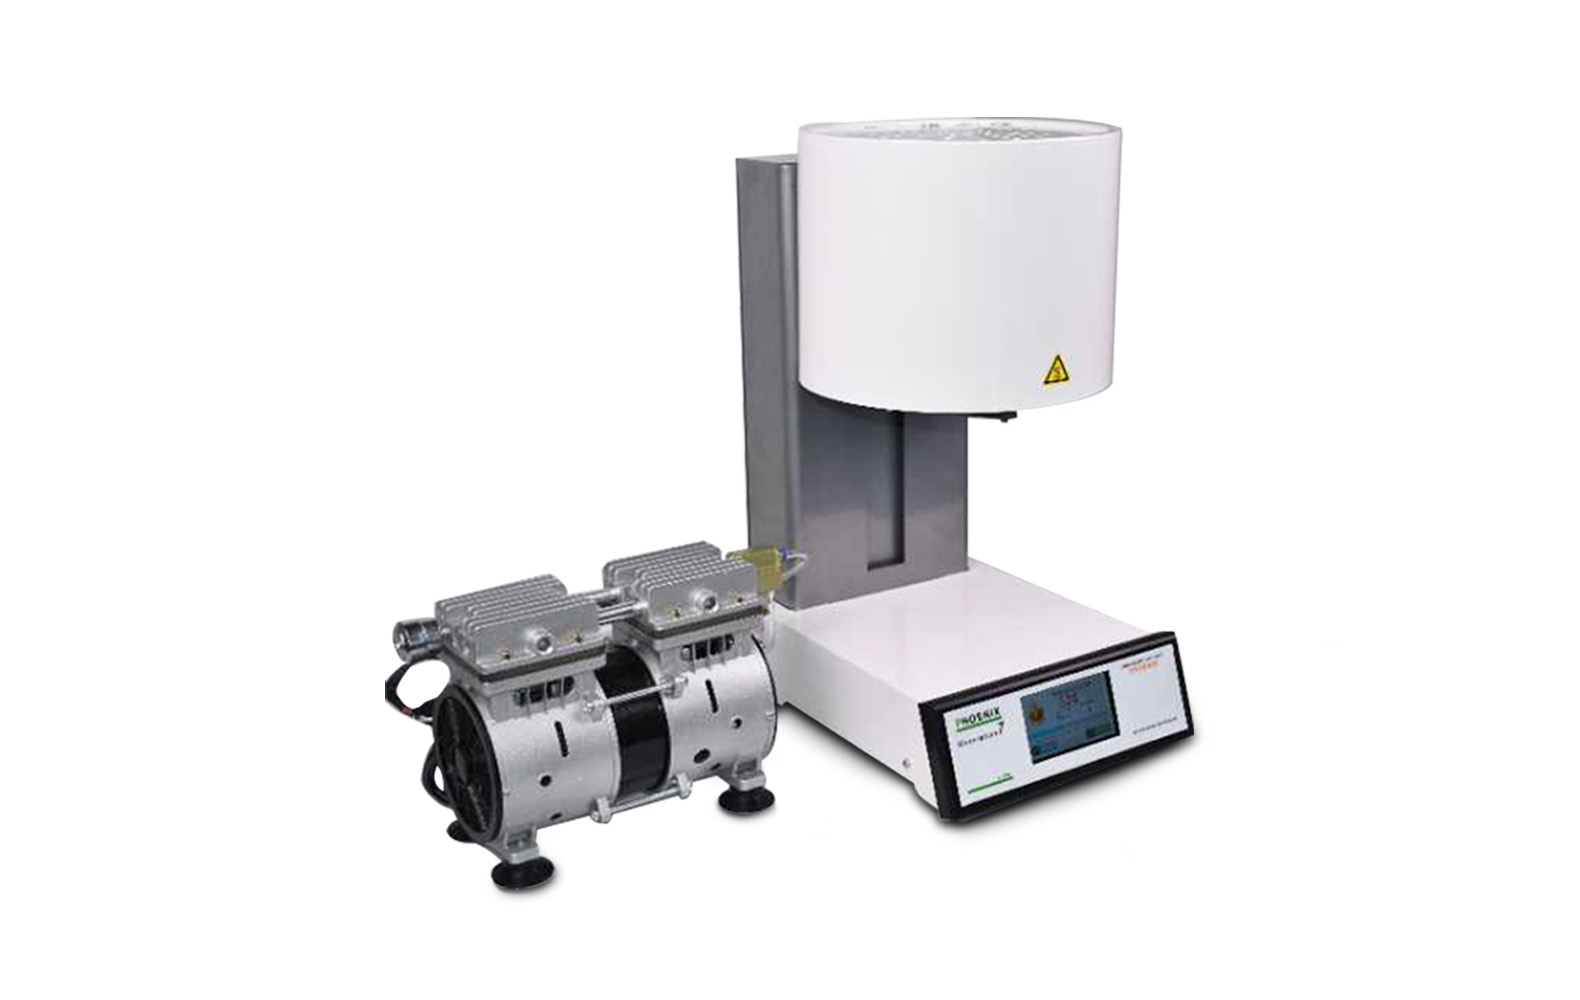
Milling fabricates the restoration from blocks. Wet milling suits glass-ceramics; dry for zirconia.
Chairside: The 6X wet milling machine is ideal, handling ceramics with precision (5-axis) and speed (10-20 minutes per crown). Compact design fits small clinics, with low noise for patient comfort.

Laboratory: Select the 5X dry milling machine for zirconia efficiency, processing multiple units simultaneously. High spindle speed (60,000 RPM) and automatic tool changers boost throughput for labs in high-demand areas like Asia-Pacific.

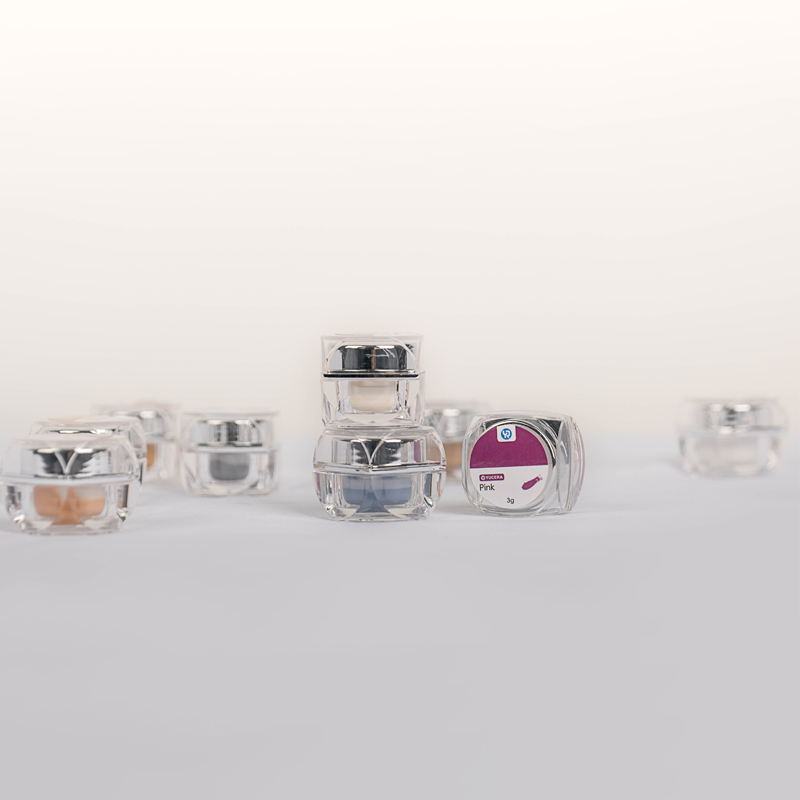
Step 4: Dyeing and Drying – Equipment for Aesthetic Enhancement
Post-milling, zirconia requires coloring for natural shades. Use dedicated dipping stations or brushes, followed by low-temperature dryers (80-100°C).
Glazing adds shine via low-temperature firing (750-850°C).
Our glaze pastes are available in 18-color and 8-color packs.
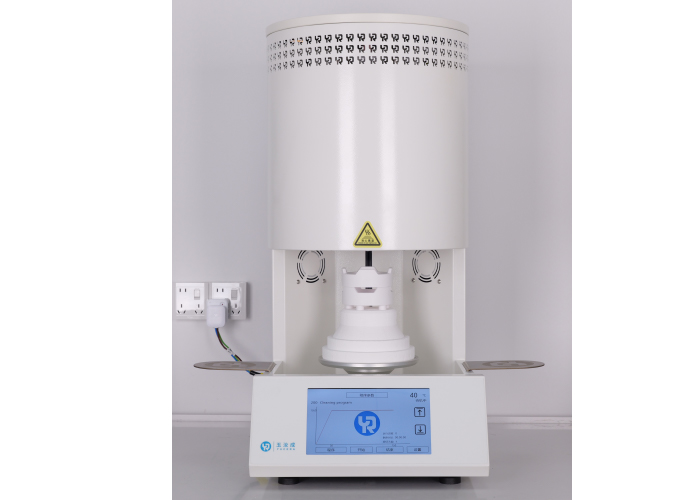
Step 7: Porcelain
To achieve a layered and aesthetically pleasing effect, ceramic layers are applied and fired at a temperature of 900-1000°C.
Our porcelain furnace has a maximum temperature of 1200°C and a heating rate of up to 200°C per minute.
Selecting dental CAD/CAM equipment based on the full workflow ensures optimized performance. For chairside, models like S03/P5 scanners , 6X mills and porcelain furnace enable rapid care; labs thrive with RS600/RS1000 scanners, 5X mills, and F10+/HS007 furnaces and porcelain furnace. As the market grows to $7.48 billion by 2034, informed choices drive success in digital dentistry worldwide. Consult local suppliers for demos and align with your practice's needs for long-term efficiency.

Dry & wet milling for zirconia, PMMA, wax with auto tool changer.
learn more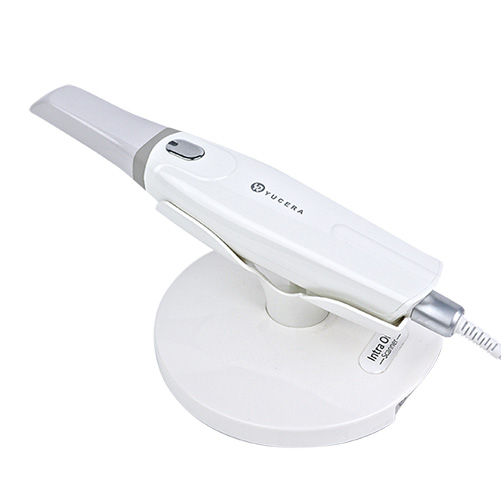
High-precision 3D scanning, AI calibration, full-arch accuracy.
learn more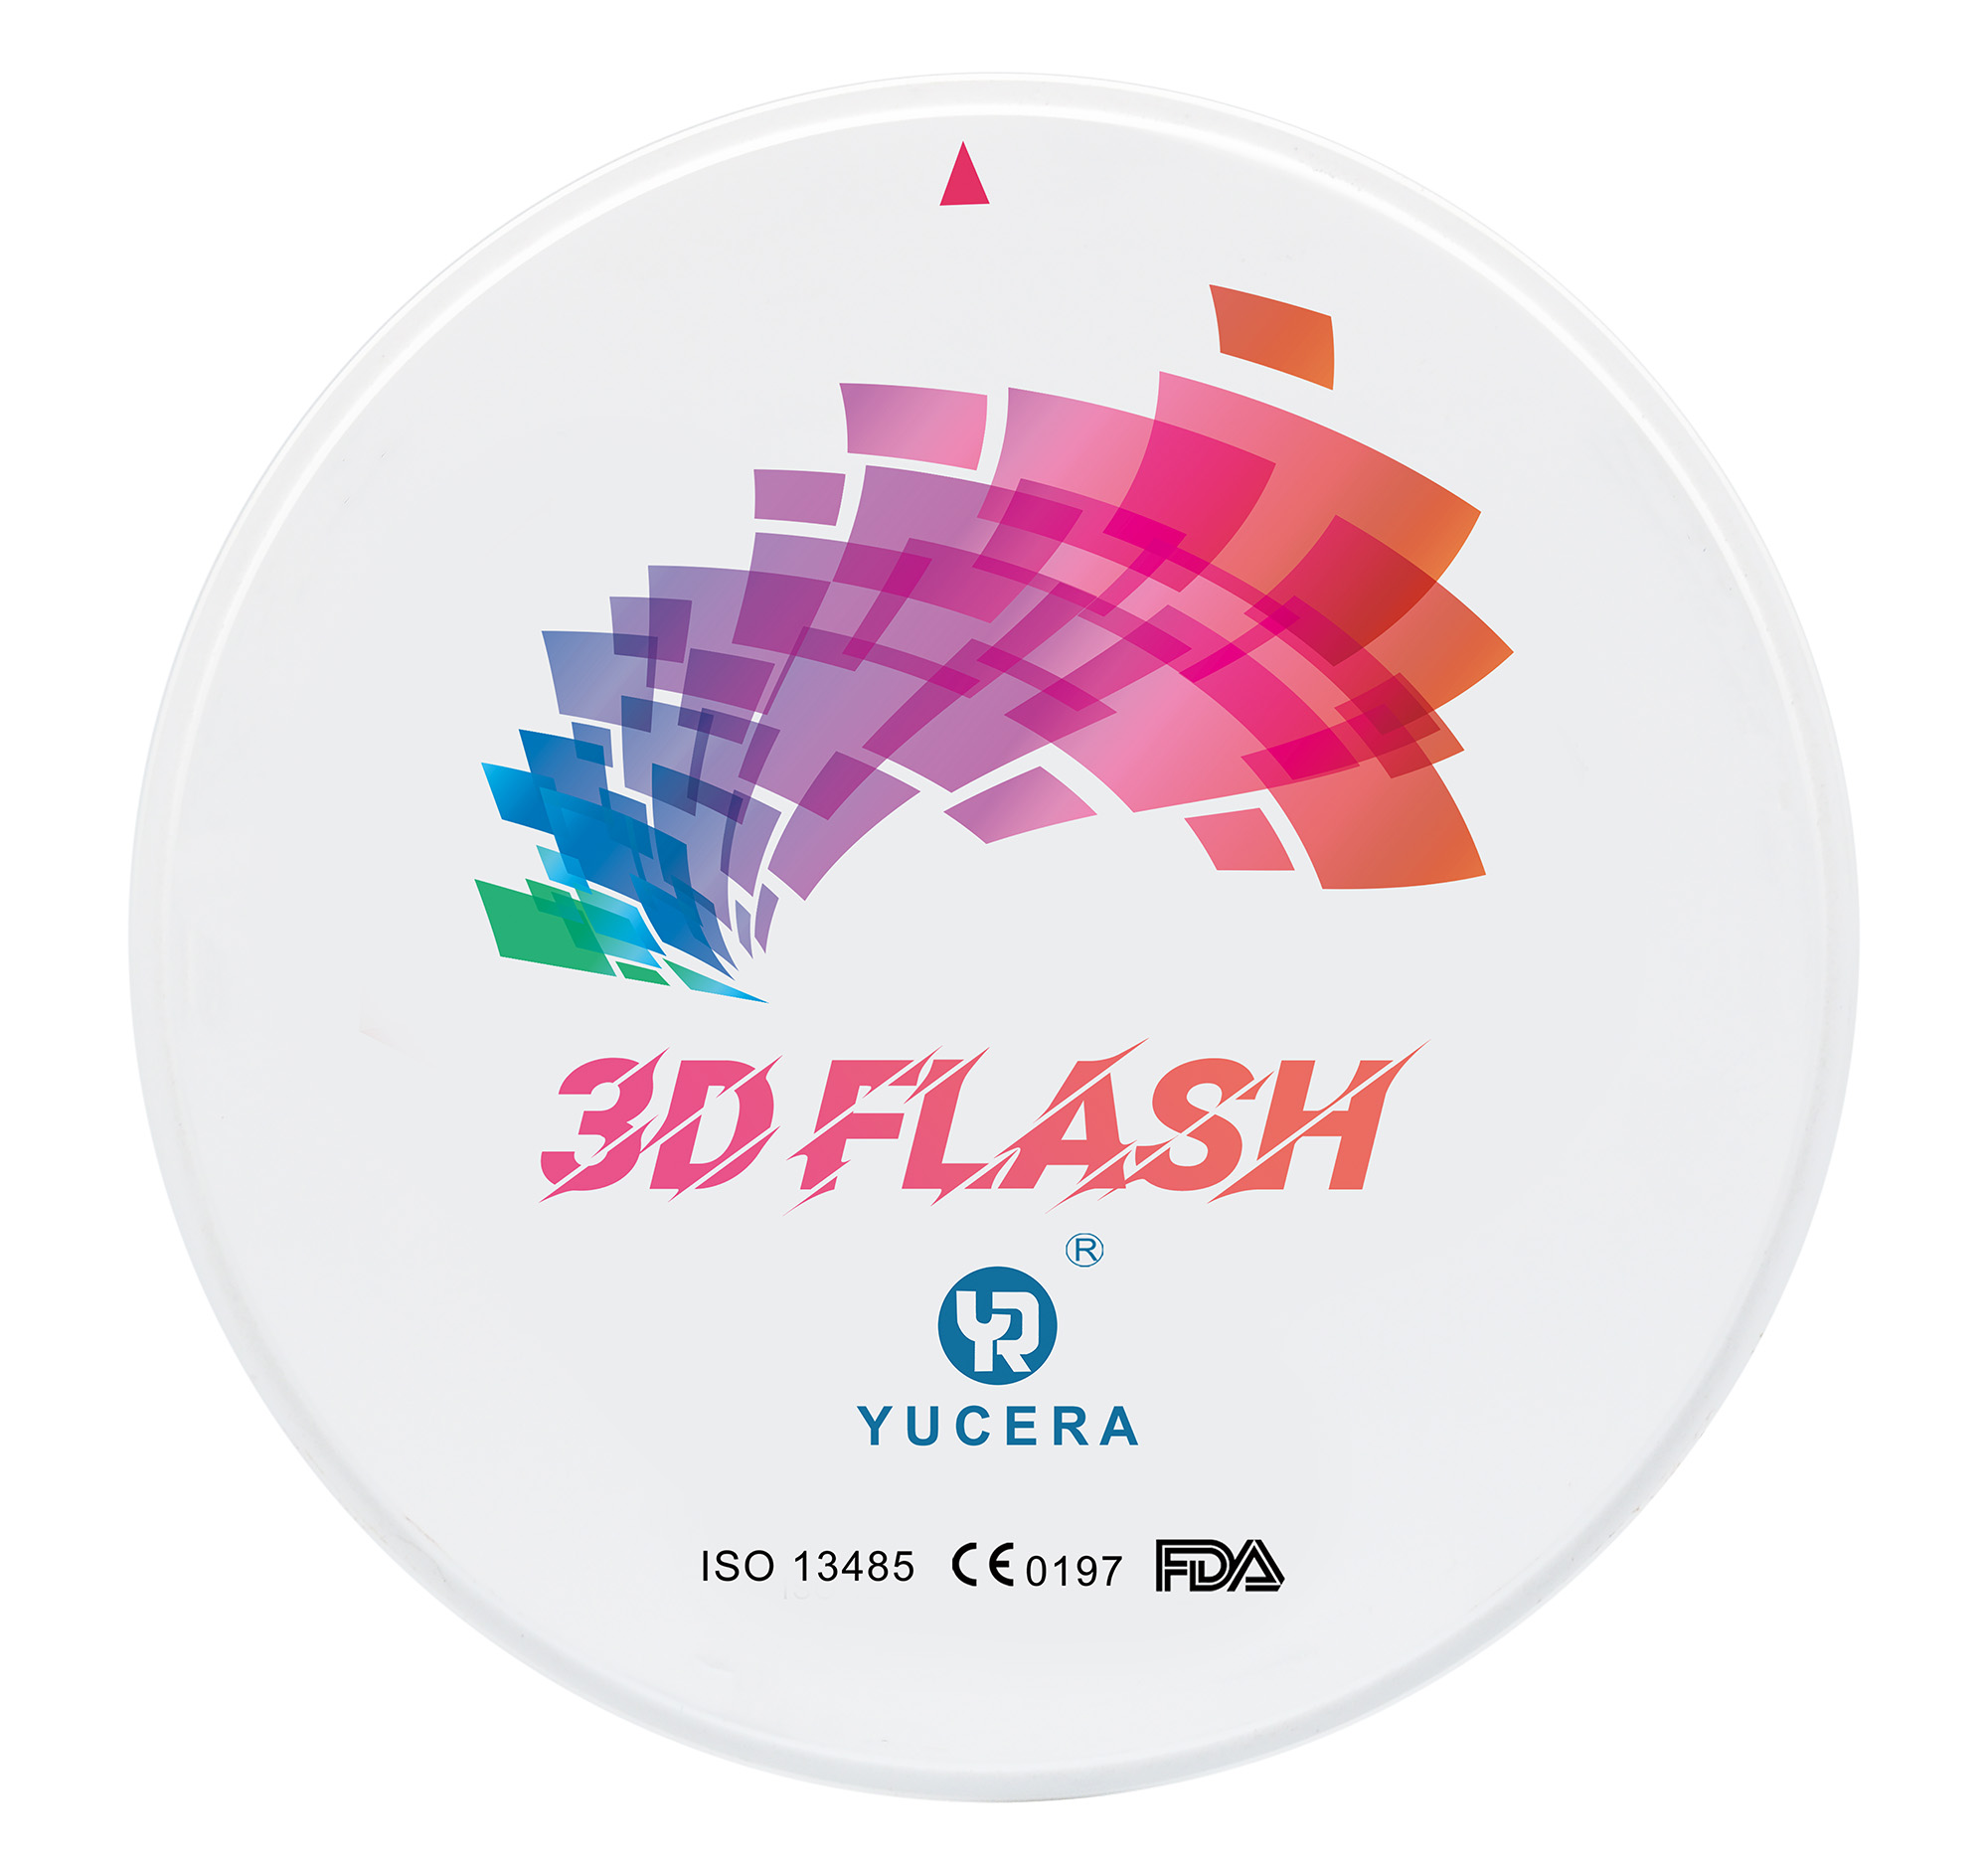
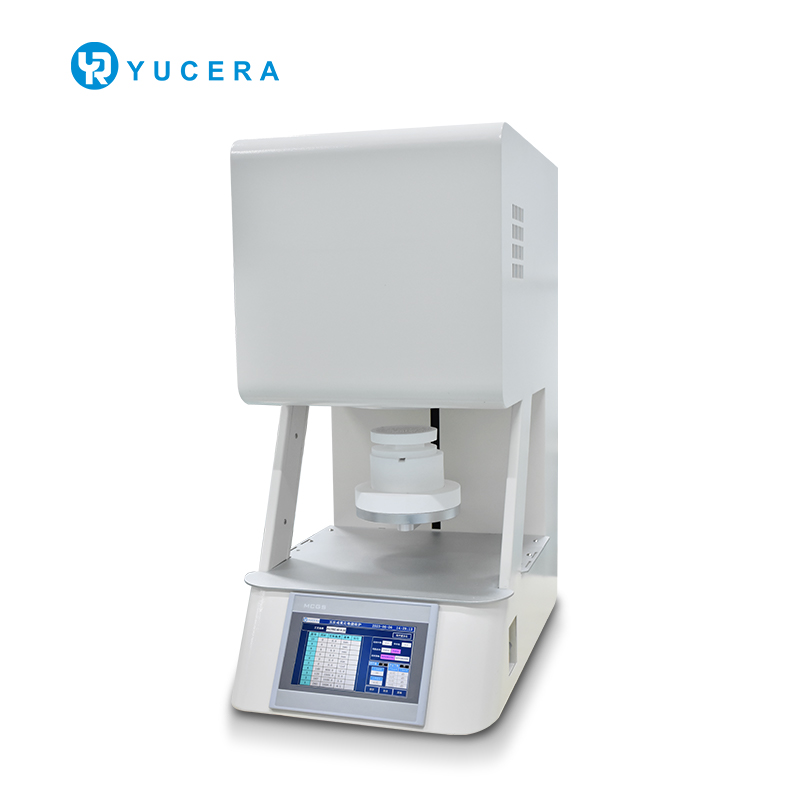
40-min full sintering with 57% incisal translucency and 1050 MPa strength.
learn more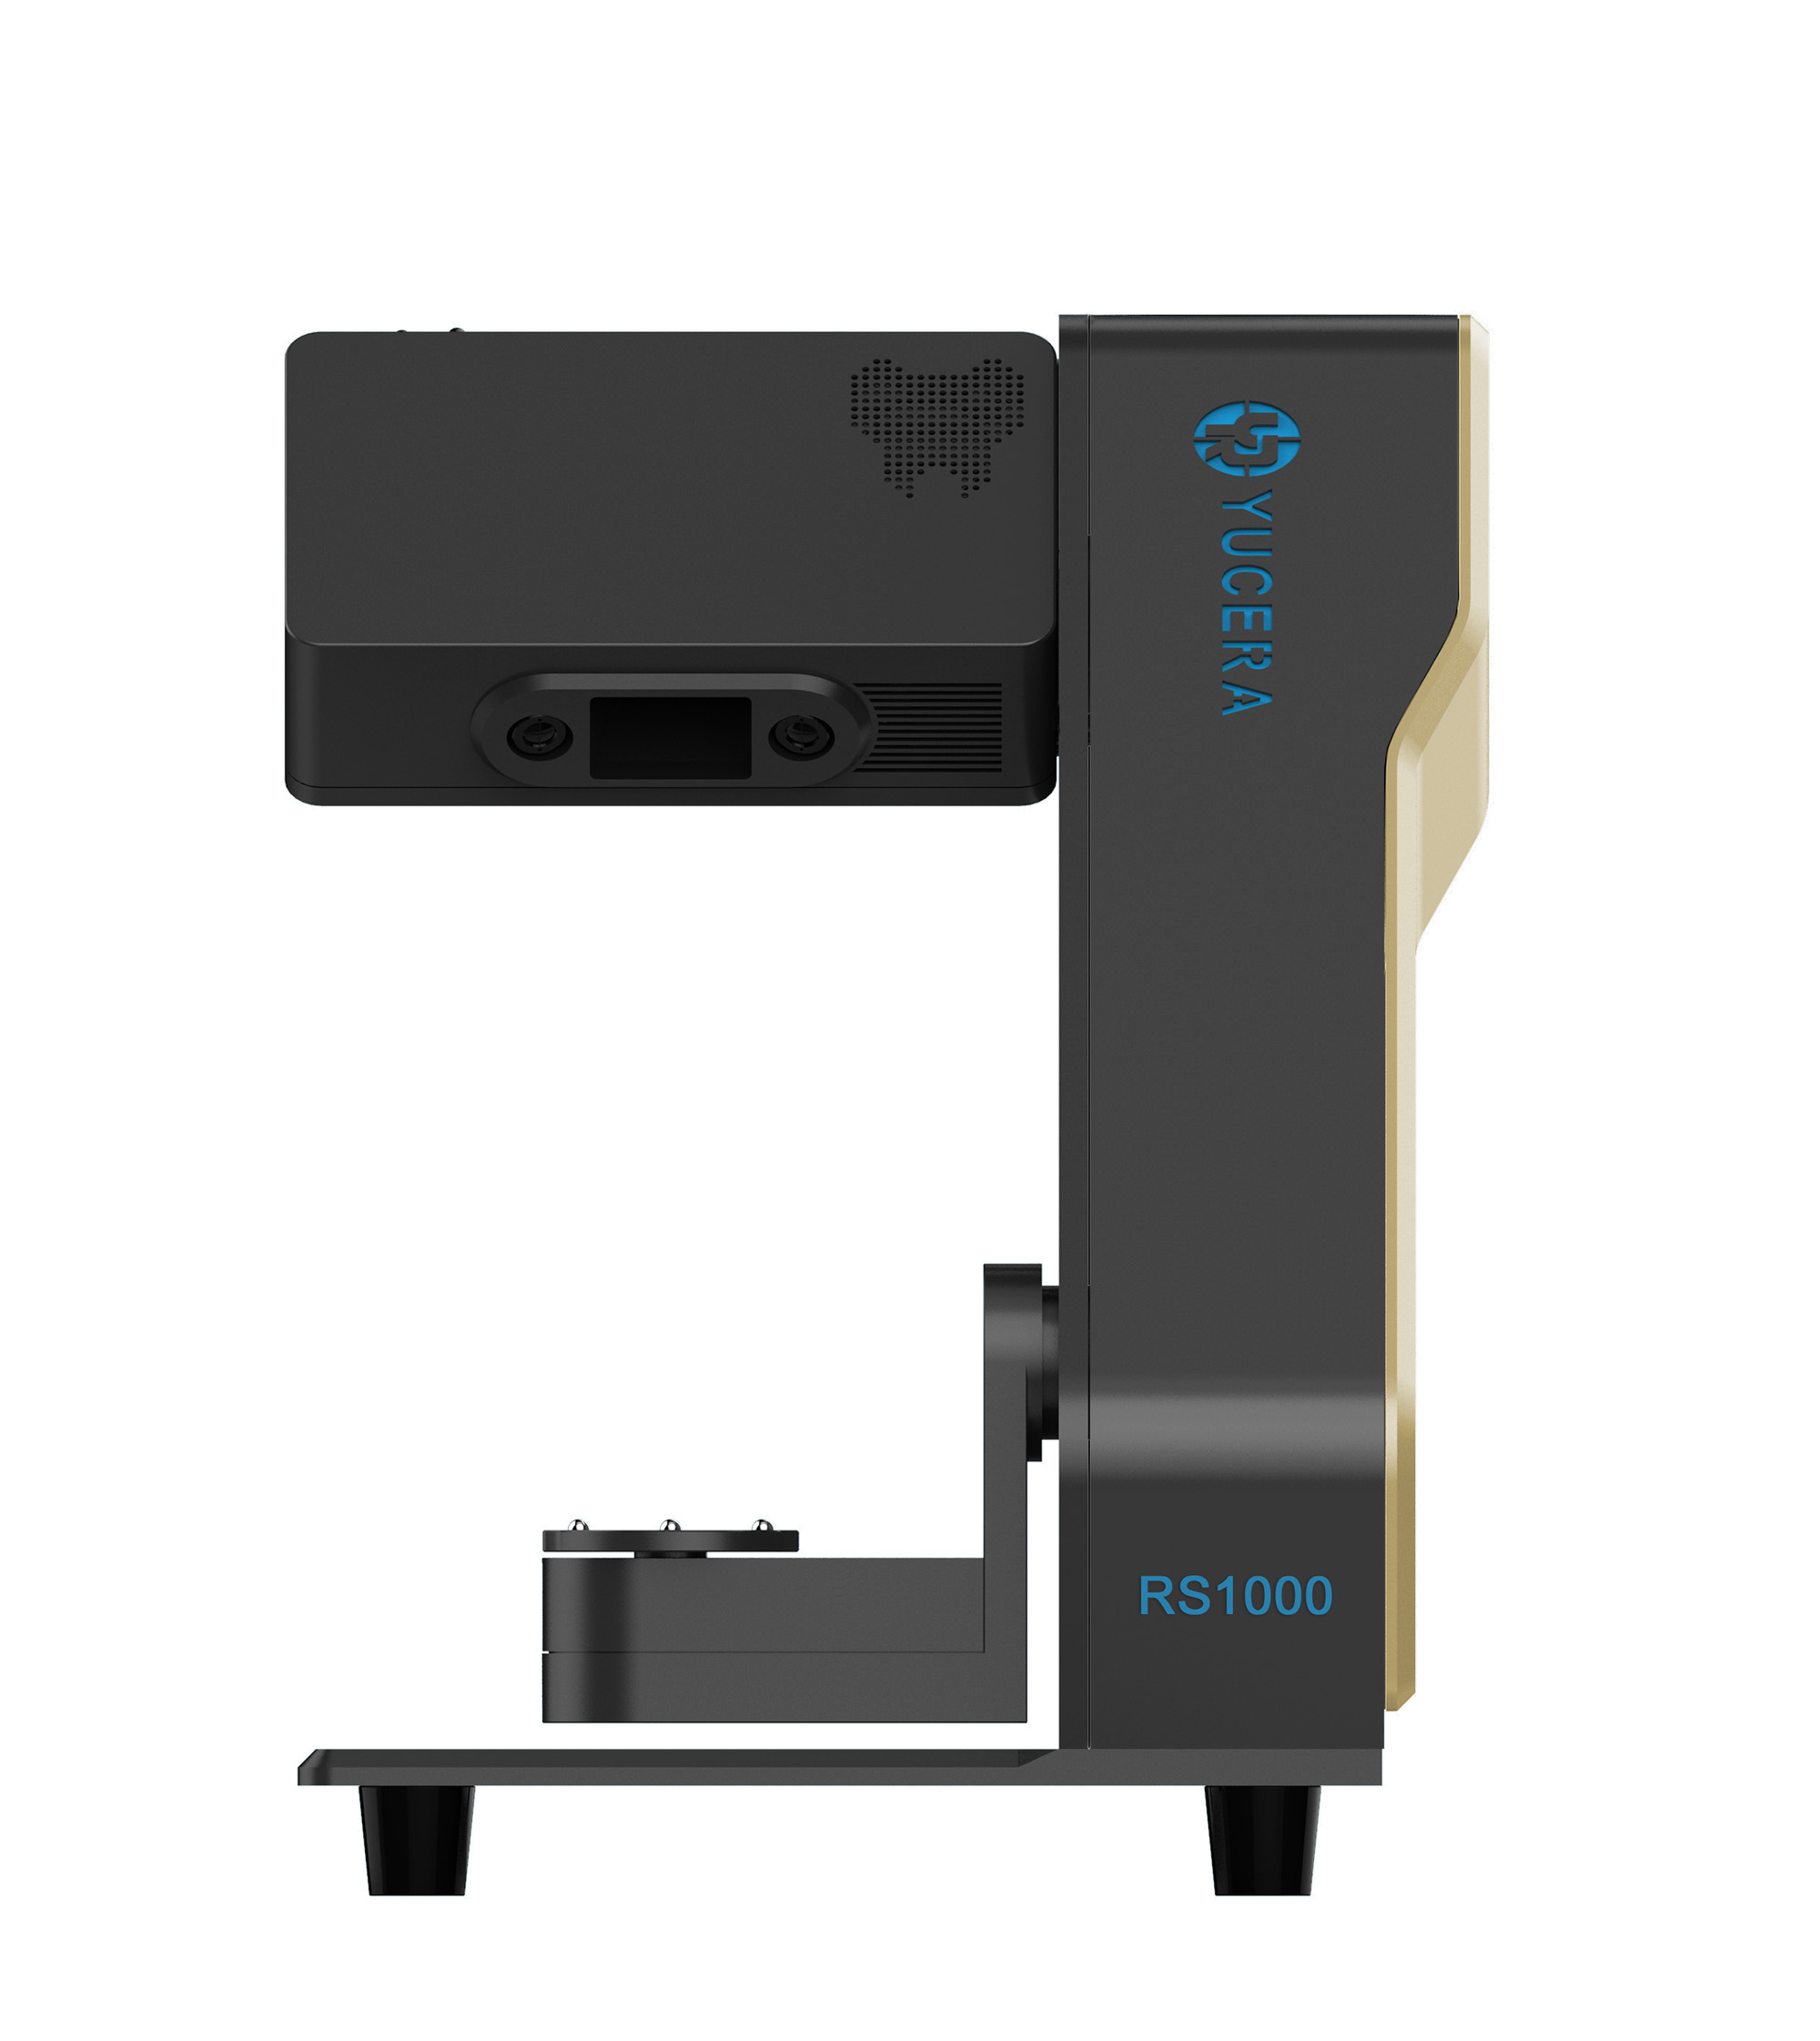

40-min cycle for 60 crowns, dual-layer crucible and 200°C/min heating.
learn more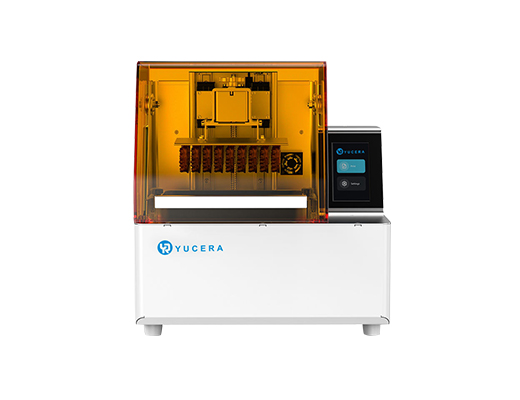
High-speed LCD printer for guides, temporaries, models with 8K resolution.
learn more


