

 中 文
中 文

Why Your Dental Clinic Needs an Intraoral Scanner
2024-07-08
2026-04-29
From Device to Process Control: Reducing 3D Printing Consistency Issues in Dental Labs
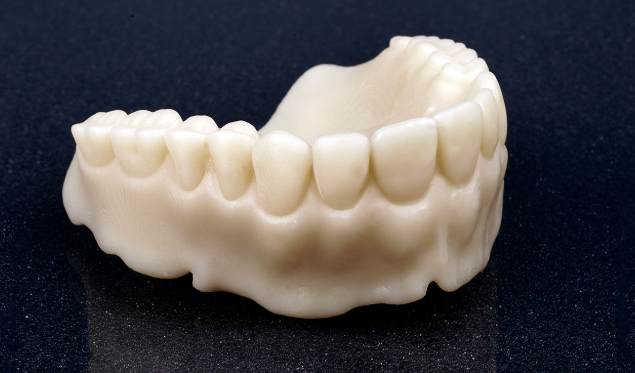
In modern dental laboratories, 3D printing has transformed the production of study models, surgical guides, aligner molds, and provisional restorations. Yet many labs still struggle with inconsistent results — warped models, inaccurate margins, varying fit, and unexpected failures that lead to costly remakes and delayed cases.
Dimensional accuracy in 3D printed dental models typically needs to stay within 50–100 microns for clinical reliability. Studies show that uncontrolled variables can push deviations beyond 150–200 microns, creating problems that only appear during try-in or final seating. The good news is that most consistency issues are solvable by moving from a “device-focused” approach to full process control.
This article outlines a systematic framework to minimize variability and achieve repeatable, high-quality outputs in your dental lab.
Inconsistent prints increase remake rates, waste materials, extend turnaround times, and erode confidence from clinicians. More critically, dimensional errors can affect occlusion, implant positioning, or aligner fit, directly impacting patient outcomes.
Research on vat photopolymerization (the dominant technology for dental models) identifies key factors influencing trueness and precision: layer thickness, exposure energy, build orientation, temperature stability, and post-processing protocols. When these variables fluctuate, even high-end printers produce unreliable results.
By implementing standardized process control, labs can reduce deviations significantly and move toward predictable, micron-level accuracy.
To achieve consistent results, shift focus from the printer itself to the entire workflow. Here is a practical step-by-step framework:
1. Standardize Equipment Maintenance and Calibration Establish a routine calibration schedule for every printer. Check Z-axis homing, level the build platform, and verify light uniformity regularly. Log maintenance activities and performance metrics (such as successful print rate per resin type). Treat calibration as a non-negotiable daily or weekly protocol rather than a reactive fix.
2. Control Material and Environmental Conditions Store resins according to manufacturer guidelines — typically in a cool, dark environment. Use a resin temperature control system or allow material to reach stable lab temperature before printing. Filter resin after each print run to remove debris and cured particles. Monitor and record lab temperature (ideally 23–28°C) and humidity.
3. Optimize Digital Workflow and File Preparation
4. Implement Standardized Printing Protocols Create documented “recipes” for each common application (study models, surgical guides, aligner molds). Define exact parameters: layer height, exposure time, lift speed, and rest times. Test and validate these protocols on your specific printers, then lock them in.
Monitor key variables during prints, such as resin temperature and ambient conditions. Some labs use simple checklists or digital logs to ensure every job follows the same settings.
5. Standardize Post-Processing Develop a repeatable cleaning and curing sequence:
6. Introduce Quality Control Checkpoints Build quality gates at multiple stages:
Track metrics such as remake rate, average deviation, and first-time success rate. Use this data to refine protocols continuously — this is the essence of statistical process control in manufacturing.
Implementing these controls can dramatically reduce variability. Labs that adopt disciplined process management often report fewer remakes, faster turnaround, and improved clinician satisfaction.
High-quality dental 3D printing is less about owning the latest device and more about mastering the entire process — from device calibration and material handling to standardized workflows and rigorous quality control. By treating 3D printing as a controlled manufacturing process rather than a “push-button” solution, dental labs can achieve reliable, repeatable results that meet the demanding tolerances of modern restorative and orthodontic work.
Start small: pick one pain point (such as model warping or first-layer failures), document your current process, introduce controls, measure results, and iterate. Over time, these incremental improvements compound into major gains in efficiency, cost savings, and clinical quality.

Dry & wet milling for zirconia, PMMA, wax with auto tool changer.
learn more
High-precision 3D scanning, AI calibration, full-arch accuracy.
learn more
40-min full sintering with 57% incisal translucency and 1050 MPa strength.
learn more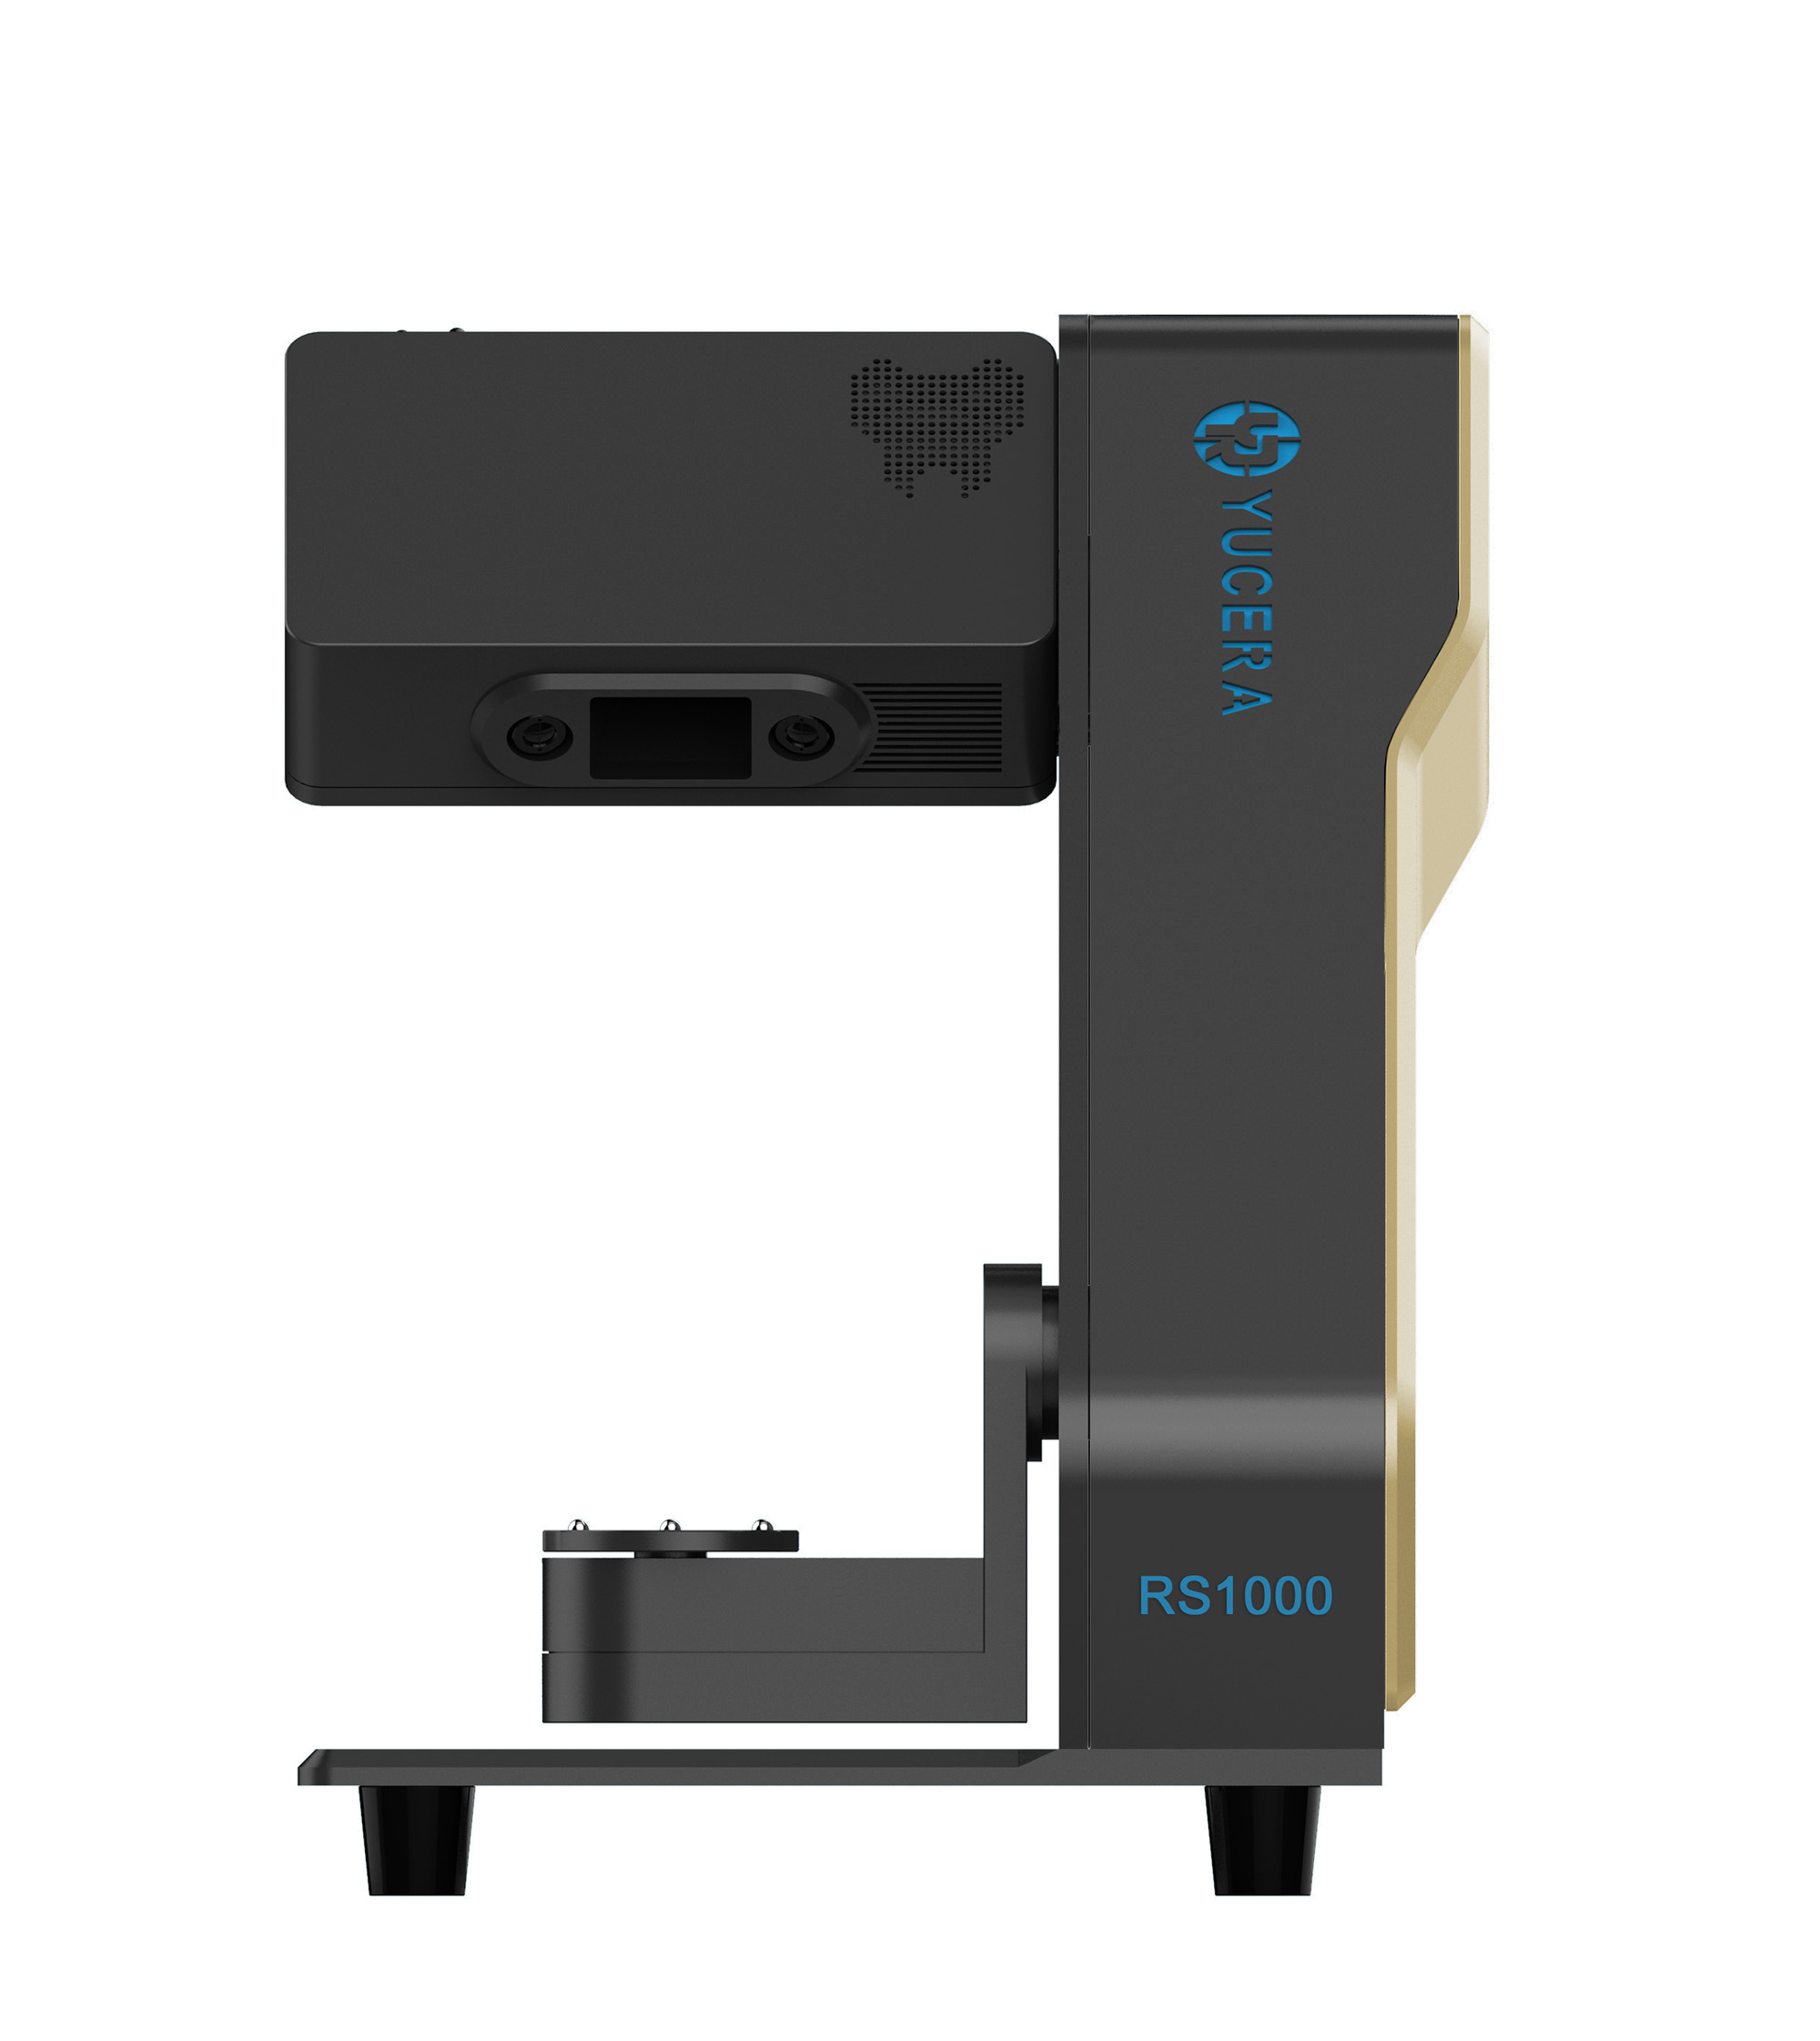

40-min cycle for 60 crowns, dual-layer crucible and 200°C/min heating.
learn more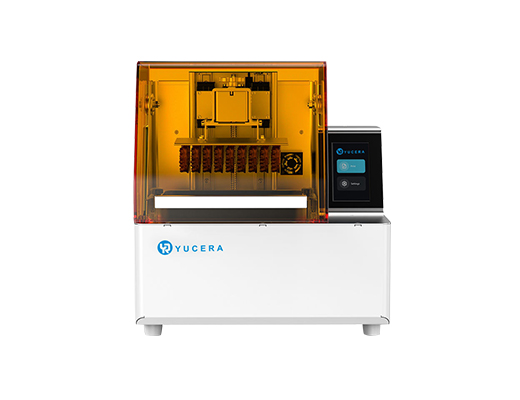
High-speed LCD printer for guides, temporaries, models with 8K resolution.
learn more


