中 文
中 文
A Comprehensive Guide to Purchasing Zirconia: Advantages, Disadvantages, and Considerations in the Dental Industry
2025-03-26
2025-12-24
In the rapidly evolving field of digital dentistry, Computer-Aided Design/Computer-Aided Manufacturing (CAD/CAM) has become a cornerstone technology. This system allows for the precise creation of dental restorations such as crowns, bridges, inlays, onlays, veneers, and even full dentures. By integrating digital scanning, virtual design, and automated manufacturing, CAD/CAM minimizes human error, reduces production time, and improves overall fit and aesthetics.
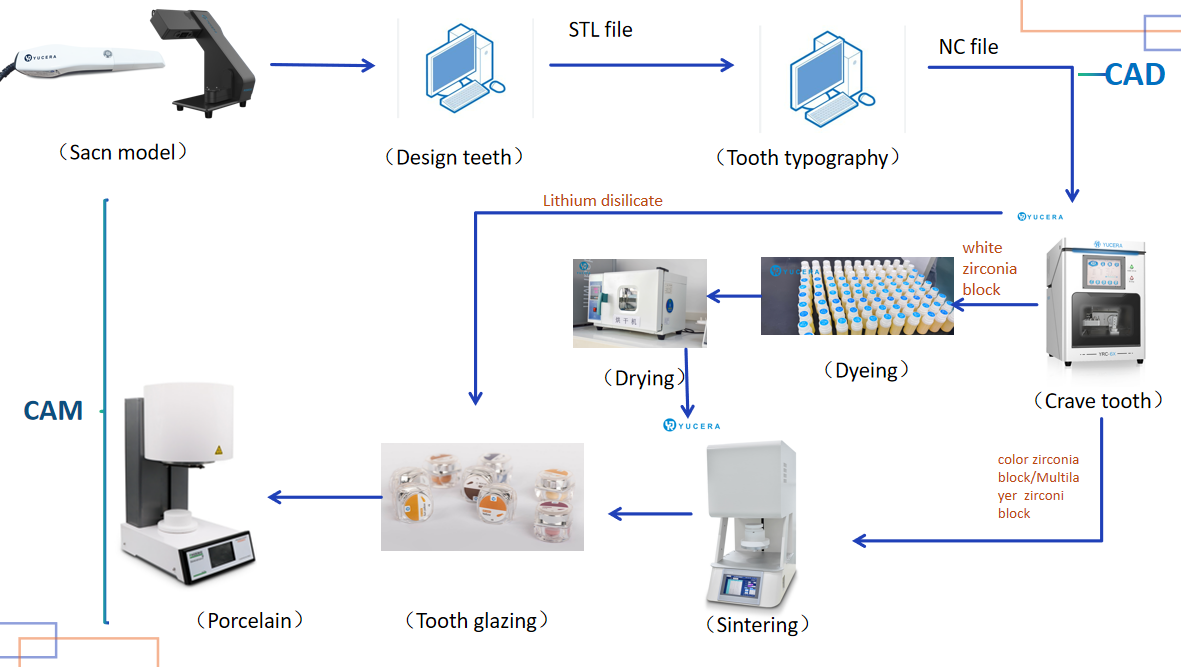
Step 1: Data Acquisition – Scanning and Model Preparation
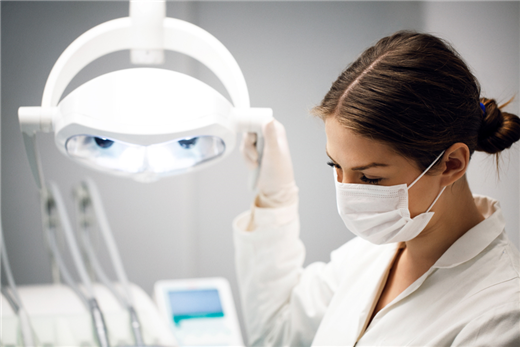
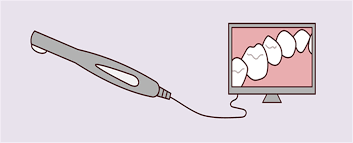
The CAD/CAM process begins with capturing accurate digital data of the patient's oral anatomy. In a laboratory setting, this often starts when the clinic sends either a physical impression or digital files.
For traditional impressions received as silicone molds, the lab pours super-hard gypsum to create a physical model. This model is then scanned using a high-precision desktop scanner, which captures 3D data with micron-level accuracy (typically 5-10 microns). The scanner uses structured light or laser technology to generate a point cloud, which is converted into a mesh for further processing.
Key considerations include ensuring the scan covers the preparation margin, adjacent teeth, and opposing arch for proper occlusion. Any artifacts, like saliva or blood, must be digitally cleaned. This step sets the foundation for the entire process; inaccuracies here can lead to ill-fitting restorations.
Step 2: Computer-Aided Design (CAD) – Virtual Restoration Planning
Once the 3D data is acquired, it is loaded into specialized design software. Here, technicians virtually design the restoration. The software displays the scanned model, allowing for precise adjustments to anatomy, contours, and occlusion.
Design begins by marking the preparation line and defining the insertion axis. Advanced algorithms suggest optimal shapes based on bio-mimetic principles, ensuring the restoration mimics natural tooth morphology. Parameters like minimum thickness (e.g., 0.5-1.0 mm for zirconia) are enforced to prevent fractures. For multi-unit restorations like bridges, connectors are sized appropriately for strength.
AI integrations in modern software automate much of this, reducing design time from hours to minutes. The output is an STL file representing the final restoration design. In laboratory workflows, multiple designs can be nested for efficient material use, so they also need to typeset the tooth,generating a production file in NC format for manufacturing.
This phase is crucial for customization—technicians can simulate bite forces and aesthetics, ensuring patient-specific outcomes.
Step 3: Computer-Aided Manufacturing – Milling and Carving
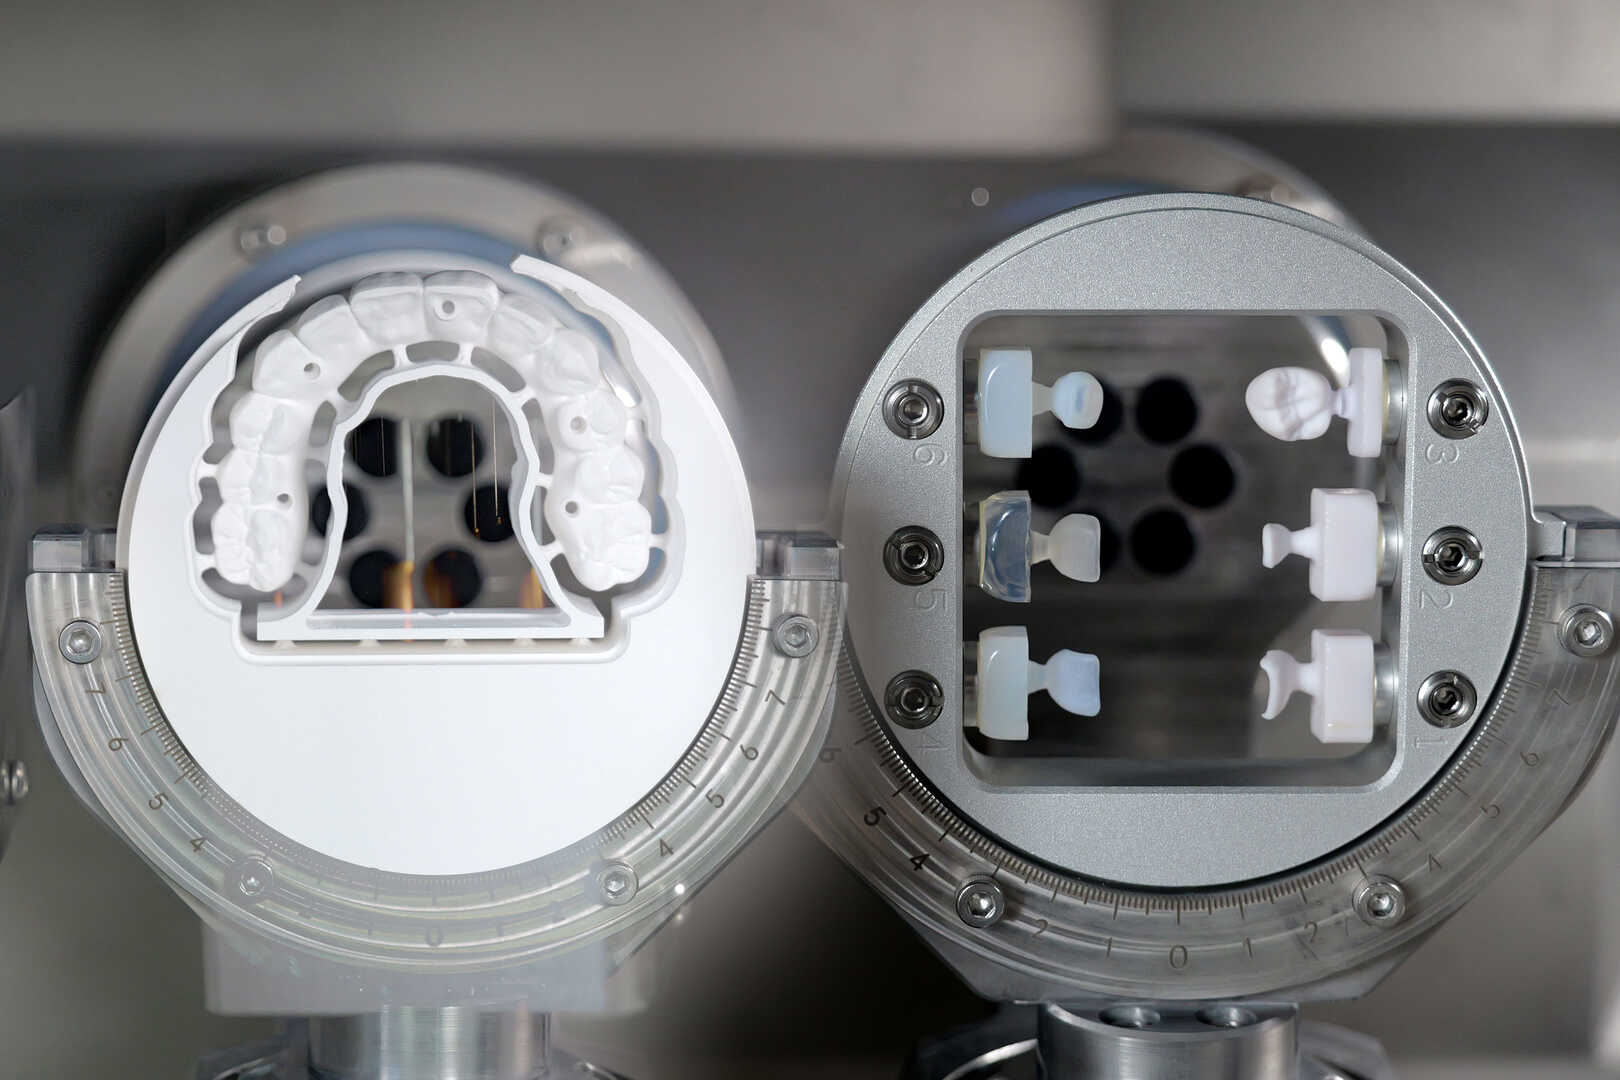
With the design file ready, the process moves to CAM, where the virtual model is physically produced. This involves subtractive manufacturing using a multi-axis milling machine .
The NC file is loaded into the mill, which carves the restoration from a pre-sintered block of material, such as zirconia, lithium disilicate, or composite resin. Zirconia, favored for its strength , is milled in a soft state to avoid tool wear.
Milling takes 10-30 minutes per unit, depending on complexity. Wet milling is used for glass-ceramics to prevent heat damage, while dry milling suits zirconia. Post-milling, the restoration is detached from support structures and inspected for defects.
Step 4: Coloring and Drying – Enhancing Aesthetics
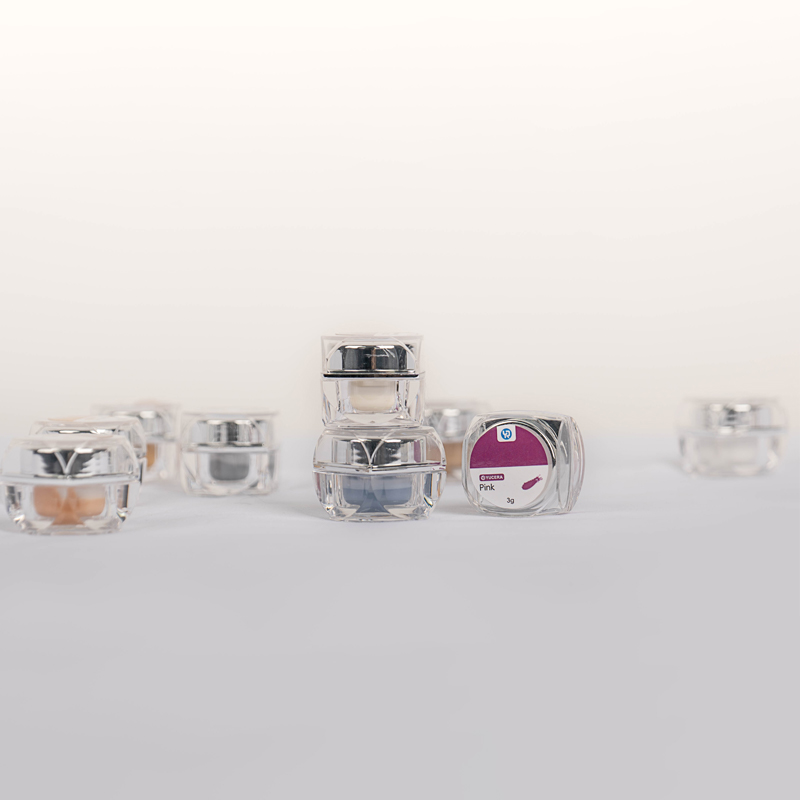
For materials like zirconia that start white or monochromatic, coloring is essential to achieve natural tooth shades. In the pre-sintered state, the milled restoration is dipped or brushed with liquid colorants matching Vita shades (A1-D4).
Multi-layer blocks with gradient translucency reduce the need for extensive coloring, but custom staining adds details like incisal blue or gingival pink. After application, the piece is dried at low temperatures (around 80-100°C) to evaporate solvents without cracking.
This step ensures the restoration blends seamlessly with surrounding teeth, improving patient satisfaction. Drying typically lasts 30-60 minutes, preparing the item for the next phase.
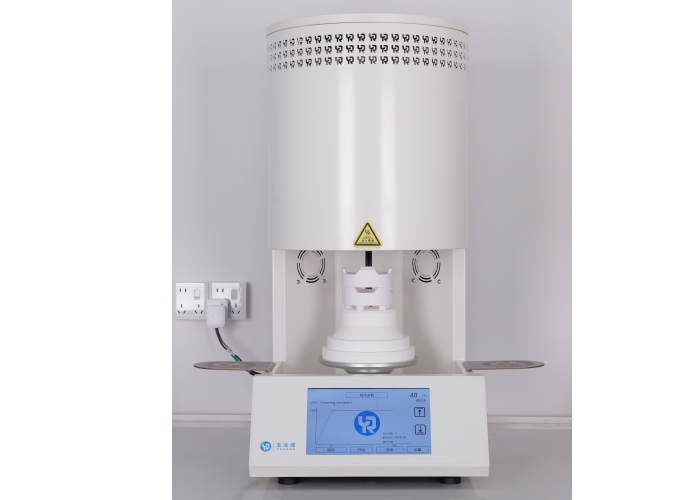
Step 5: Sintering – Achieving Final Strength and Density
Sintering transforms the soft, milled zirconia into a dense, high-strength ceramic. The restoration is placed in a dedicated furnace and heated according to a specific curve—typically ramping to 1450-1550°C over several hours, holding for 2 hours, and cooling slowly to avoid thermal shock.
Furnace settings vary by material thickness and type; rapid sintering options can shorten the cycle to 2-4 hours for single units. This process causes volumetric shrinkage, finalizing the size and boosting translucency.
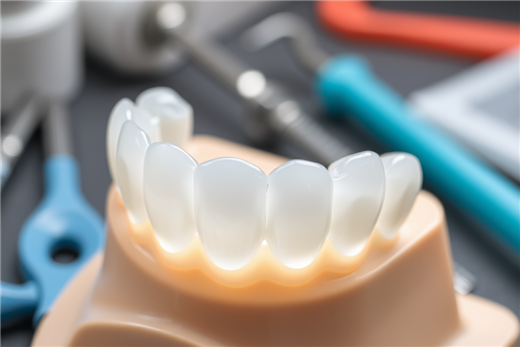
After sintering, the surface is rough and matte. Glazing applies a thin ceramic layer, fired at lower temperatures (750-850°C) for 1-2 minutes, creating a glossy, stain-resistant finish.
External stains can be added for subtle color variations, enhancing realism. Polishing with diamond tools is an alternative for a smoother feel, though glazing provides better longevity against wear.
This aesthetic refinement is vital for anterior restorations, where natural light reflection matters. In labs, multiple units are glazed in batches for efficiency.

Advantages and Market Trends
CAD/CAM offers numerous benefits: precision (fit accuracy >95%), reduced chair time (same-day possible), material savings, and fewer remakes (under 5%). It also supports biocompatible materials like zirconia, which boast survival rates over 95% at 5 years.
Trends include AI-driven designs, 3D printing integration for hybrids, and cloud-based collaborations between clinics and labs. With aging populations and rising cosmetic demands, adoption is surging globally—North America holds 36% market share, but Asia-Pacific grows at 12% CAGR.
Challenges remain, such as initial investment ($50,000-$200,000 for systems) and training needs, but ROI is achieved within 1-2 years through efficiency gains.
Conclusion
The dental CAD/CAM full process—from scanning to restoration—represents a paradigm shift in dentistry, blending technology with artistry for superior outcomes. Whether in a chairside clinic or advanced lab, mastering this workflow empowers professionals to deliver faster, more accurate care. As the market expands to $7.48 billion by 2034, staying updated ensures competitiveness in digital dentistry. For practitioners worldwide, embracing CAD/CAM is not just an option—it's the future of oral health.

Dry & wet milling for zirconia, PMMA, wax with auto tool changer.
learn more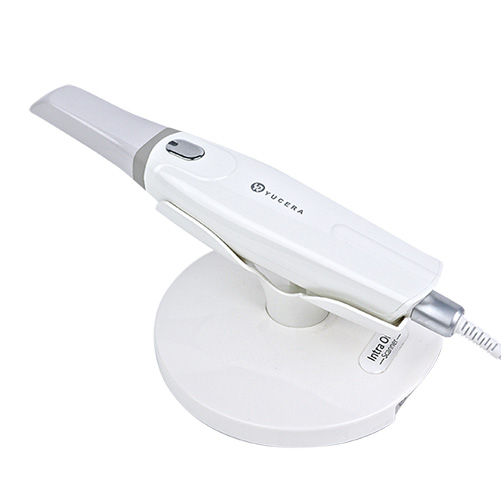
High-precision 3D scanning, AI calibration, full-arch accuracy.
learn more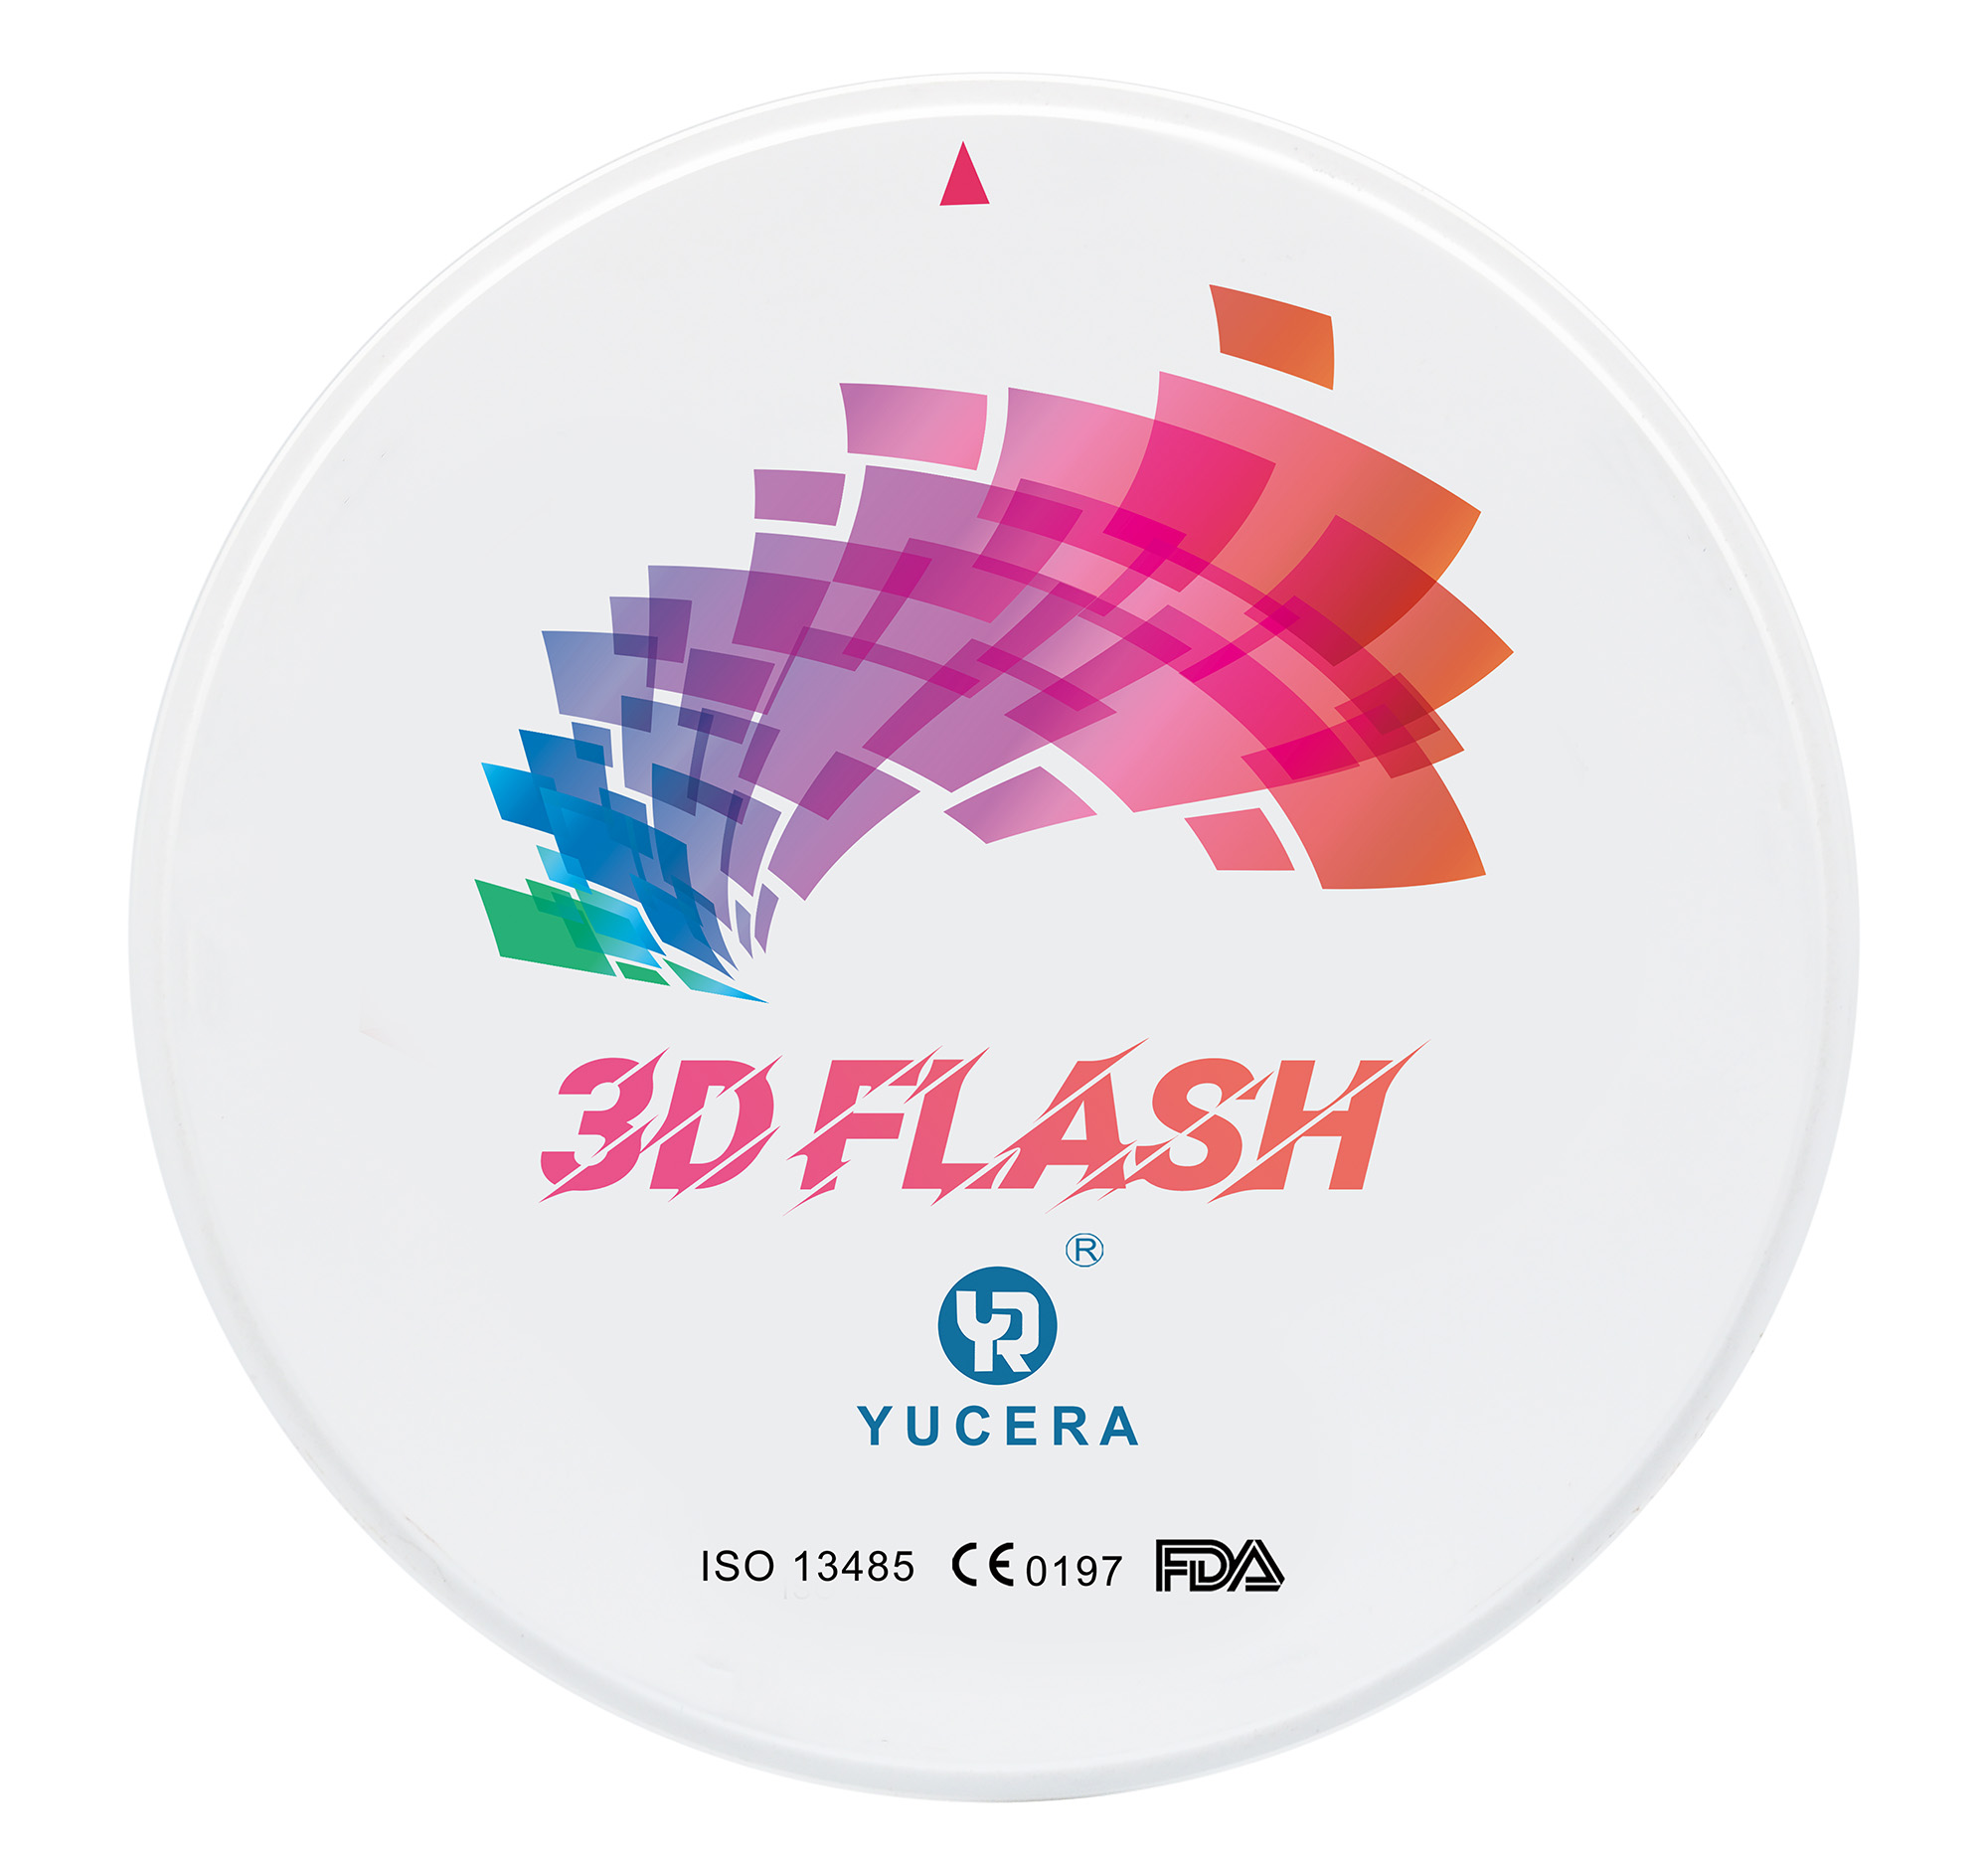
40-min full sintering with 57% incisal translucency and 1050 MPa strength.
learn more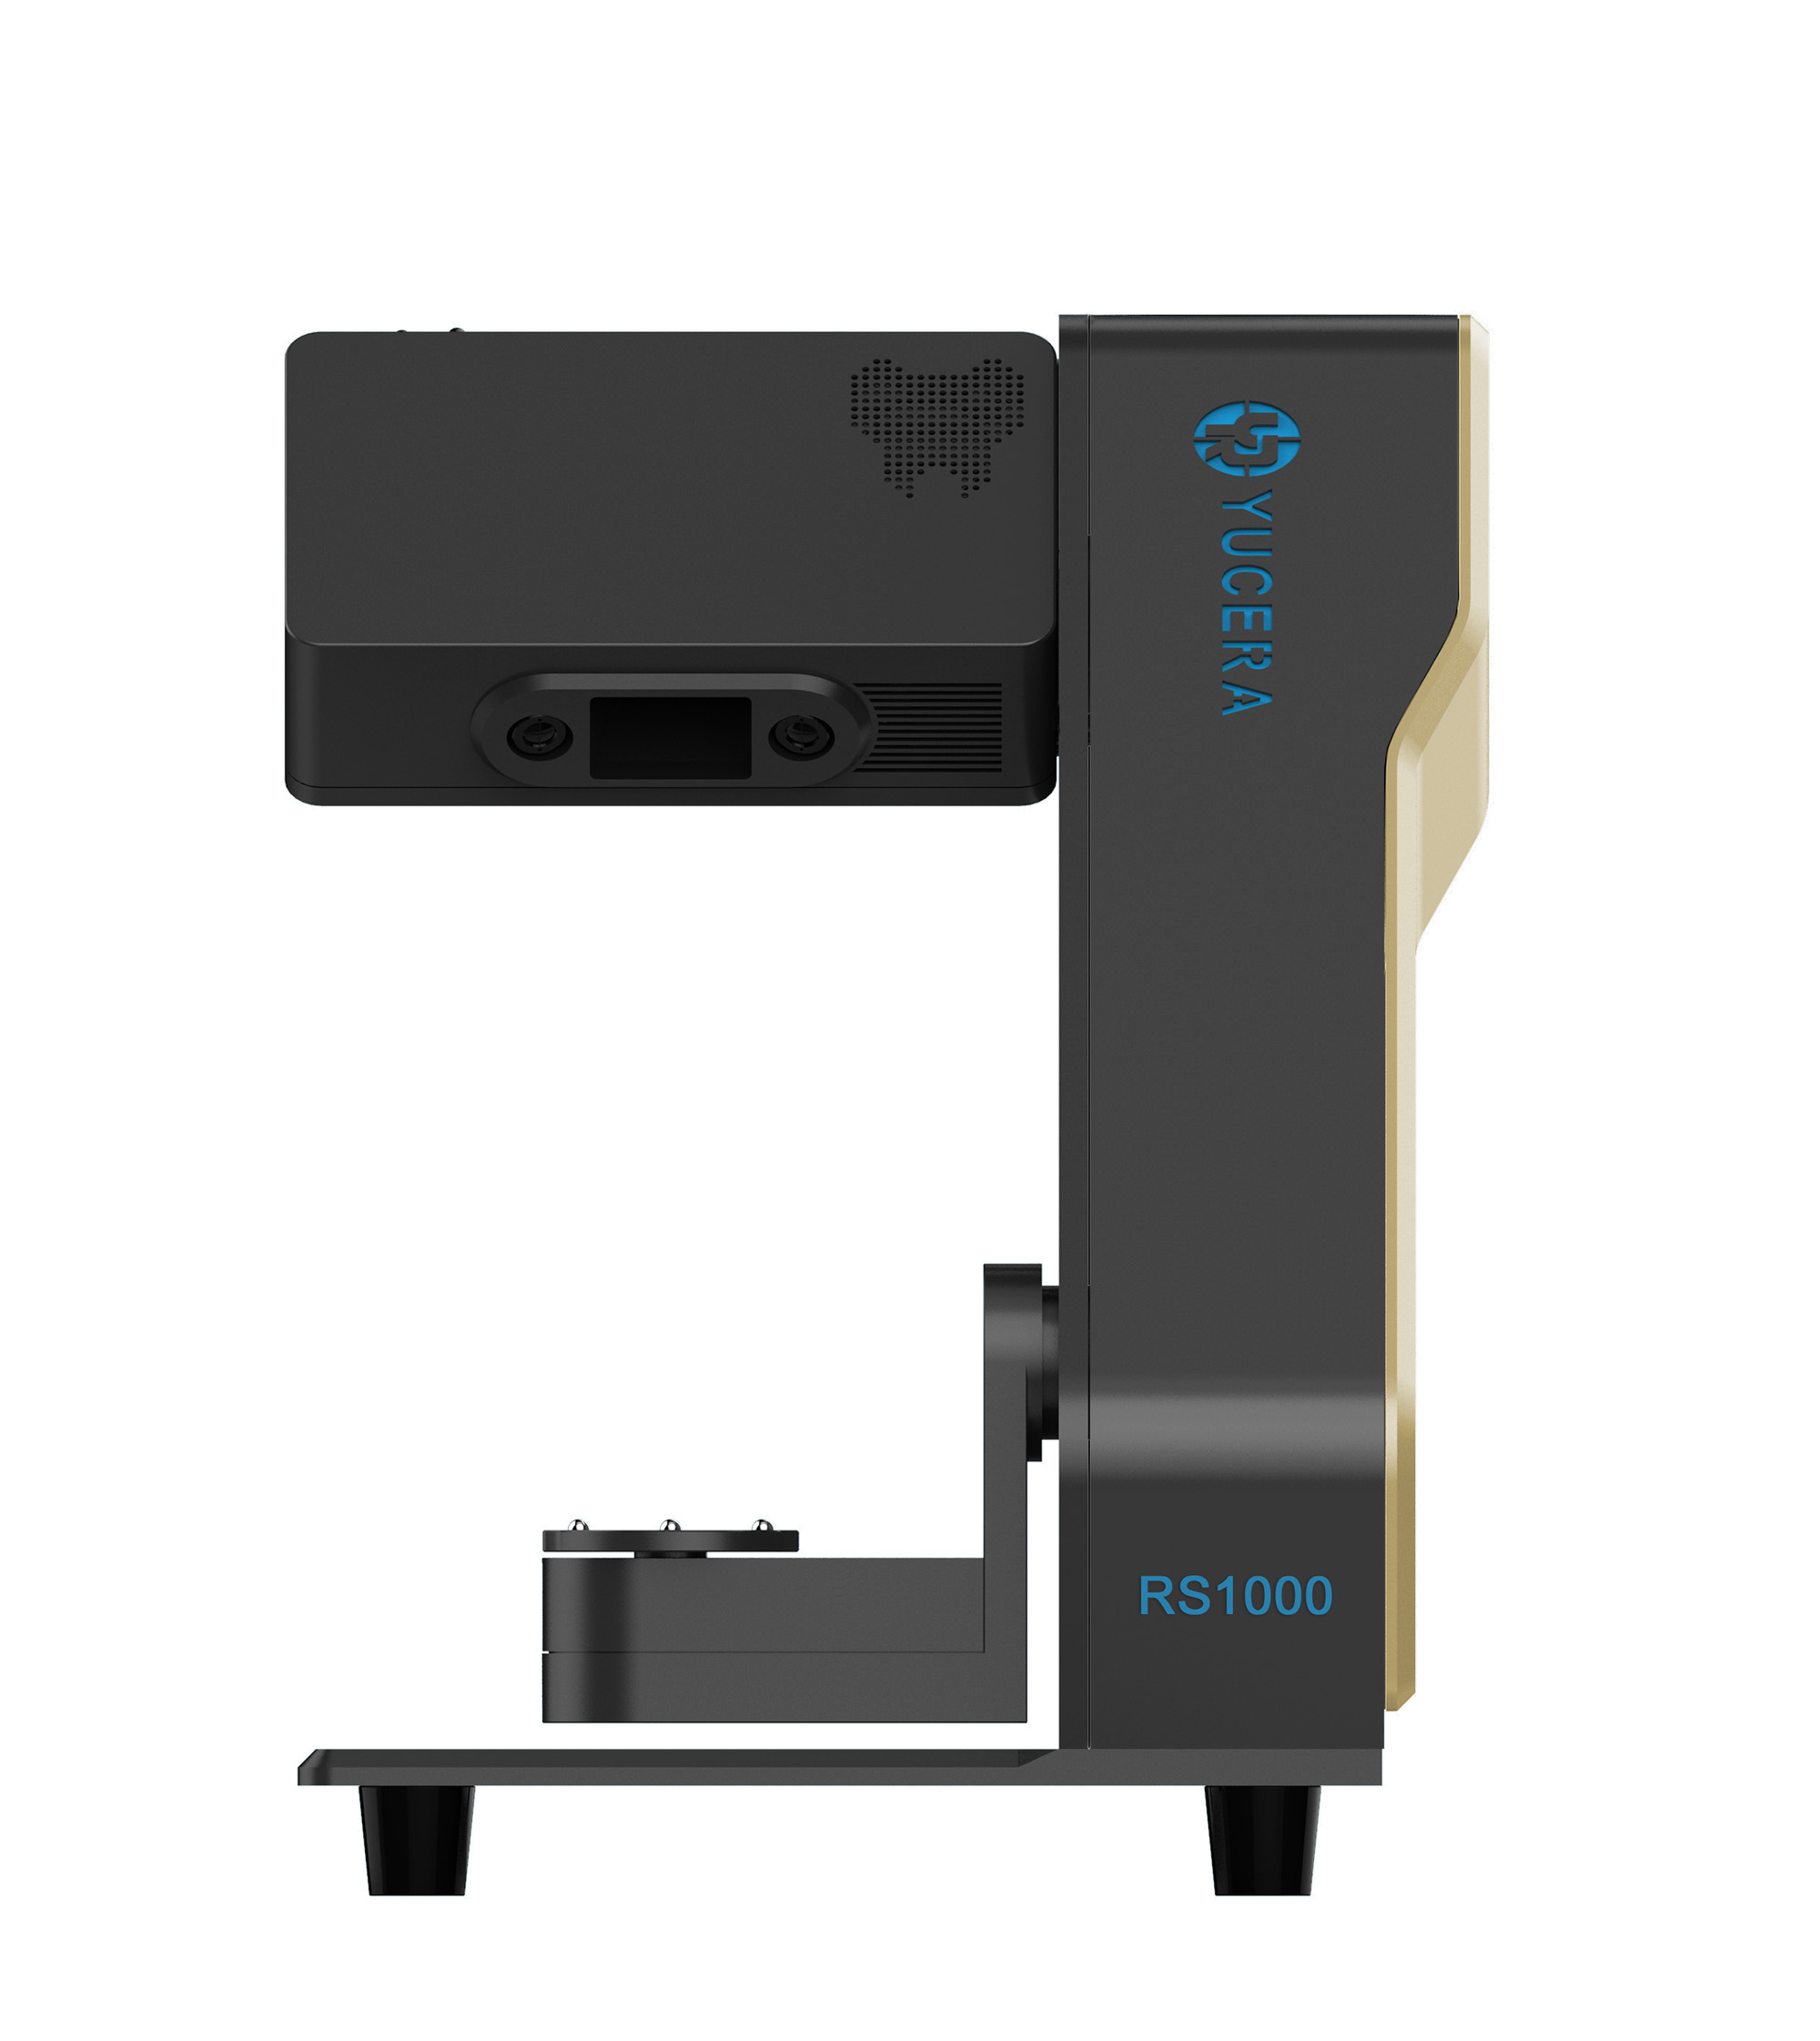

40-min cycle for 60 crowns, dual-layer crucible and 200°C/min heating.
learn more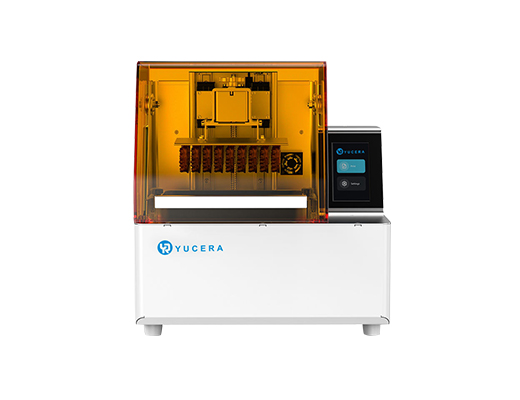
High-speed LCD printer for guides, temporaries, models with 8K resolution.
learn more