中 文
中 文

How to Train Dental Staff on CAD/CAM Equipment: US & Europe Market-Specific Guidelines 2026
2026-02-14
2026-04-25
Struggling with Inconsistent 3D Printed Dental Models? How Labs Can Optimize Workflows for Stable, Reliable Output
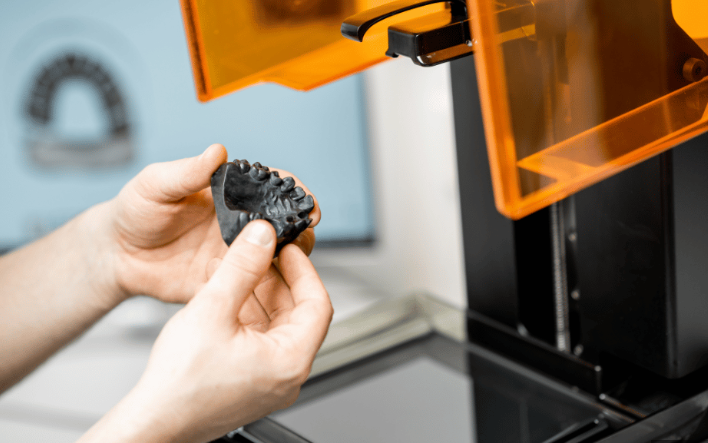
In dental laboratories, 3D printing has transformed production of models, surgical guides, aligner molds, temporary restorations, and custom trays. It delivers speed and precision that traditional methods struggle to match. Yet many labs still face a common frustration: inconsistent output. One batch yields perfect fits; the next shows warping, dimensional errors, or poor surface quality that requires remakes and delays.
Inconsistency wastes time, materials, and labor while risking clinical outcomes. Studies show that 3D printed dental models can achieve trueness within 100 μm in optimal conditions, but real-world variability often pushes errors higher due to uncontrolled factors. Labs that master workflow optimization reduce failure rates, improve repeatability, and boost profitability.
This guide outlines practical, proven steps to stabilize your dental 3D printing process without relying on any specific hardware brands. Focus on fundamentals that deliver consistent results across resin-based systems commonly used in dentistry.
Dental applications demand tight tolerances. A model with even 200–300 μm deviation can affect crown fit, aligner seating, or guide accuracy, leading to chairside adjustments or remake requests. Consistent output means:
Common issues include layer delamination, warping, inaccurate margins, rough surfaces, and dimensional shrinkage. These often stem from printer settings, environment, material handling, or post-processing rather than the technology itself.
Inconsistency often begins before printing. Varying STL file quality or support strategies directly impacts results.
Create a design checklist: resolution, hollowing parameters (if used), drain holes, and wall thickness. Document approved presets for common applications like study models, surgical guides, or aligner molds.
Regular calibration is the foundation of repeatability. A misaligned build platform or degraded optics can ruin entire builds.
Schedule preventive maintenance weekly: inspect for resin spills, clean filters, and run test prints with a standard calibration model to verify dimensional accuracy.
Resin quality and handling strongly influence consistency.
Different resins shrink at different rates. Calibrate your workflow for each material type (model resin, surgical guide resin, etc.) and note compensation factors in slicing software if supported.
Generic settings rarely deliver optimal results. Develop validated profiles:
Run systematic tests: Print the same test object (e.g., a grid or dental arch with known dimensions) while varying one parameter at a time. Measure results with calipers or a digital scanner and record what delivers the best trueness and precision.
Many labs achieve high repeatability by locking in “golden” presets for each application and training all technicians to use them.
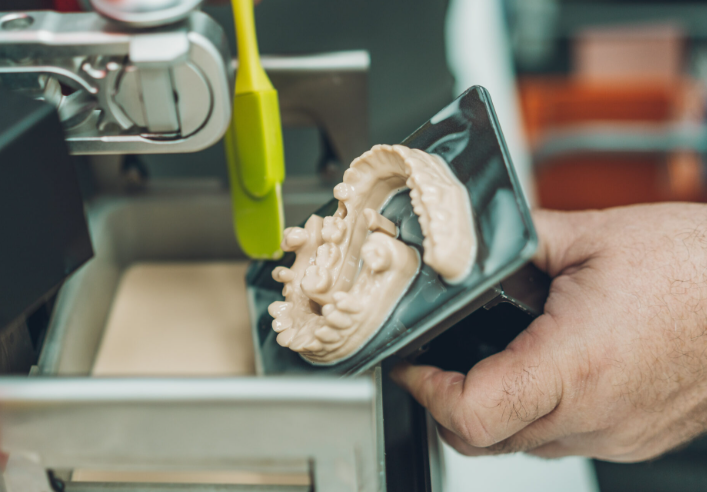
Post-processing often causes more variability than the print itself.
Standardize the entire post-processing sequence with timers and checklists. Measure final parts against the digital file to quantify shrinkage and apply compensation in design if needed.
Consistency requires measurement and feedback.
Consider basic statistical process control—track average deviation and standard deviation over time to prove improvement.
Treat 3D printing as an integrated digital workflow rather than an isolated step:
Start small: Optimize one application (e.g., study models) before scaling to surgical guides or temporaries. Document the full optimized workflow and update it as you gain data.
Labs that implement these practices often report:
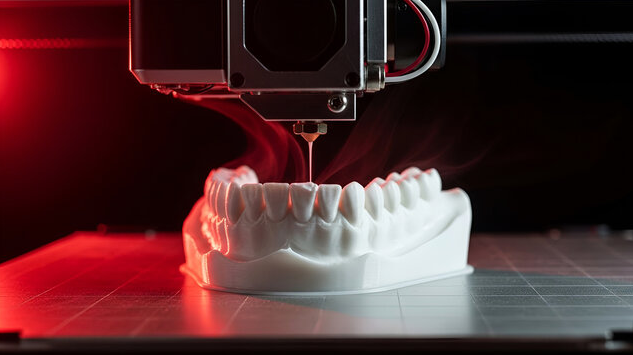
While absolute accuracy varies by technology (SLA/DLP systems generally excel for dental models), the key is repeatability within your setup. Clinical acceptability for many applications falls in the <100–200 μm range, and disciplined workflows routinely achieve this.
Consistency in dental 3D printing is achievable through discipline rather than exotic equipment. By controlling variables at every stage—from file prep to final cure—labs can deliver stable, high-quality output that supports better patient outcomes and business growth.
The transition requires initial effort, but the payoff in reliability and efficiency is substantial. Review your current workflow against these steps, identify the biggest sources of variation, and tackle them one by one. Stable 3D printing output is within reach for any committed dental laboratory.

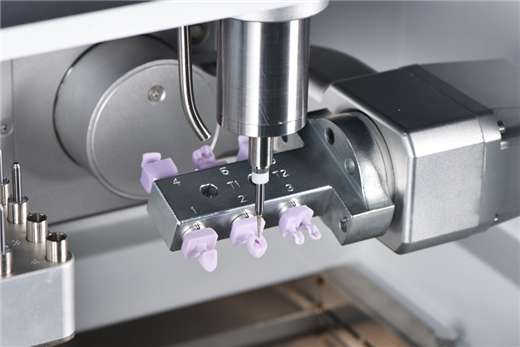
Dry & wet milling for zirconia, PMMA, wax with auto tool changer.
learn more
High-precision 3D scanning, AI calibration, full-arch accuracy.
learn more
40-min full sintering with 57% incisal translucency and 1050 MPa strength.
learn more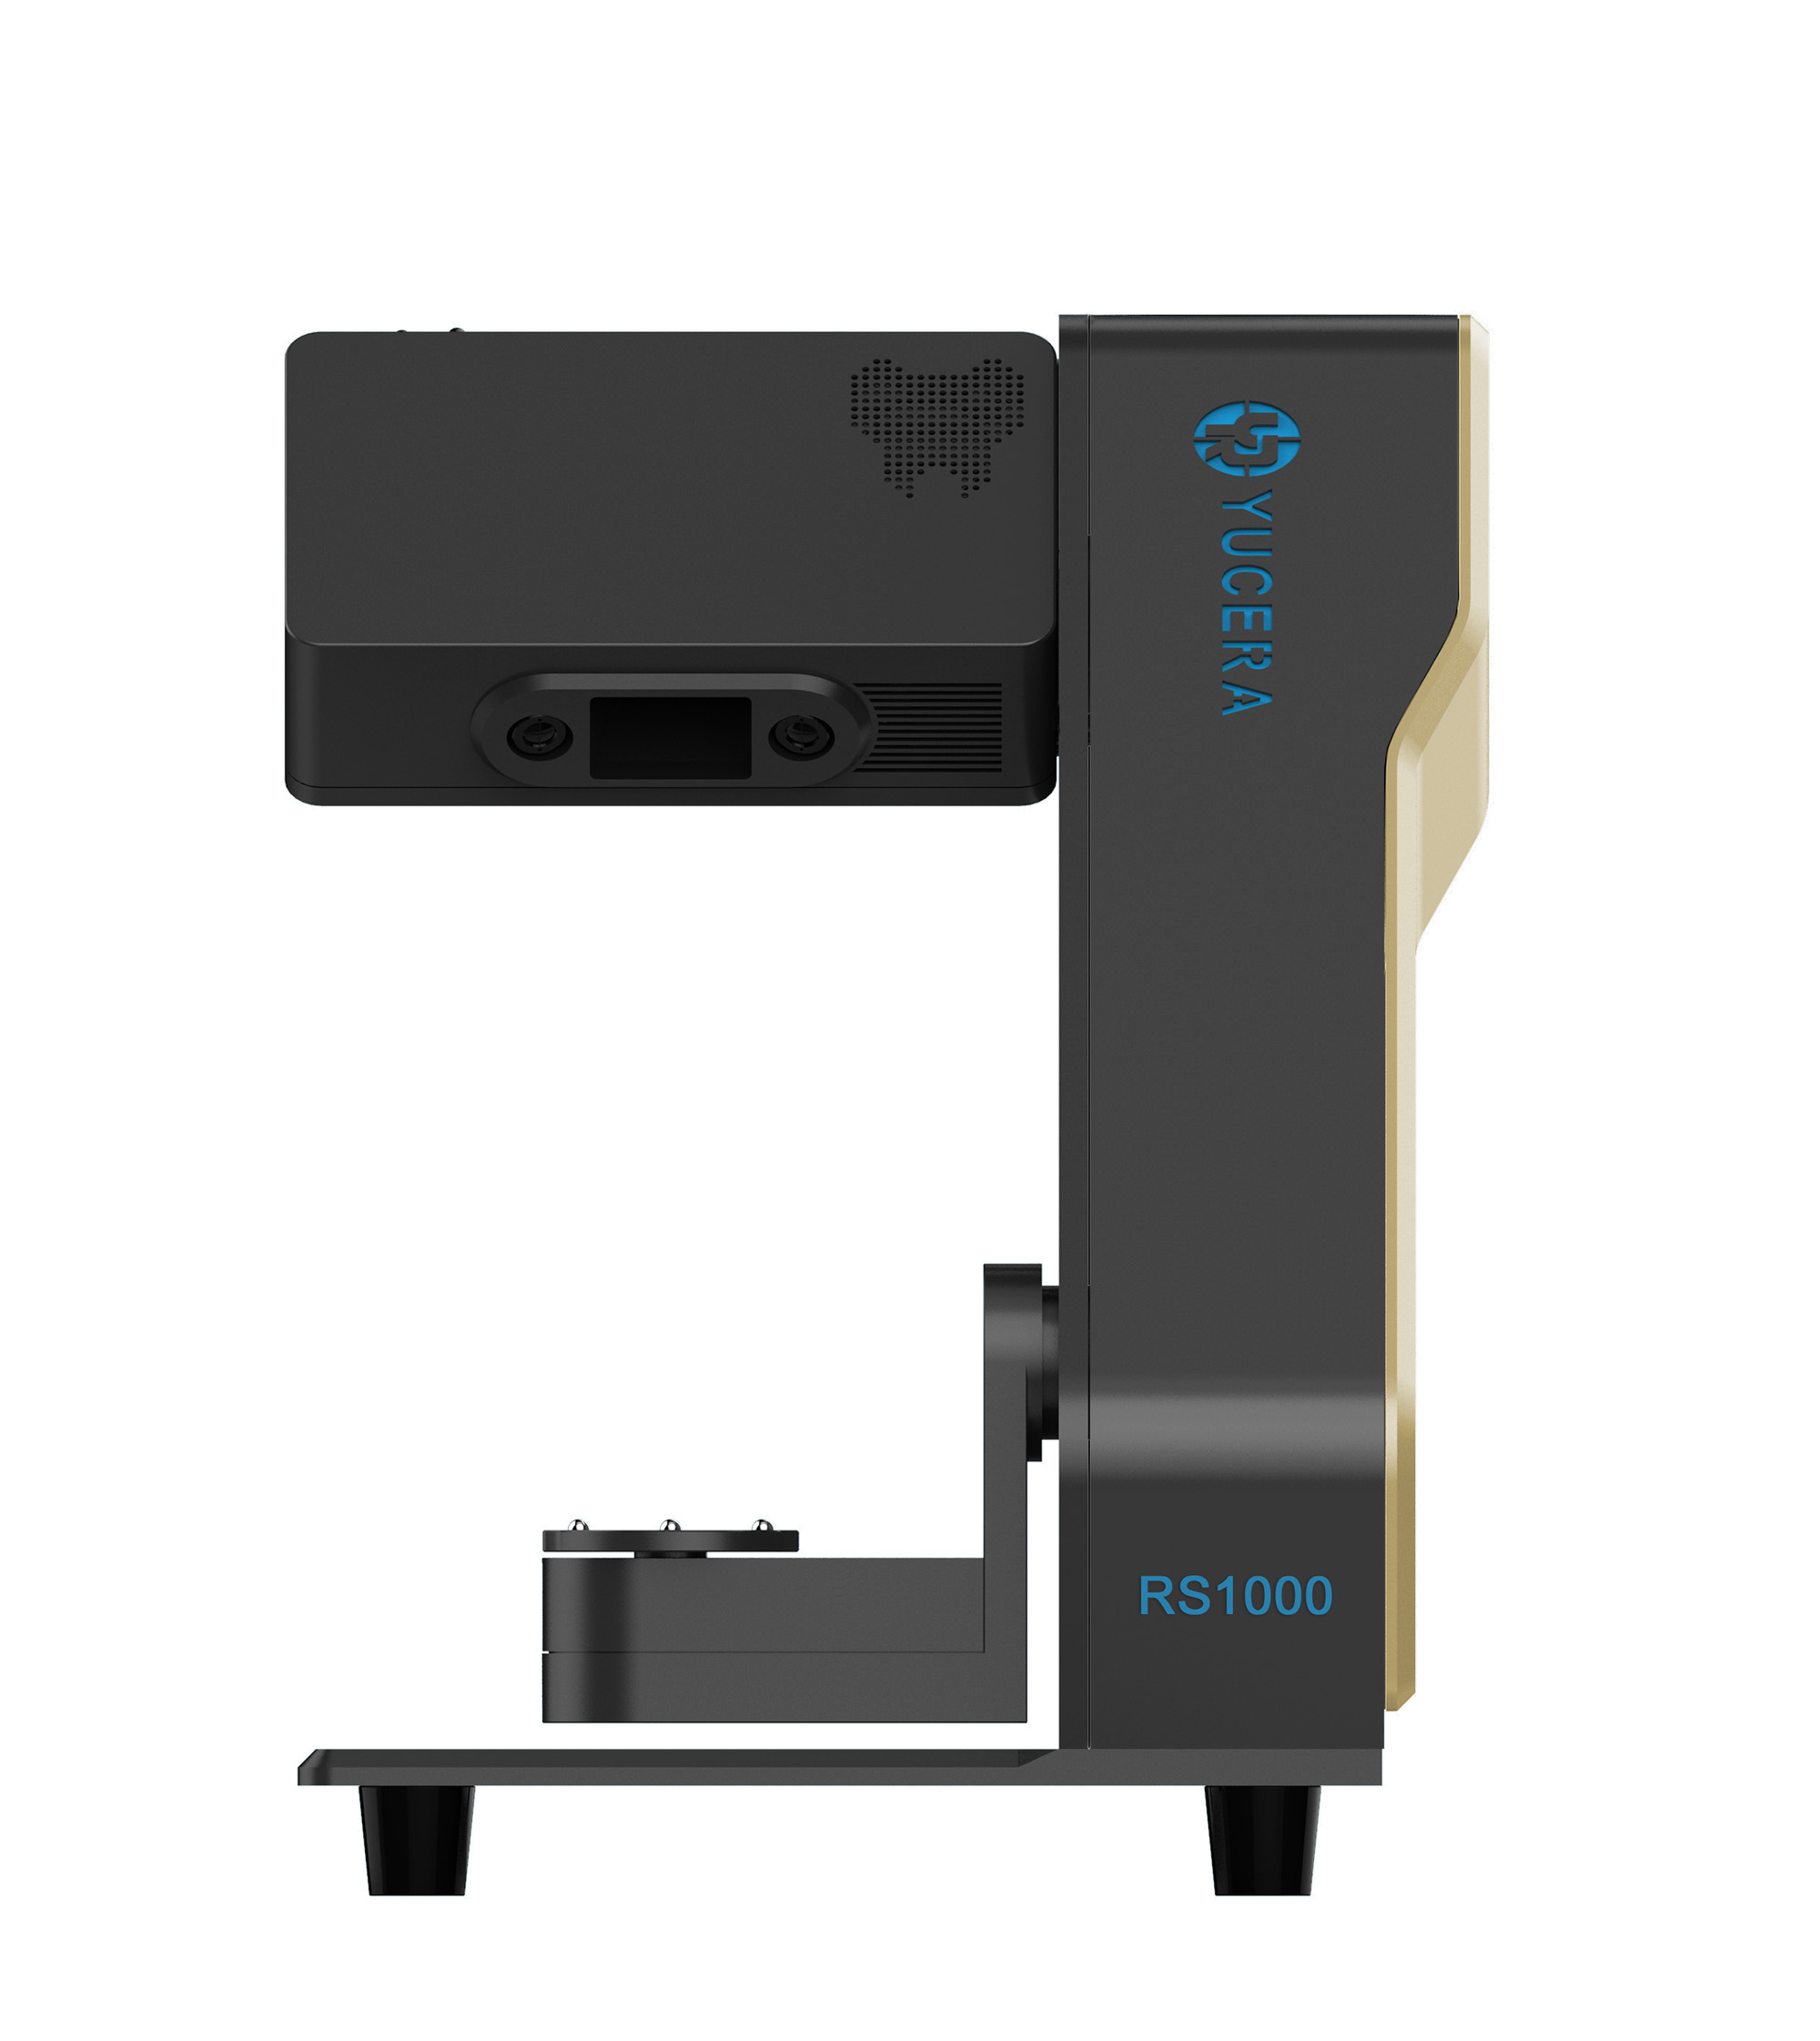

40-min cycle for 60 crowns, dual-layer crucible and 200°C/min heating.
learn more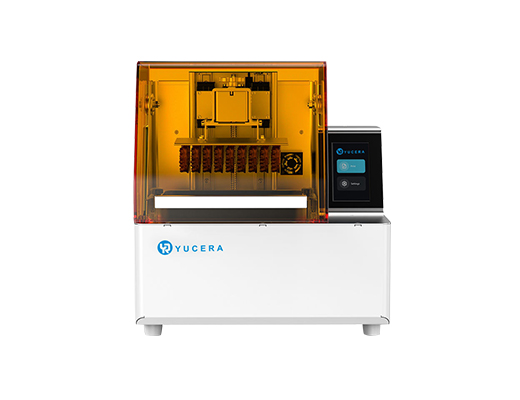
High-speed LCD printer for guides, temporaries, models with 8K resolution.
learn more