Starting a digital dental lab with CAD/CAM technology can seem overwhelming for newcomers, but a structured approach allows quick mastery. This guide focuses on zirconia block processing—the most common application in restorative dentistry—providing practical, step-by-step instructions for beginners. In Eastern Europe, where labs in Poland, Hungary, Romania, and the Czech Republic rapidly adopt digital tools to meet demand from local patients and dental tourism, entry-level CAD/CAM setups enable efficient production of crowns, bridges, and veneers at lower costs.
Recent market trends show Eastern European dental labs investing in affordable digital systems, with many equipping under €50,000 for scanners, design software, mills, and sintering furnaces. Proper setup and practice lead to reliable results within weeks, reducing reliance on external labs and improving turnaround times.
Essential Equipment for Beginners
A basic CAD/CAM zirconia workflow requires:
-
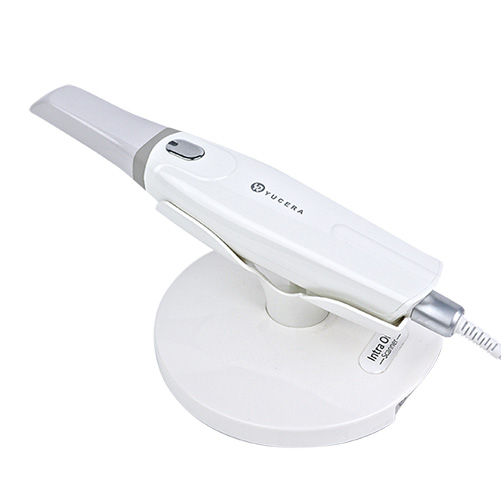
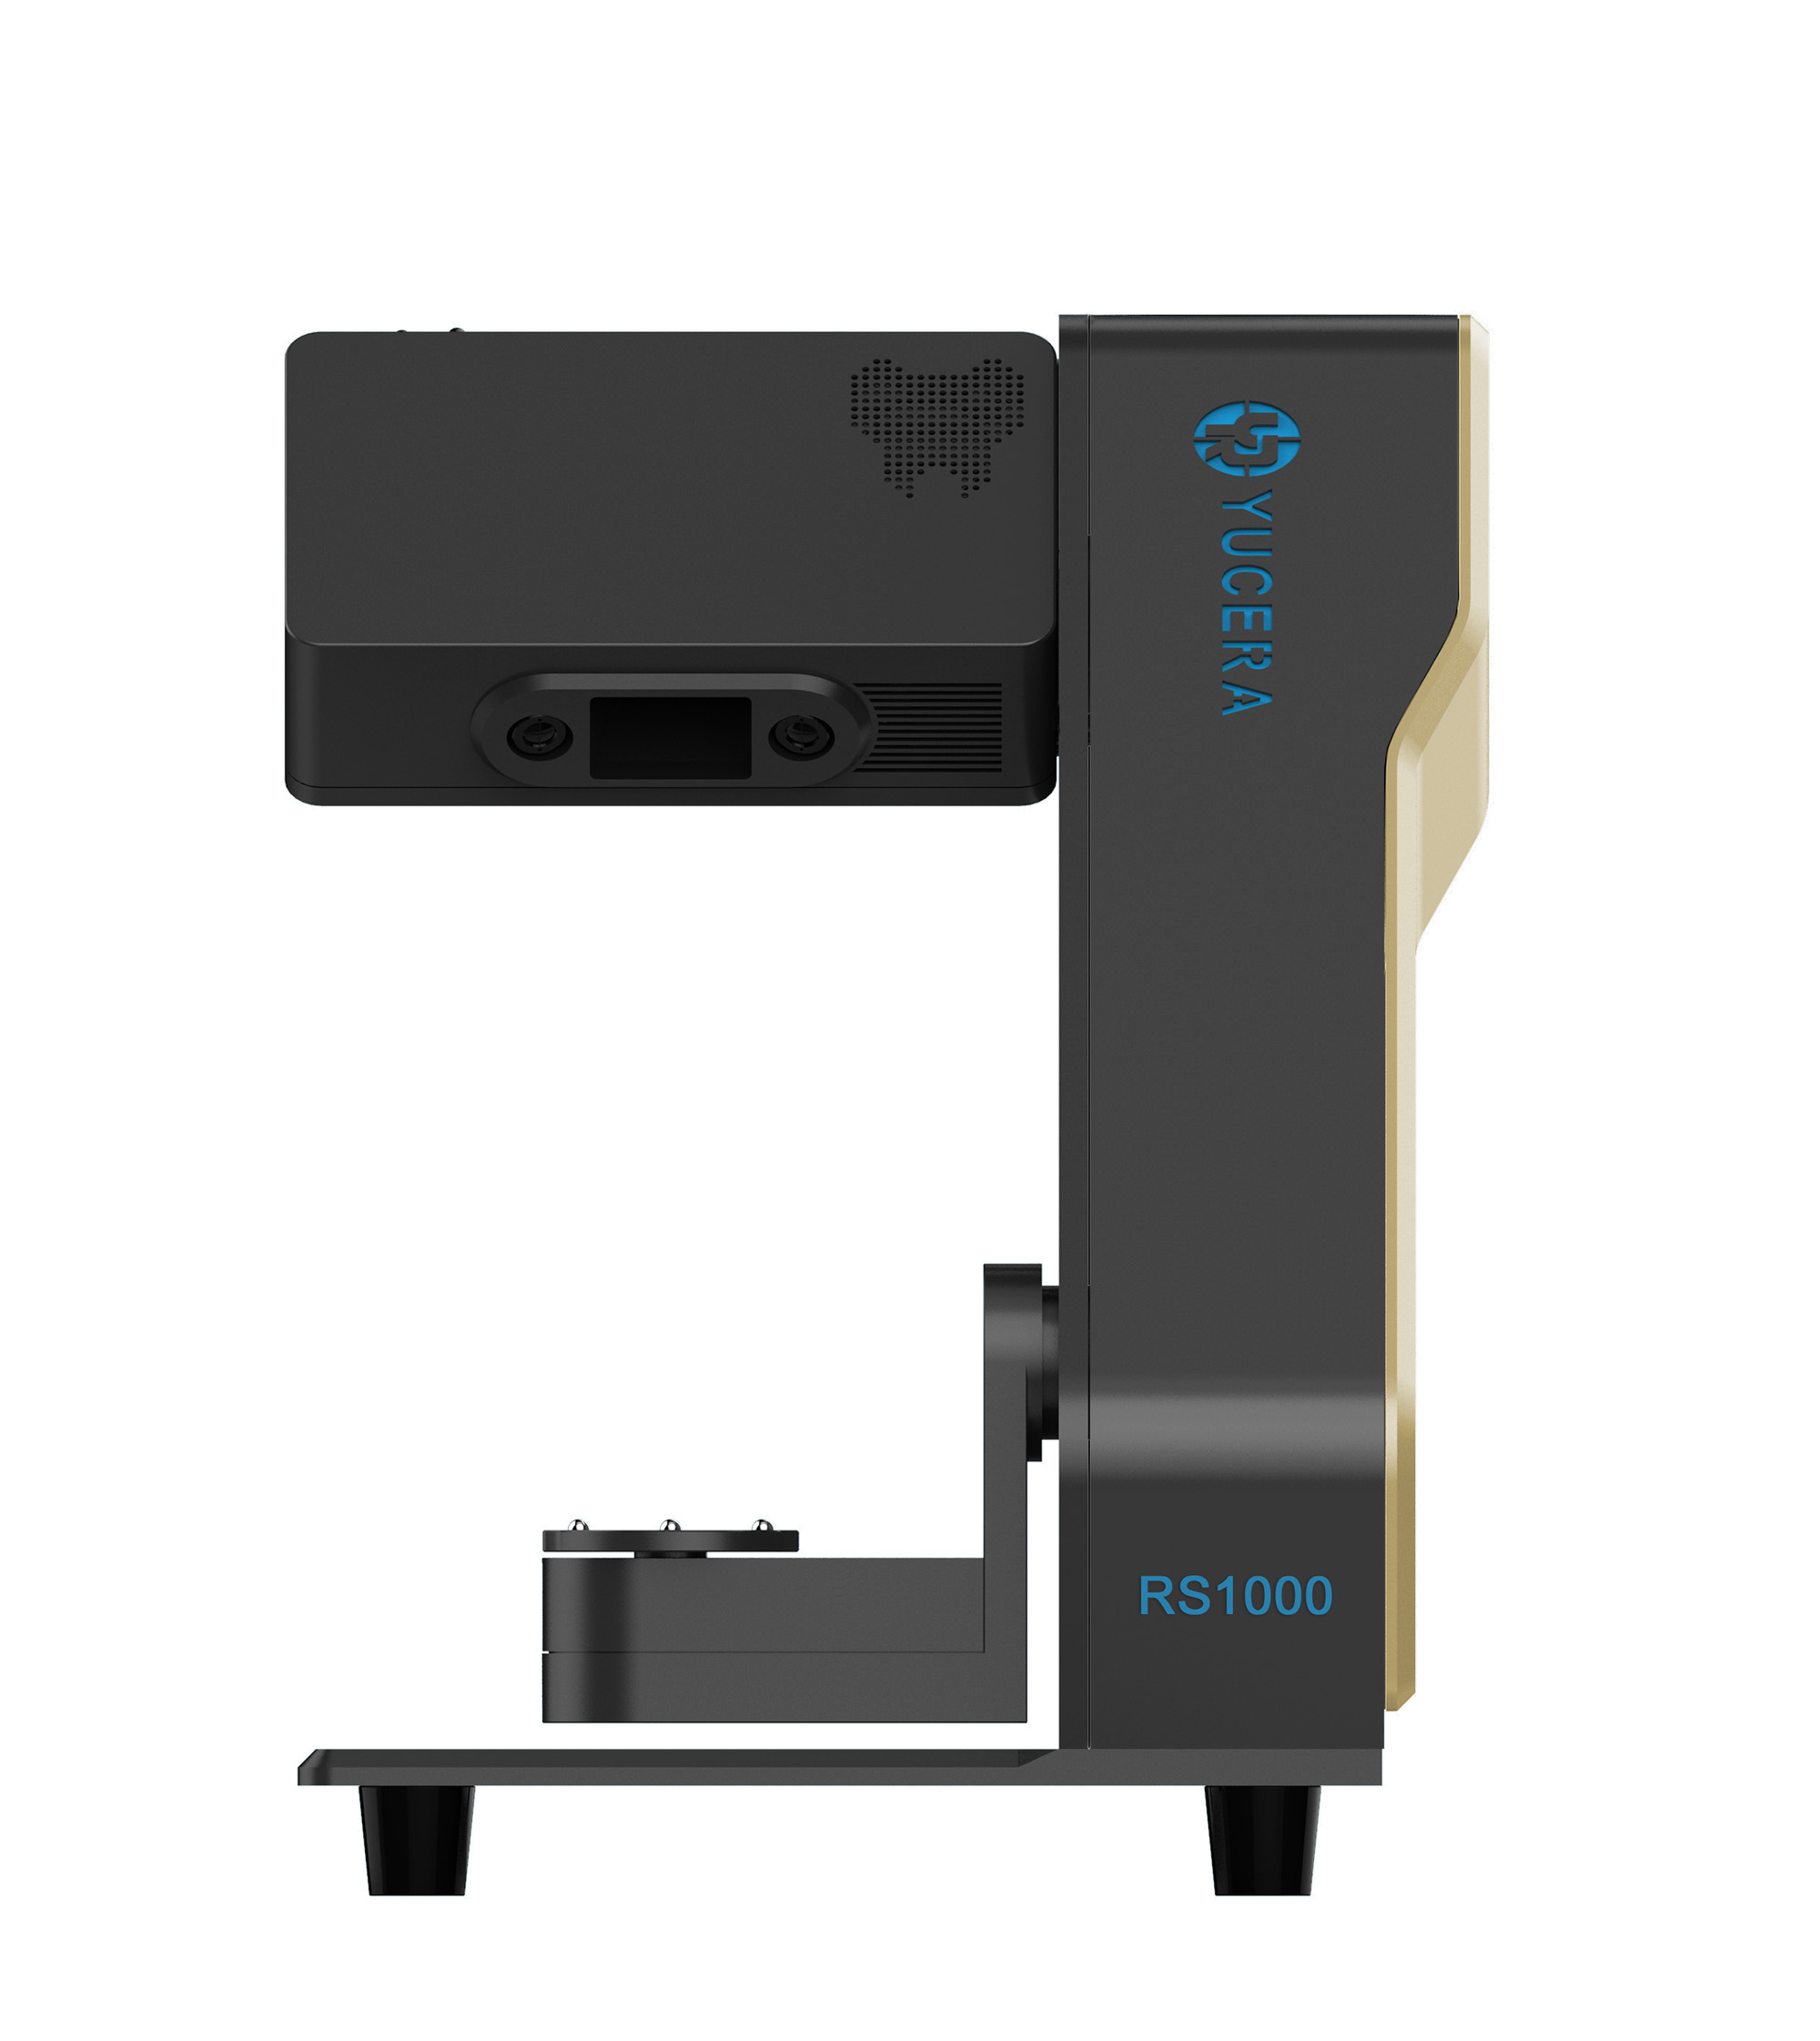
Intraoral or desktop scanner — Captures digital impressions or model data.
-
CAD design software — Open or integrated platforms for restoration design.
-
CAM software — Generates toolpaths for the milling machine.
-
Dental milling machine — Dry or wet mill for zirconia blocks (dry preferred for zirconia to avoid contamination).
-
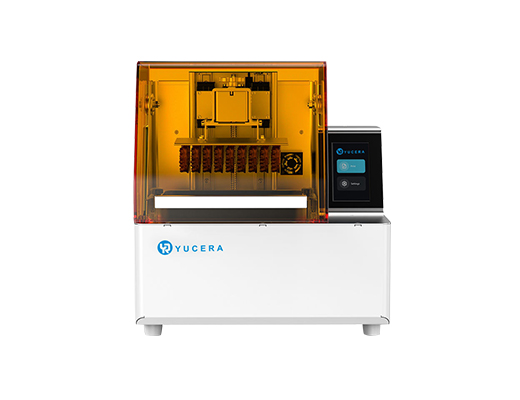
Sintering furnace — High-temperature oven for densifying pre-sintered zirconia.
-
Computer workstation — With sufficient RAM and graphics for smooth CAD/CAM operation.
-
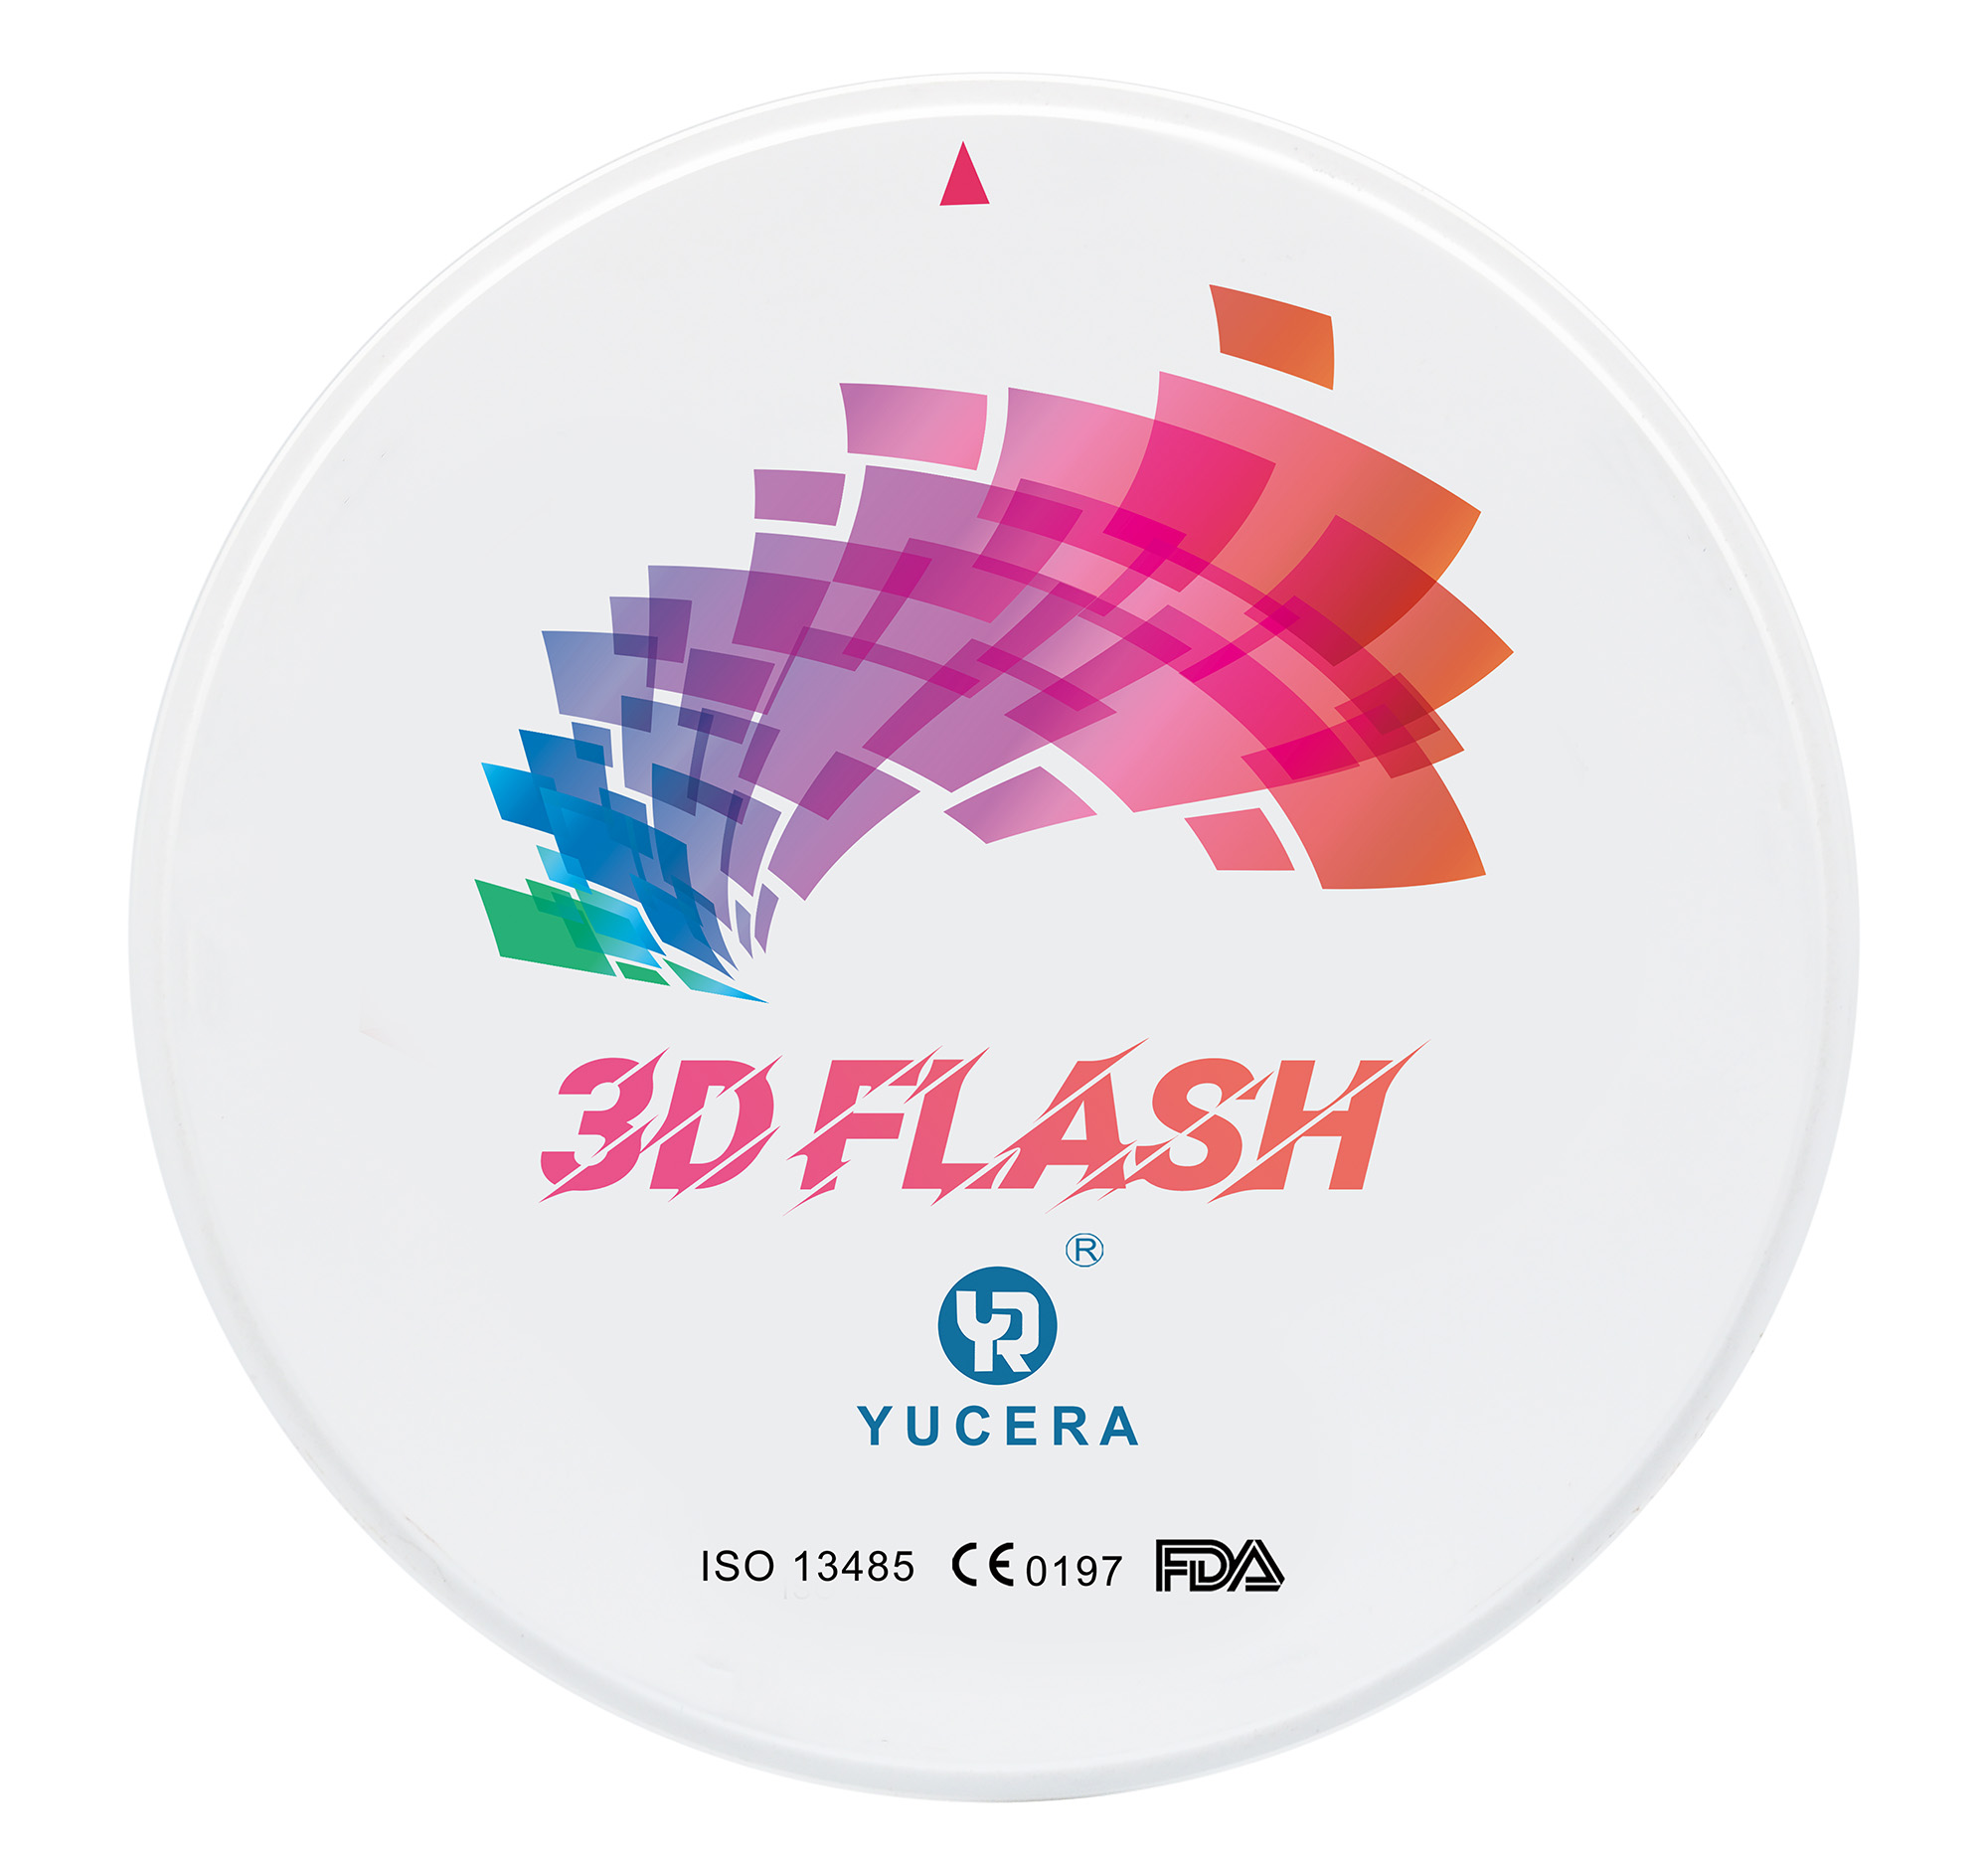
Accessories — Diamond burs, zirconia blocks (pre-sintered), sintering beads, and finishing tools.
Start with entry-level dry-milling machines suitable for zirconia, as they handle pre-sintered blocks efficiently. Ensure compatibility across components via STL file formats for seamless data flow.
Step-by-Step Zirconia Processing Workflow
Follow this beginner-friendly sequence to produce a zirconia crown or bridge:
-
Case Reception and Preparation Receive the case (digital file or physical model). If traditional impression, pour gypsum model and scan with desktop scanner. For digital submissions, import STL files directly. Verify preparation quality: check margins, reduction (1-2 mm occlusal, 0.5-1 mm axial), and absence of undercuts. Poor preps cause design errors—communicate with dentist early.
-
Digital Scanning Use scanner to capture antagonist, preparation, and opposing arch. Align scans accurately. Tip for beginners: Practice on test models to avoid stitching errors or missed margins. Good scans ensure precise designs.
-
CAD Design Import scans into CAD software. Set restoration type (crown, bridge). Auto-detect margins, then manually refine. Design anatomy: cusp form, proximal contacts, occlusion (leave 30-50 μm space for cement). Apply anatomical reduction if needed for zirconia thickness (minimum 0.6-1.0 mm depending on type). Use virtual articulation for dynamic occlusion. Save as STL. Common beginner mistake: Overlooking functional design—always check occlusion statically and dynamically.
-
CAM Preparation and Nesting Open STL in CAM software. Select zirconia material and block size. Nest restoration to optimize material use (avoid edges for strength). Set sprue position (lingual or palatal) and support structures. Define milling parameters: tool sequence (roughing to finishing burs), speeds (typically 1500-3000 rpm for zirconia), and coolant if wet milling. Simulate toolpaths to detect collisions. Generate NC code.
-
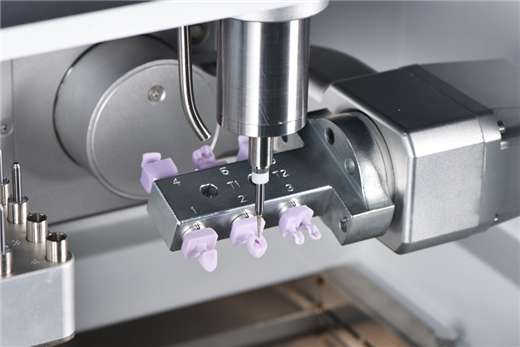
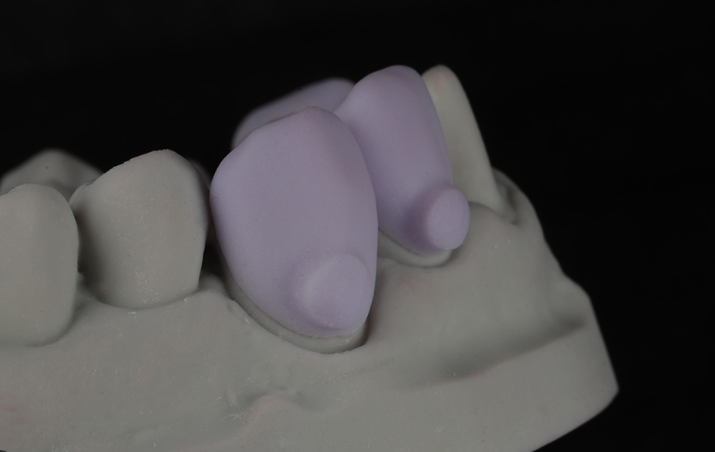
Milling the Zirconia Block Load pre-sintered zirconia block into mill. Secure firmly. Start dry milling process (10-30 minutes for single crown). Monitor for vibrations or tool wear. Remove milled restoration carefully—pre-sintered zirconia is soft and fragile. Inspect for cracks or incomplete milling. Clean dust thoroughly to prevent contamination.
-
Sintering Place milled piece on sintering tray with beads for support. Load into furnace. Follow manufacturer-recommended cycle: slow heat to 1500-1530°C, hold 1-2 hours, controlled cooling. Fast cycles (under 2 hours) possible with advanced furnaces. Avoid overloading or improper placement—causes distortion.
-
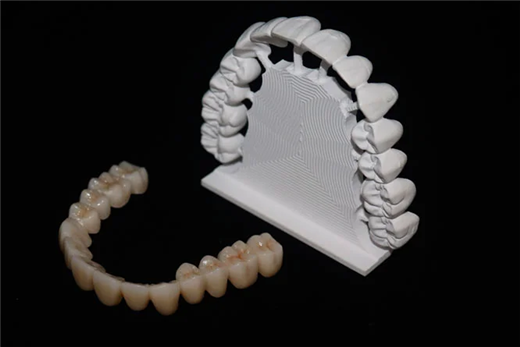
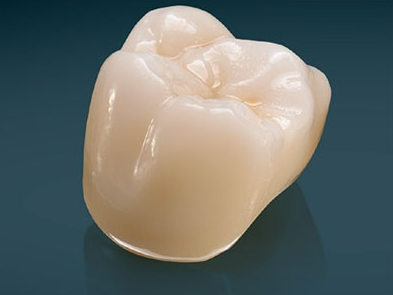
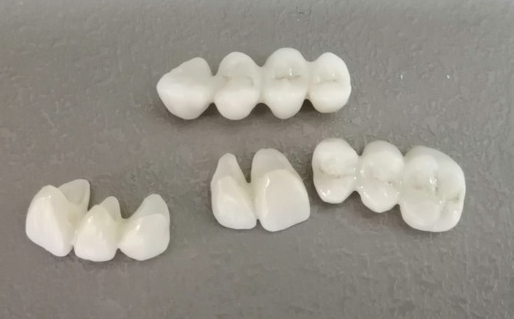
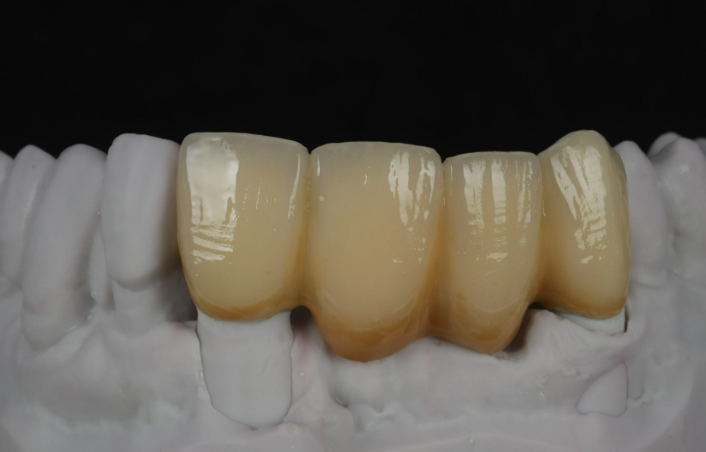
Post-Processing After cooling, remove supports. Check fit on model. Polish or glaze for aesthetics. Stain if needed for characterization. Cement or deliver to clinic.
This workflow produces high-strength zirconia (over 1000 MPa post-sintering) with good aesthetics in multilayer blocks.
Quick Mastery Tips for New Labs
-
Training Sequence: Spend first week on scanning and basic CAD (design simple copings). Week two: CAM nesting and test milling PMMA (cheaper for practice). Week three: Zirconia trials.
-
Common Beginner Mistakes to Avoid:
-
Incorrect material selection (use high-translucent for anterior, high-strength for posterior).
-
Inadequate reduction or thin walls leading to fractures.
-
Poor margin definition causing open margins.
-
Overheating during milling or improper sintering causing cracks/discoloration.
-
Ignoring tool maintenance—dull burs increase chipping.
-
Skipping simulation—leads to collisions or wasted blocks.
-
Calibration and Maintenance: Calibrate scanner and mill regularly. Clean mill chamber after each job. Track bur life (replace after 10-20 units).
-
Practice Protocol: Mill 20-30 test cases on models before patient work. Analyze failures (e.g., fit issues) to improve.
-
Resources: Use manufacturer tutorials, online forums, and free CAD/CAM webinars. In Eastern Europe, local distributors often provide on-site training.
Benefits for Eastern European Labs
Adopting CAD/CAM reduces costs by 30-50% versus outsourcing, speeds delivery (same-day possible with chairside integration), and meets EU MDR compliance for custom devices. Labs in Warsaw, Budapest, or Bucharest gain competitive edges in dental tourism by offering precise, fast zirconia restorations.
Troubleshooting Common Issues
-
Chipping during milling: Check feeds/speeds, use sharp tools.
-
Distortion post-sintering: Ensure even support in furnace.
-
Poor fit: Verify scan accuracy and design parameters.
-
Color inconsistencies: Select consistent blocks, control sintering atmosphere.
With consistent practice, beginners achieve reliable zirconia processing in 4-8 weeks.
Conclusion
New dental labs can quickly master CAD/CAM for zirconia block processing by following structured steps, prioritizing training, and avoiding common pitfalls. This technology empowers Eastern European labs to produce high-quality restorations in-house, enhancing efficiency and patient outcomes. Start small, practice diligently, and scale confidently—digital dentistry rewards persistence with precision and profitability.


 中 文
中 文