

 中 文
中 文

How to Scan with an Intraoral Scanner
2025-09-20
2026-03-10
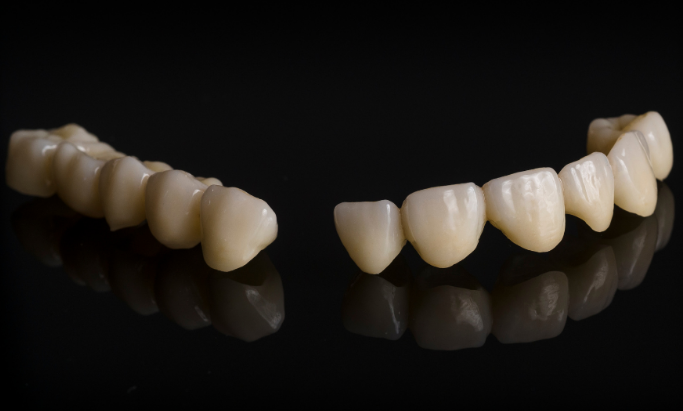
In modern dental labs, monolithic zirconia restorations deliver excellent strength and efficiency—but achieving lifelike shade, uniform color, and optimal translucency remains challenging. One of the most frequent culprits behind uneven staining, white spots, and dull or reduced translucency is improper drying after applying coloring liquids.
Pre-sintered zirconia is highly porous (around 45–50% porosity), allowing excellent pigment penetration during dipping or brushing. However, residual moisture from coloring liquids must be removed gradually and completely before sintering. Skipping or rushing this step causes steam pressure, pigment migration, uneven pigment fixation, and interference with densification—leading to visible defects that force remakes.
A dedicated zirconia dryer (controlled oven or infrared unit at 80–150°C) is the technician’s best tool for consistent, high-quality results. This guide walks through why drying matters, the three main defects it prevents, and precise, repeatable protocols used in professional labs in 2026.
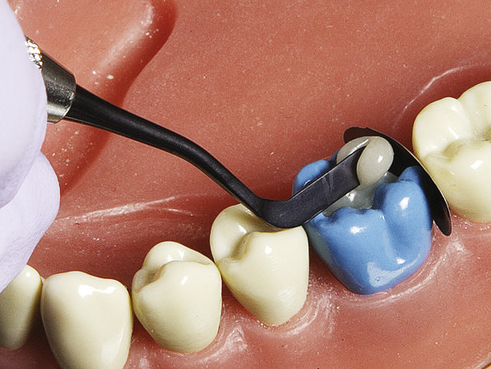
Coloring liquids consist of metal salts dissolved in solvents (water/alcohol-based). After application (dipping 10–60 seconds or multi-layer brushing), the zirconia surface is wet. Immediate high-heat sintering causes:
Controlled low-temperature drying evaporates solvents gently, stabilizes pigments on pore walls, and equalizes moisture across the restoration. Labs report that consistent drying reduces shade deviations by up to 30–50% and virtually eliminates white-spot complaints in high-volume production.
Without proper drying, excess liquid pools in fissures, cervical areas, or occlusal grooves during the furnace ramp-up. Pigments concentrate unevenly, creating dark bands, blotchy shades, or grayish undertones in translucent zones.
Prevention with dryer: Gradual drying (80–100°C) allows capillary action to distribute pigments more uniformly before fixation. Pre-drying also levels coating thickness, especially after multiple brush layers or dipping.
Technicians observe the most dramatic improvement in multi-unit bridges and anterior crowns where shade transitions must be seamless.
White spots are among the most frustrating post-sintering defects. They appear as localized opaque patches due to:
Prevention with dryer: Thorough, even drying opens pathways for pigments and ensures uniform solvent removal. Many protocols include a 10–15 min hold at 150°C in the dryer to drive off bound water without shocking the structure.
Consistent dryer use has been linked to near-zero white-spot incidence in routine lab workflows.
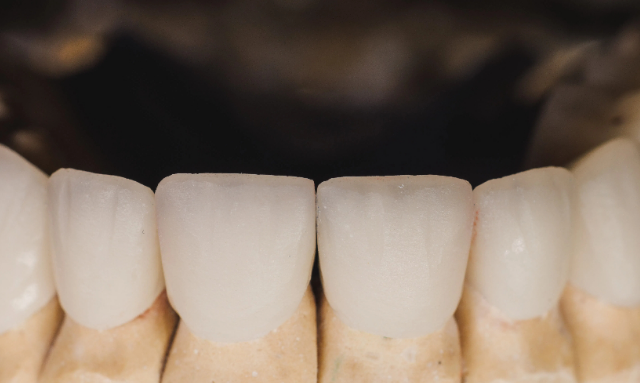
High-translucency zirconia (4Y–5Y generations) relies on fine grain size and high cubic phase content for light transmission. Trapped moisture or uneven pigment layers increase internal scattering and opacity.
Studies show that suboptimal drying can reduce translucency parameter (TP) values by 10–20%, making restorations look chalky or lifeless—especially in incisal thirds.
Prevention with dryer: Complete moisture removal before the 1,000°C+ sintering range preserves microstructure. Gentle drying also prevents micro-cracks that scatter light further.
Restorations dried properly before fast-sinter cycles maintain the high translucency promised by modern materials.
Follow this practical, lab-tested sequence for reliable results every time:
Pro tips from experienced technicians:
Using a zirconia dryer correctly transforms unpredictable coloring outcomes into repeatable, natural-looking results. By eliminating uneven staining, white spots, and poor translucency, technicians achieve:
In 2026’s competitive digital dentistry landscape, where same-day aesthetics matter, this 30–90 minute drying protocol using a controlled dryer is one of the highest-ROI steps in the CAD/CAM workflow.

Dry & wet milling for zirconia, PMMA, wax with auto tool changer.
learn more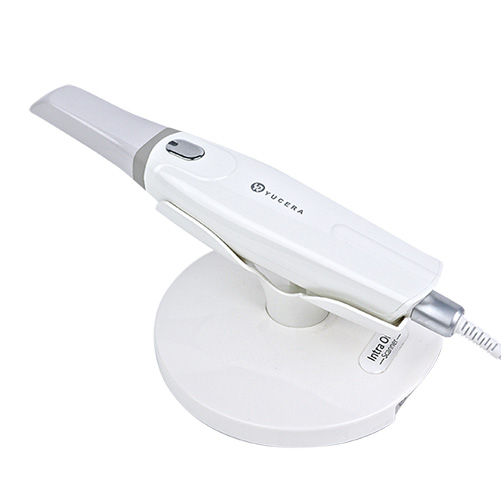
High-precision 3D scanning, AI calibration, full-arch accuracy.
learn more
40-min full sintering with 57% incisal translucency and 1050 MPa strength.
learn more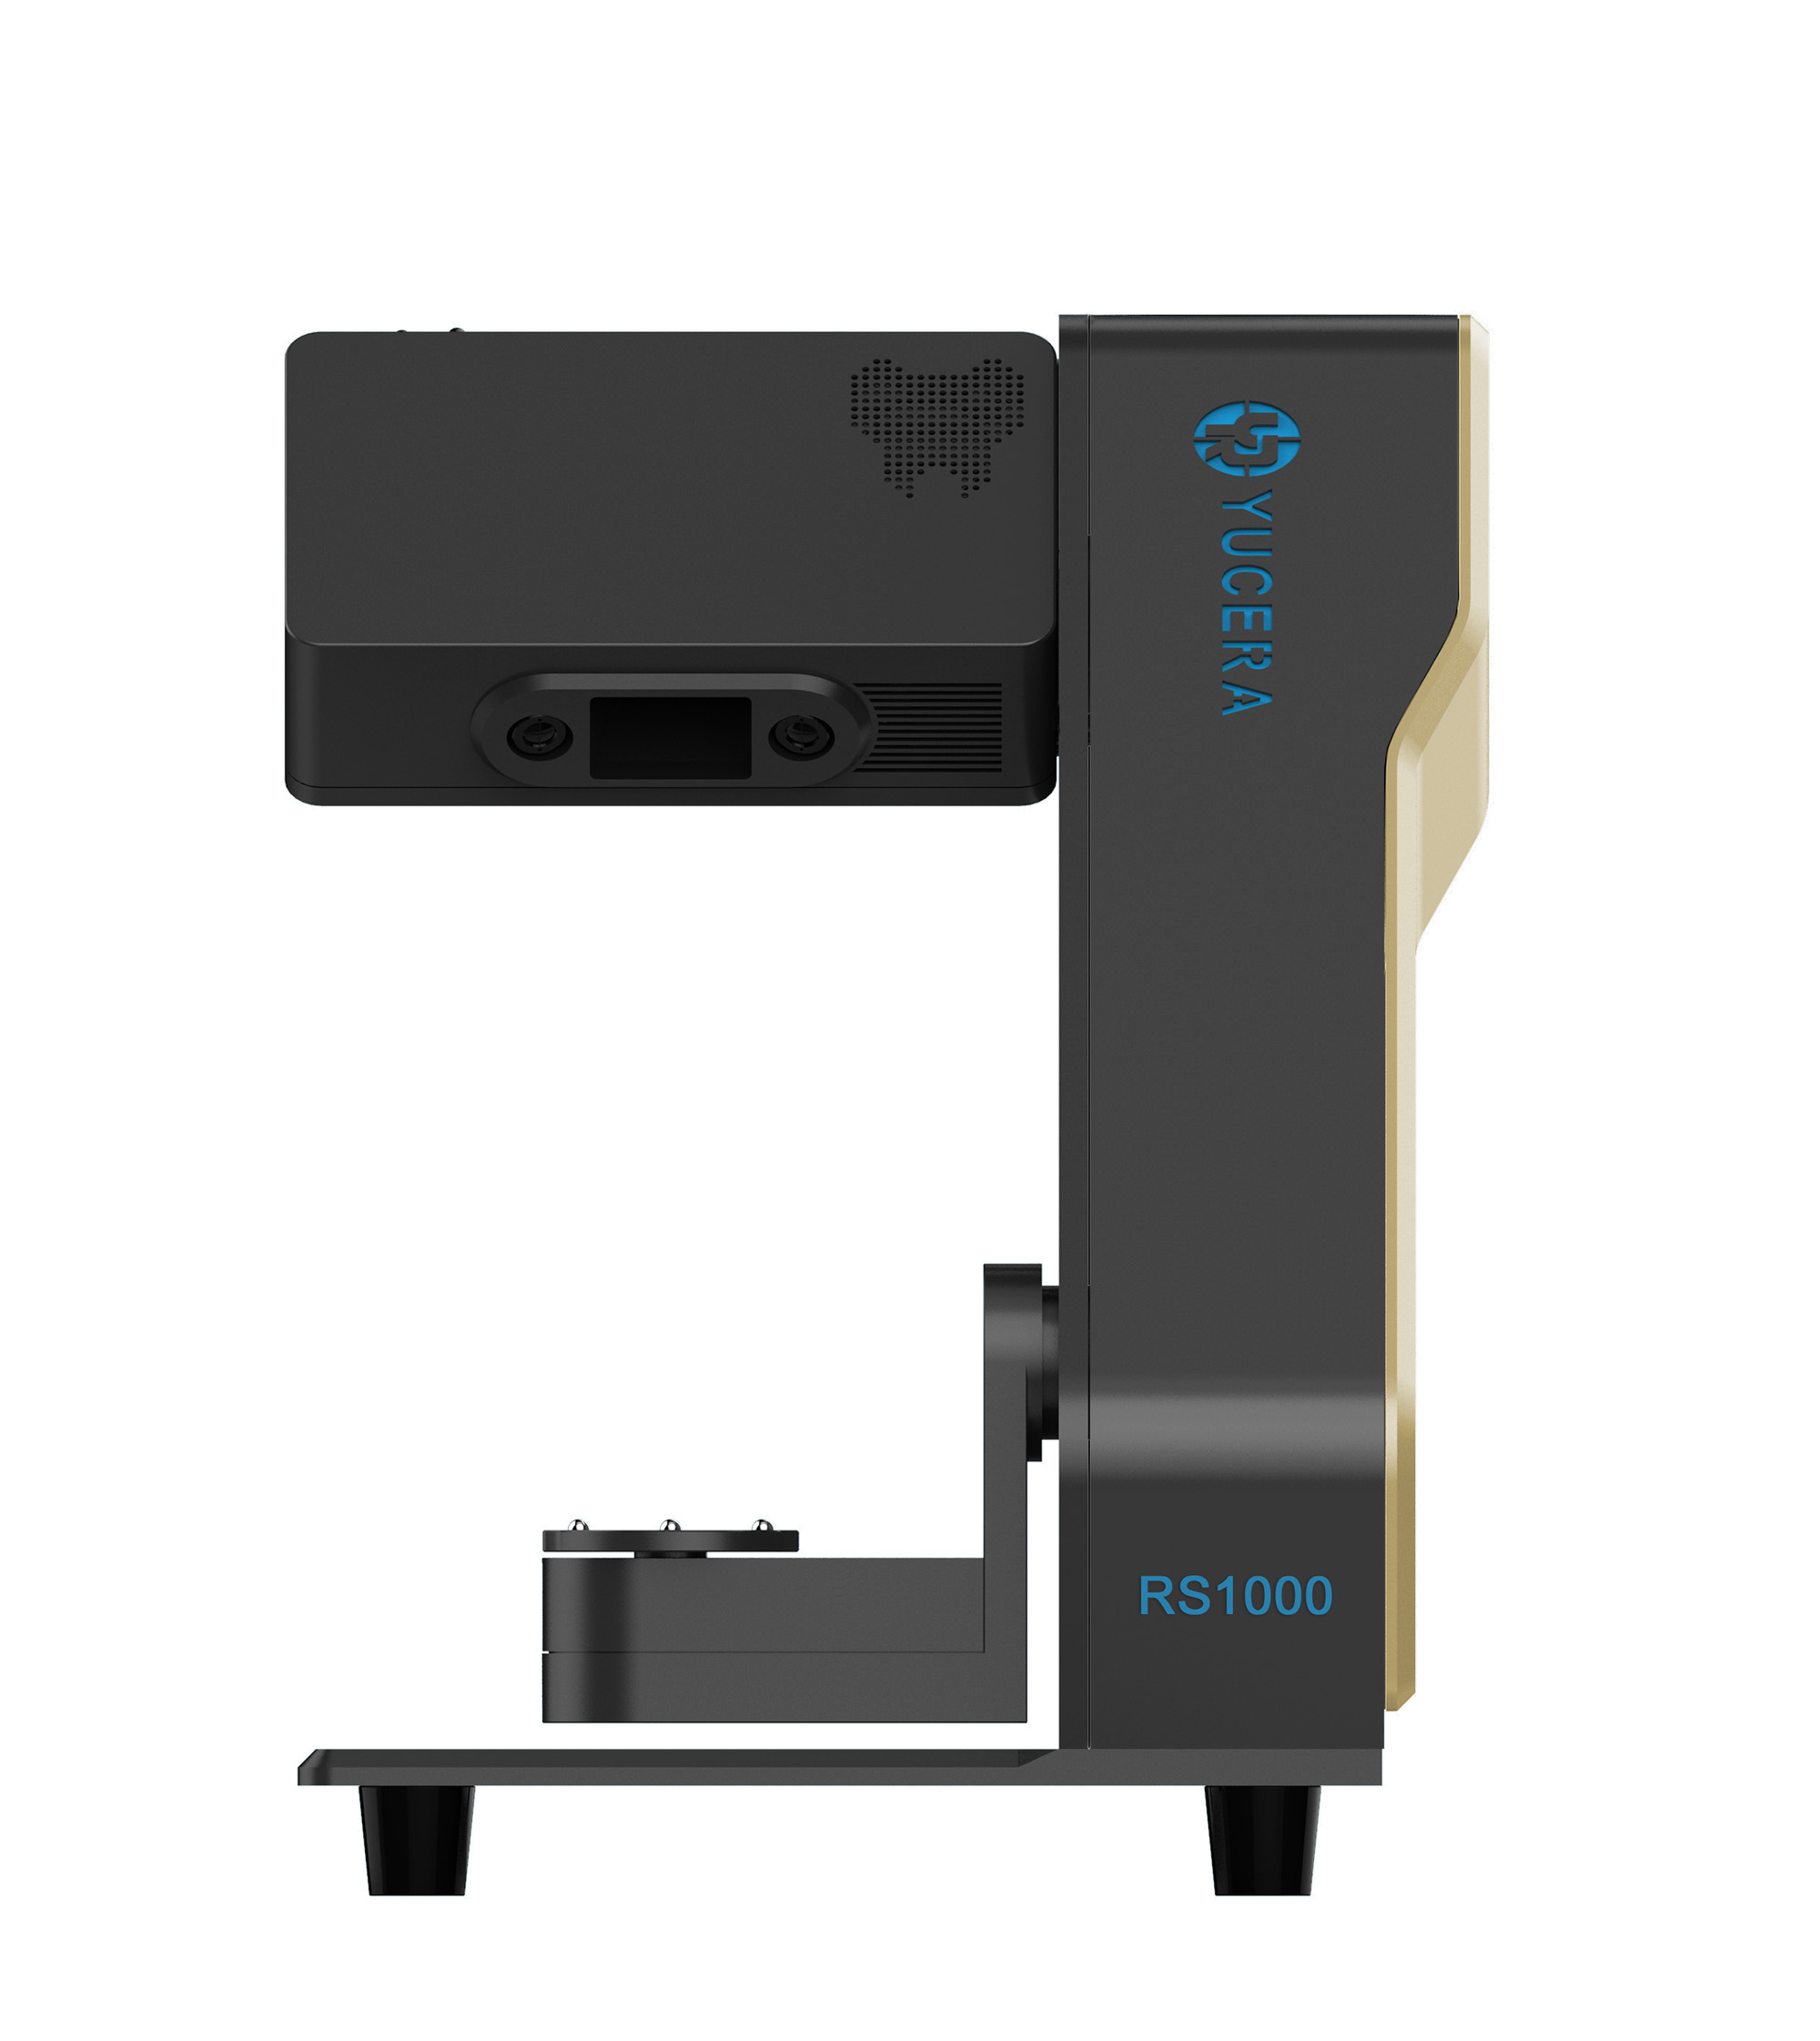

40-min cycle for 60 crowns, dual-layer crucible and 200°C/min heating.
learn more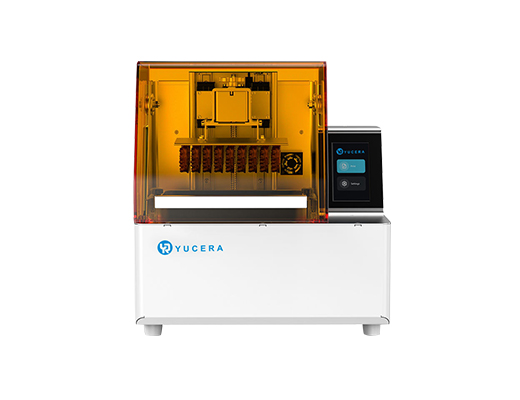
High-speed LCD printer for guides, temporaries, models with 8K resolution.
learn more


